This next week, we will be glazing our bisqueware. The second graders just reviewed the glazing process and the first graders just learned about the glazing process for the first time. I told the kids that I want them to be glaze experts, so they can tell others how to glaze and what glaze is. I would say they are well on their way after their introduction to glazing. We will have pictures of their finished products(glazeware) soon!
|
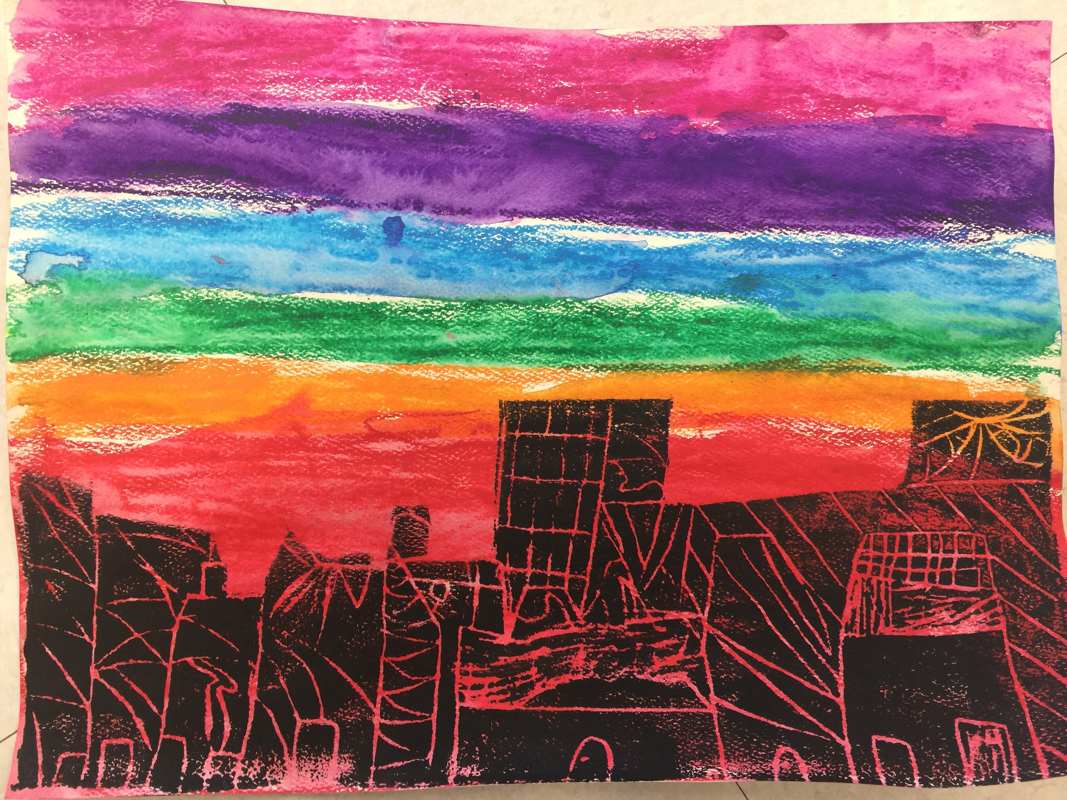
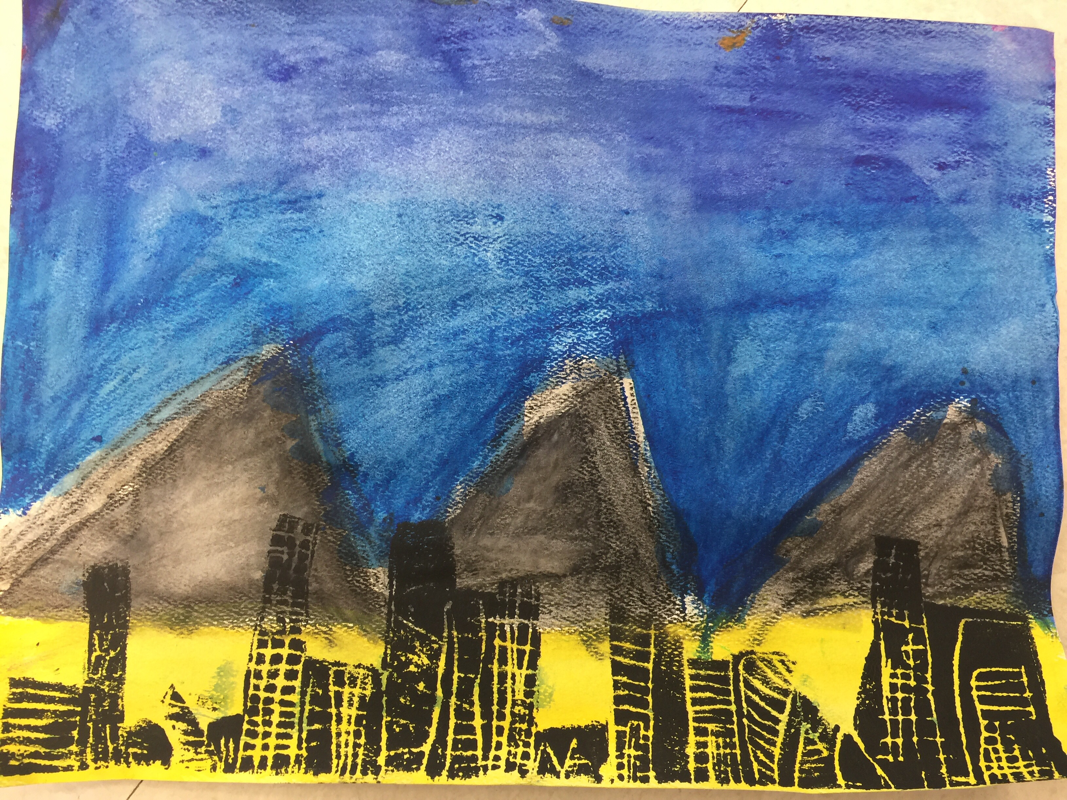
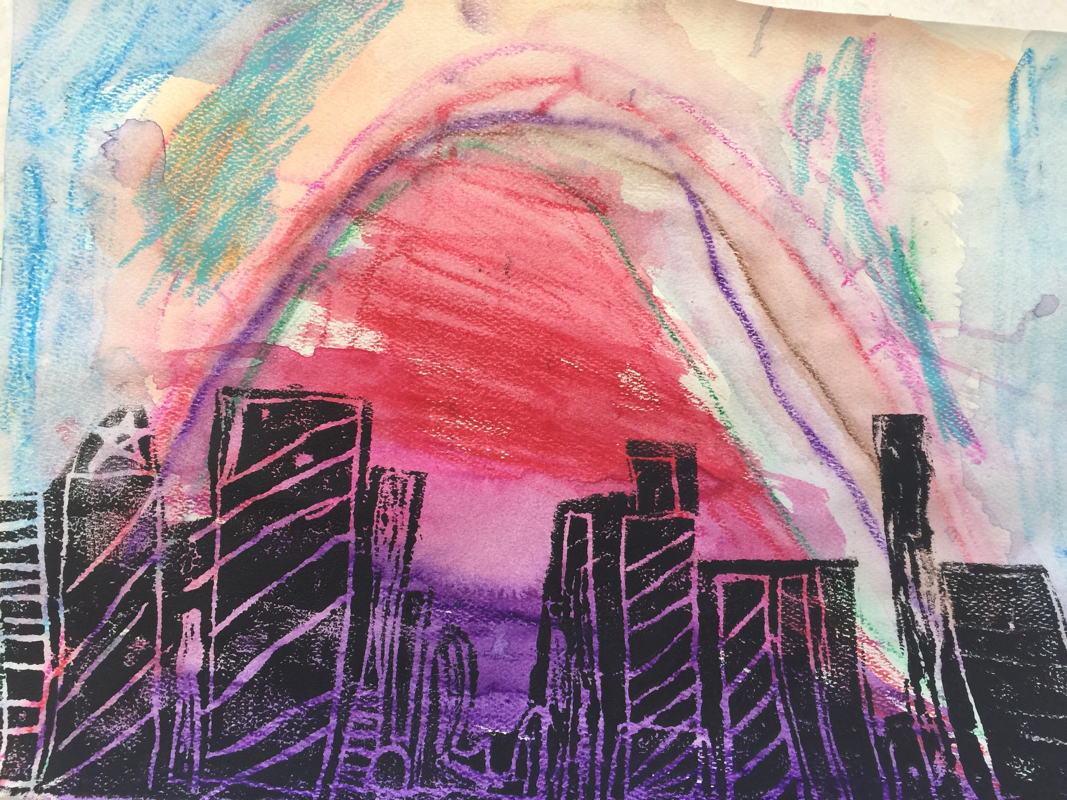
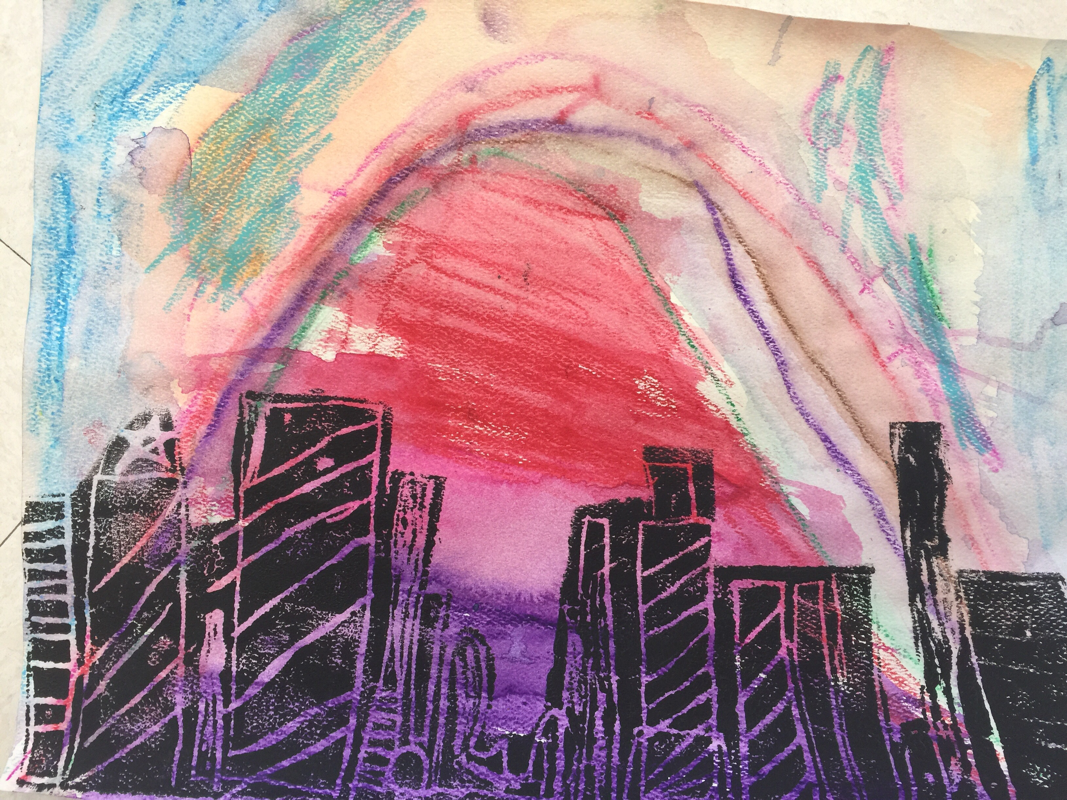
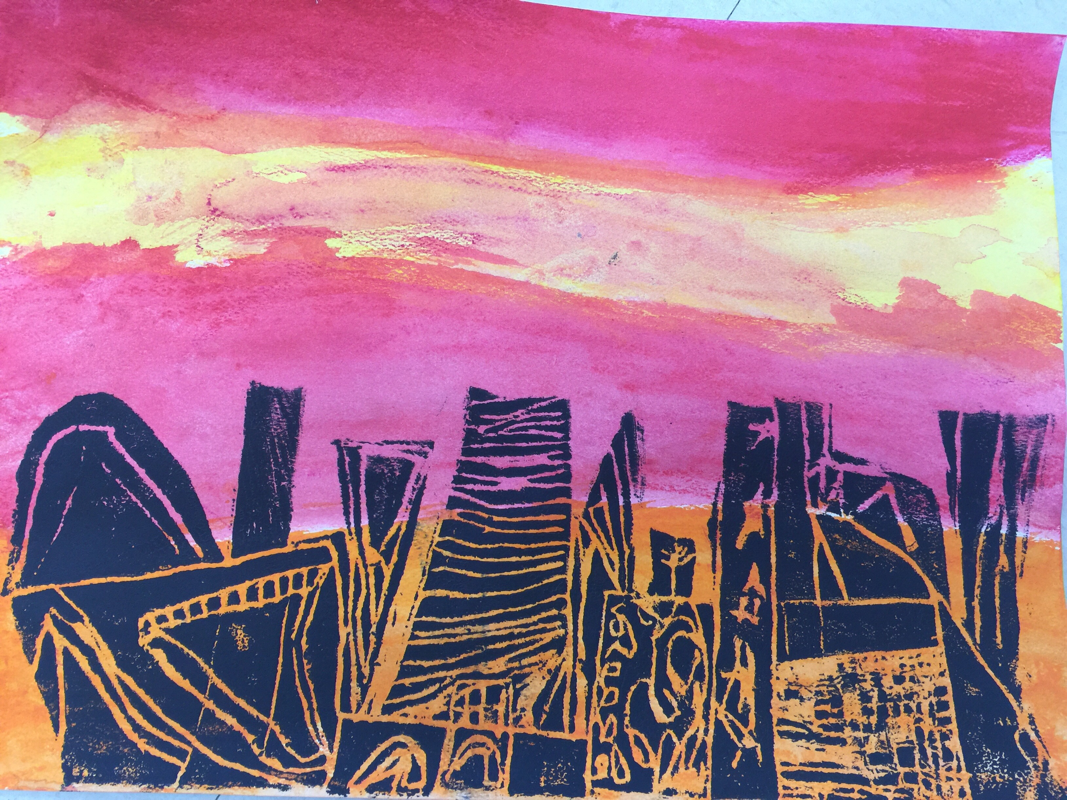
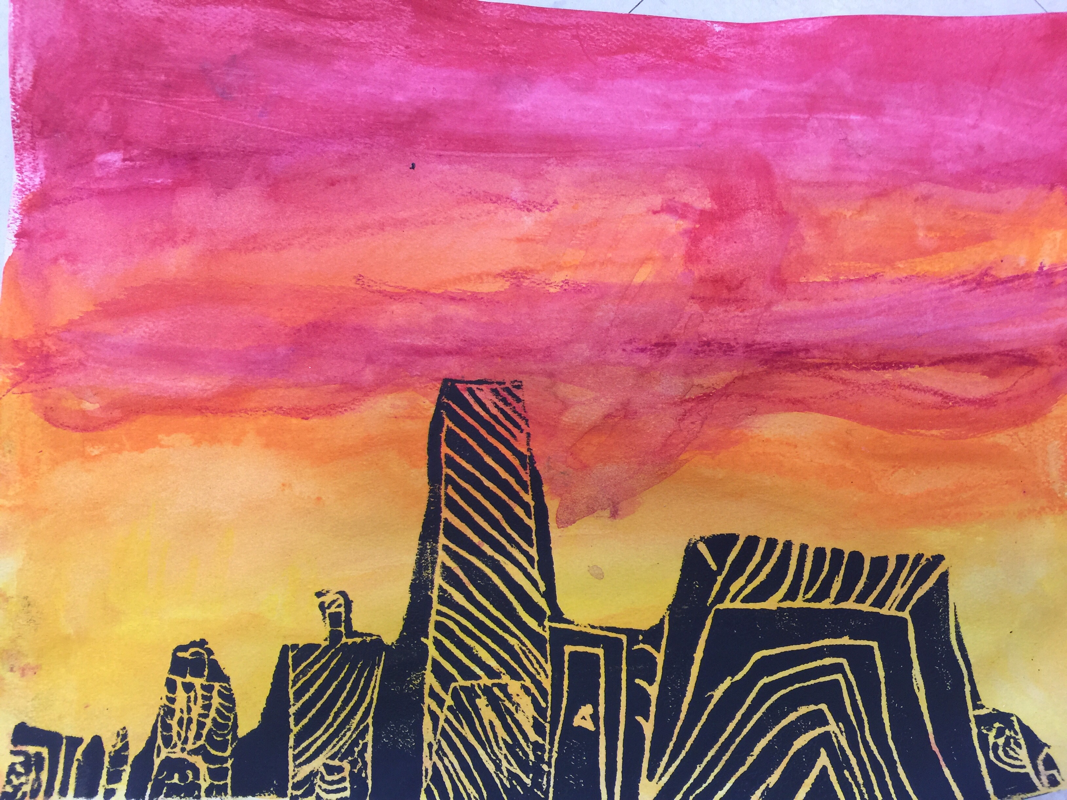
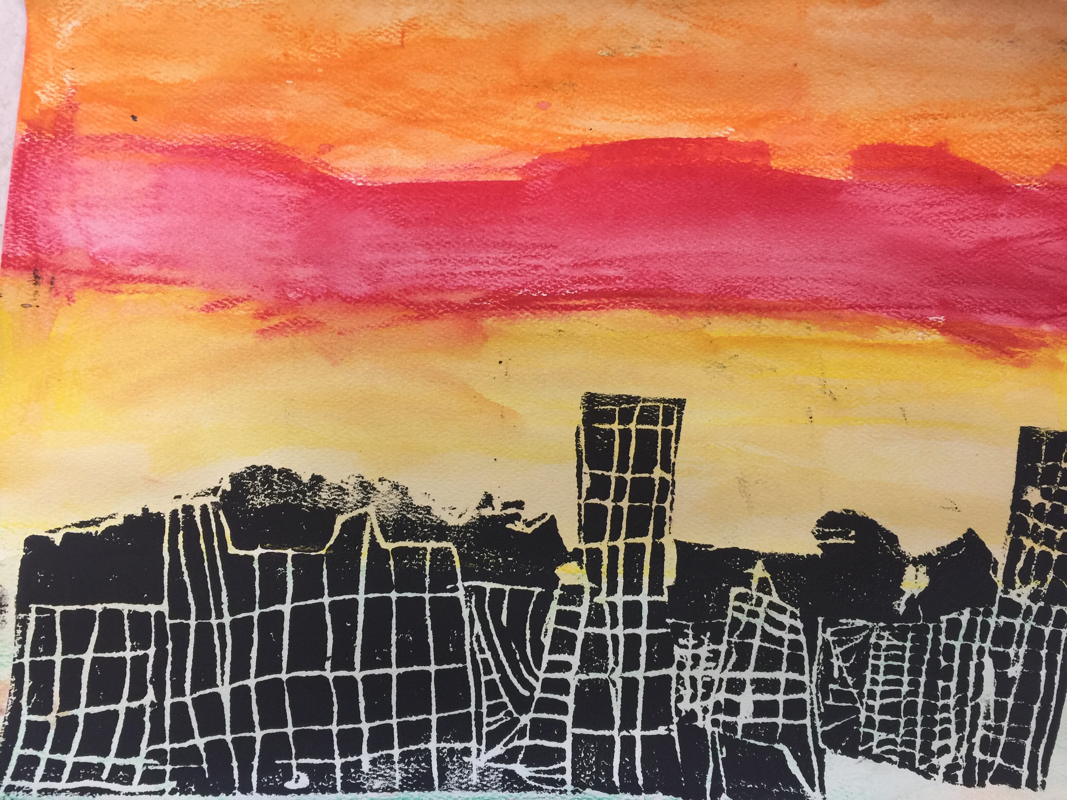
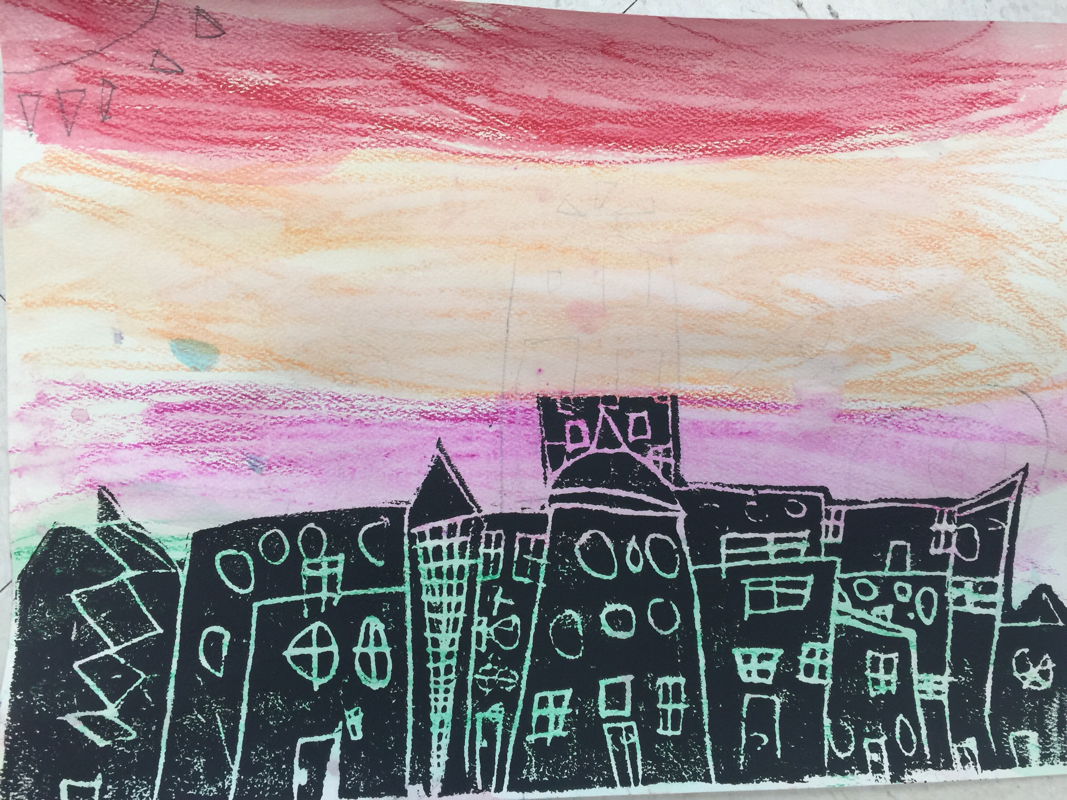
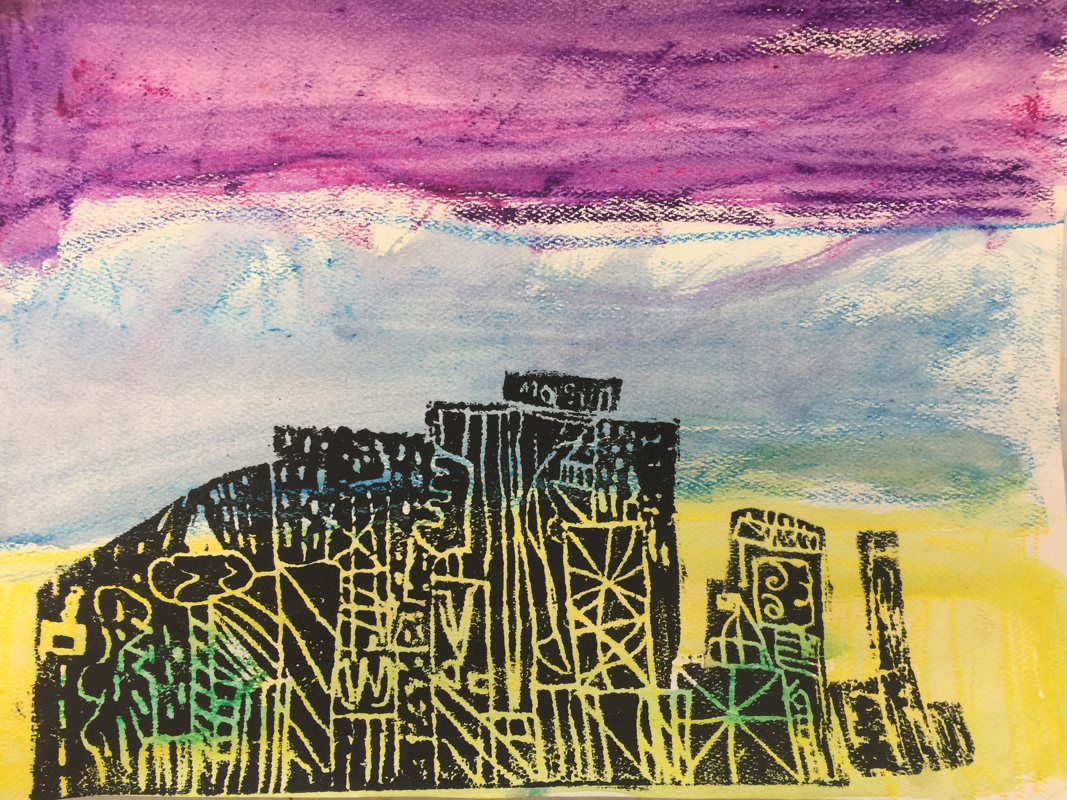
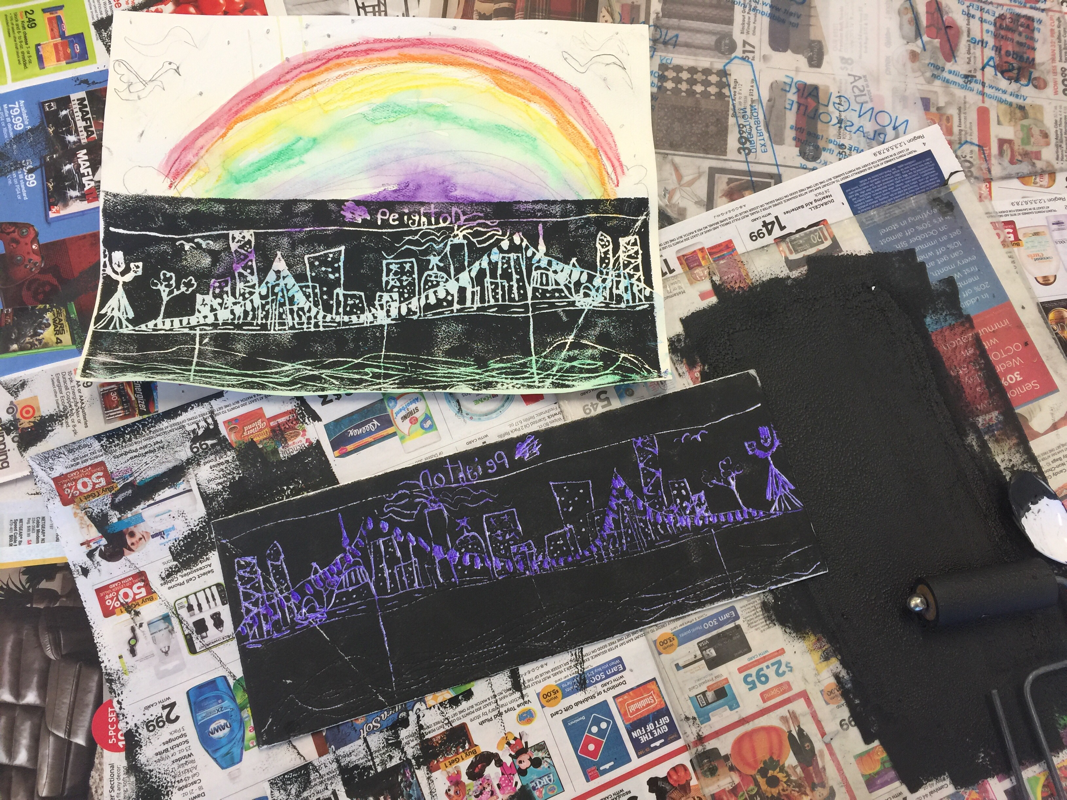
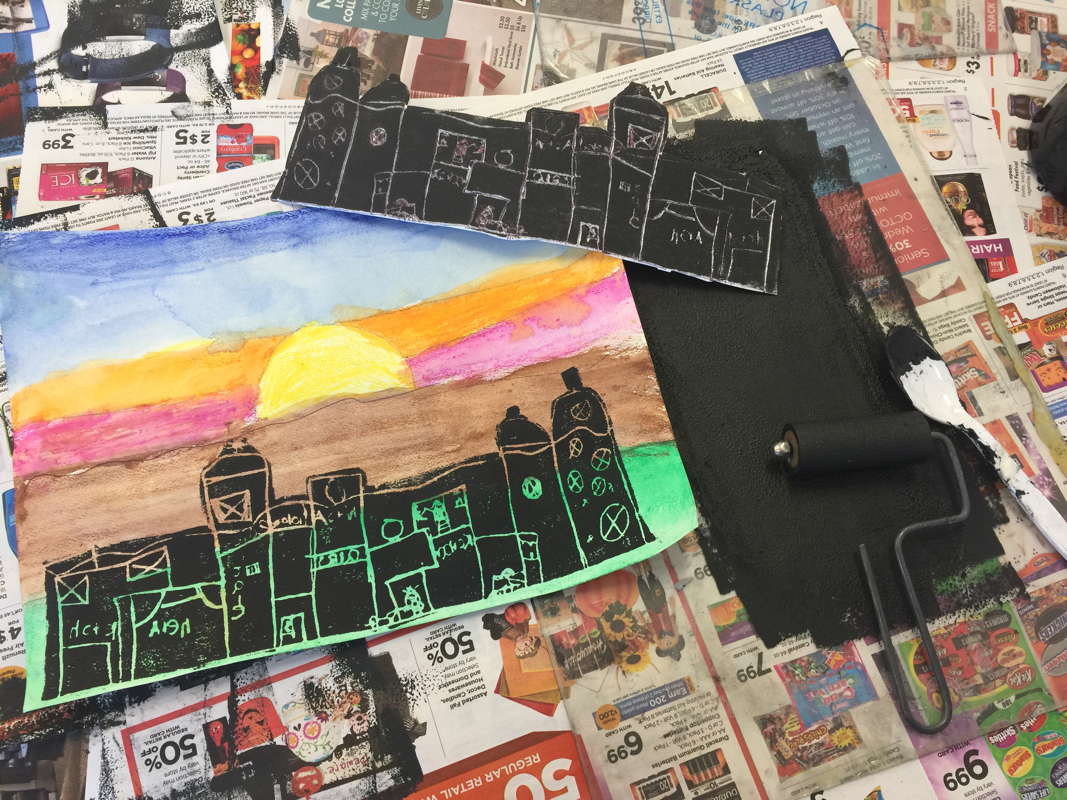
The first and second grade students recently created styrofoam prints of cityscapes on backgrounds made out of watercolor crayon. We started the lesson by looking at cityscapes in artwork throughout time. We compared and contrasted what we saw in older paintings of cities to paintings of present day cities. We observed and noted the various kinds of lines and shapes that we see when we look at cityscapes. The students also learned about overlapping building to make some look closer and others farther away. After that, I showed them the process that we were going to take in making and printing our styrofoam prints. Many of the students thought the printing process seemed like magic. The students got to experiment with watercolor crayons and a small piece of foam before beginning the project. When they were done experimenting, they started creating their background first using watercolor crayon. I showed them how to draw mountains in a more realistic way instead of using the triangle-like approach. We observed and discussed what we saw in different pictures of the sun and sky. Many students noted that the sky does not have to be blue and that often with a sunset we will see many colors. After they created their backgrounds, they drew their cities onto a piece of foam. I told them that if they couldn't feel their lines then that means that you won't be able to see your design, so the students felt their piece of styrofoam as they drew. When they were finished, they cut their cities out and we printed them onto their backgrounds. It was really exciting to see their reactions as we pulled the foam off of their backgrounds. Many of them chose to draw and print Denver, but I also had students choose other cities that they have visited. Students had the choice of designing an imaginary city as well. Some of their finished pieces are pictured below. 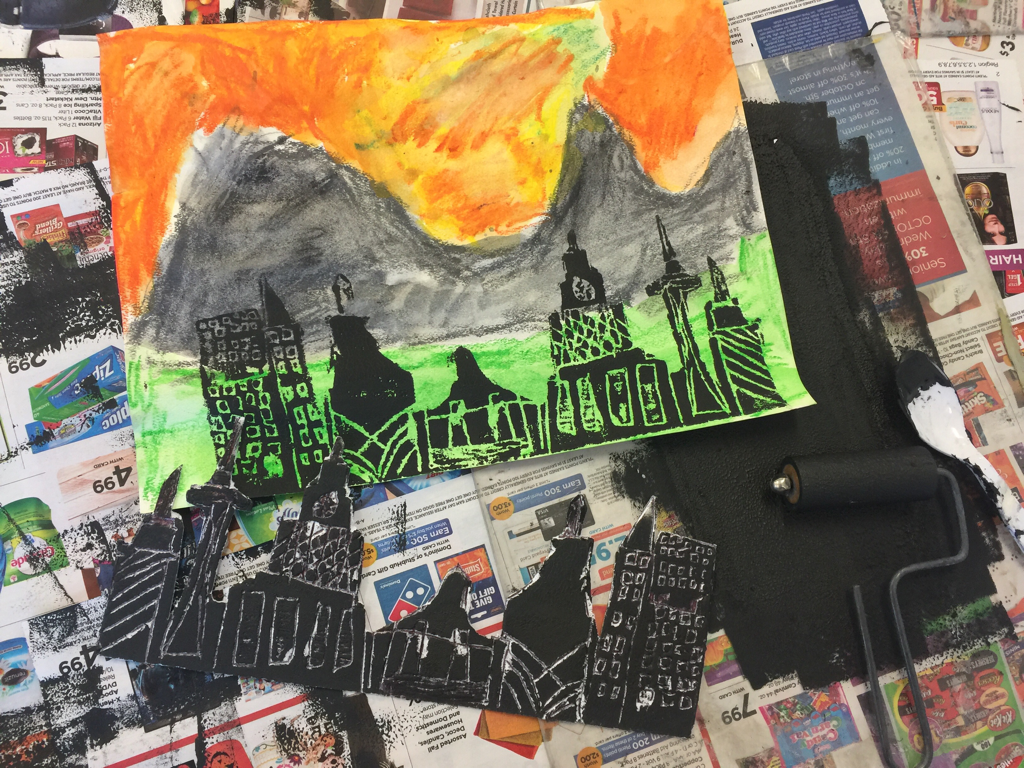 The 1st and 2nd graders started out the trimester with a clay project. I started the lesson by doing an interactive presentation on what clay is and how to use it. We then reviewed how to make a pinch pot. The students were then challenged to design a pinch pot monster out of clay. I showed them how to score and slip, so that any additional clay body parts would not fall off. We discussed how you could get really creative while creating your monster because it could have 3 tongues or five noses or one tooth...the sky's the limit! After the students created their pinch pots, I then explained the stages of clay to them. They now understand the clay has to dry out for 1-2 weeks before it can be fired. The stages that we learned about are pictures below. 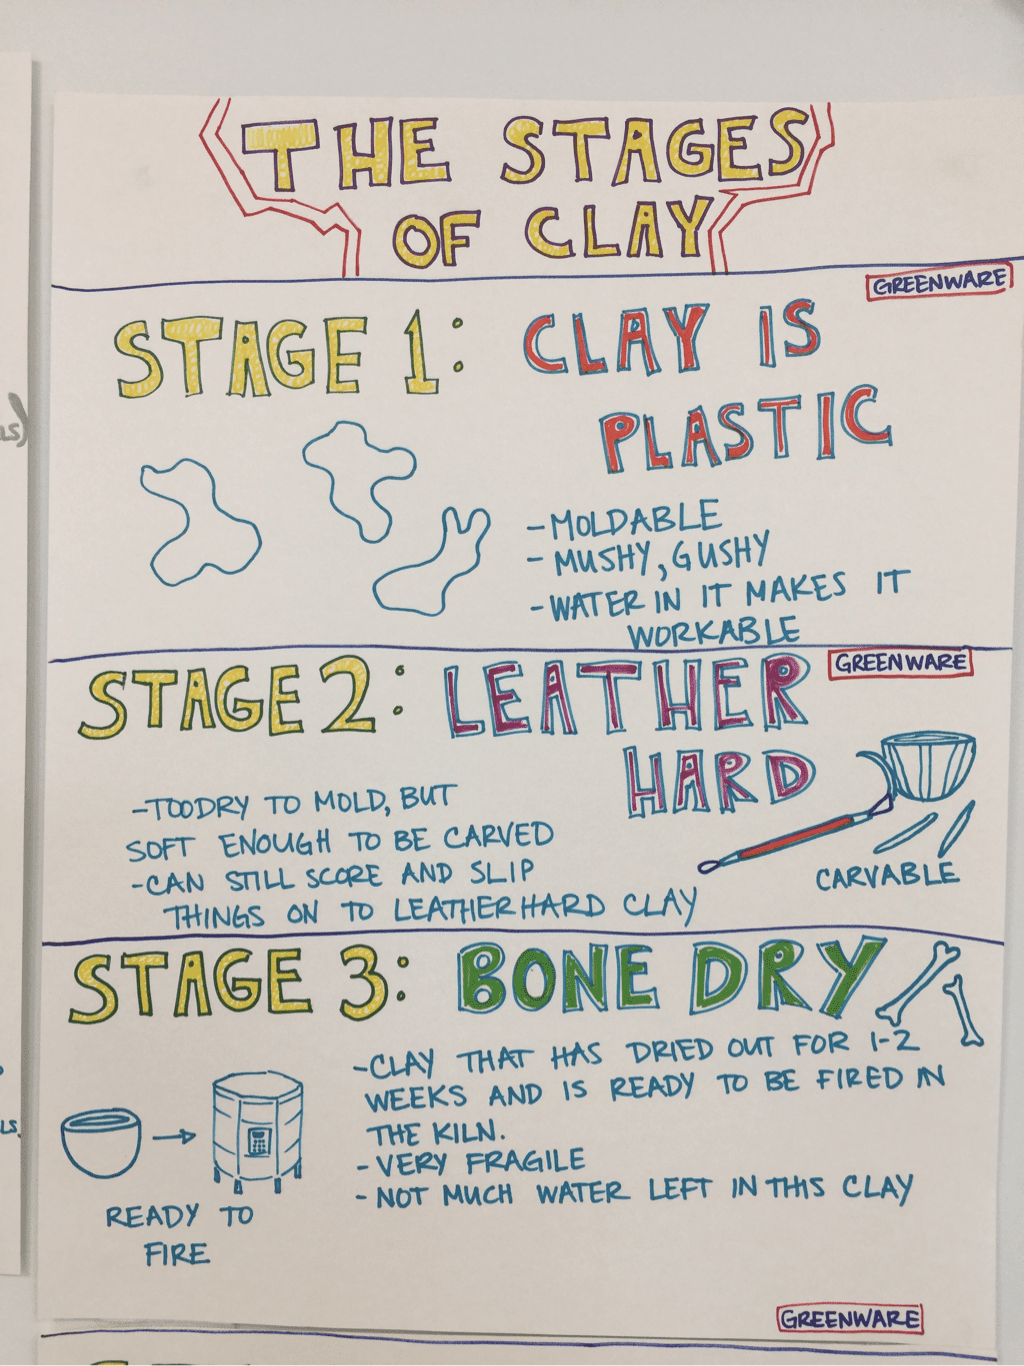 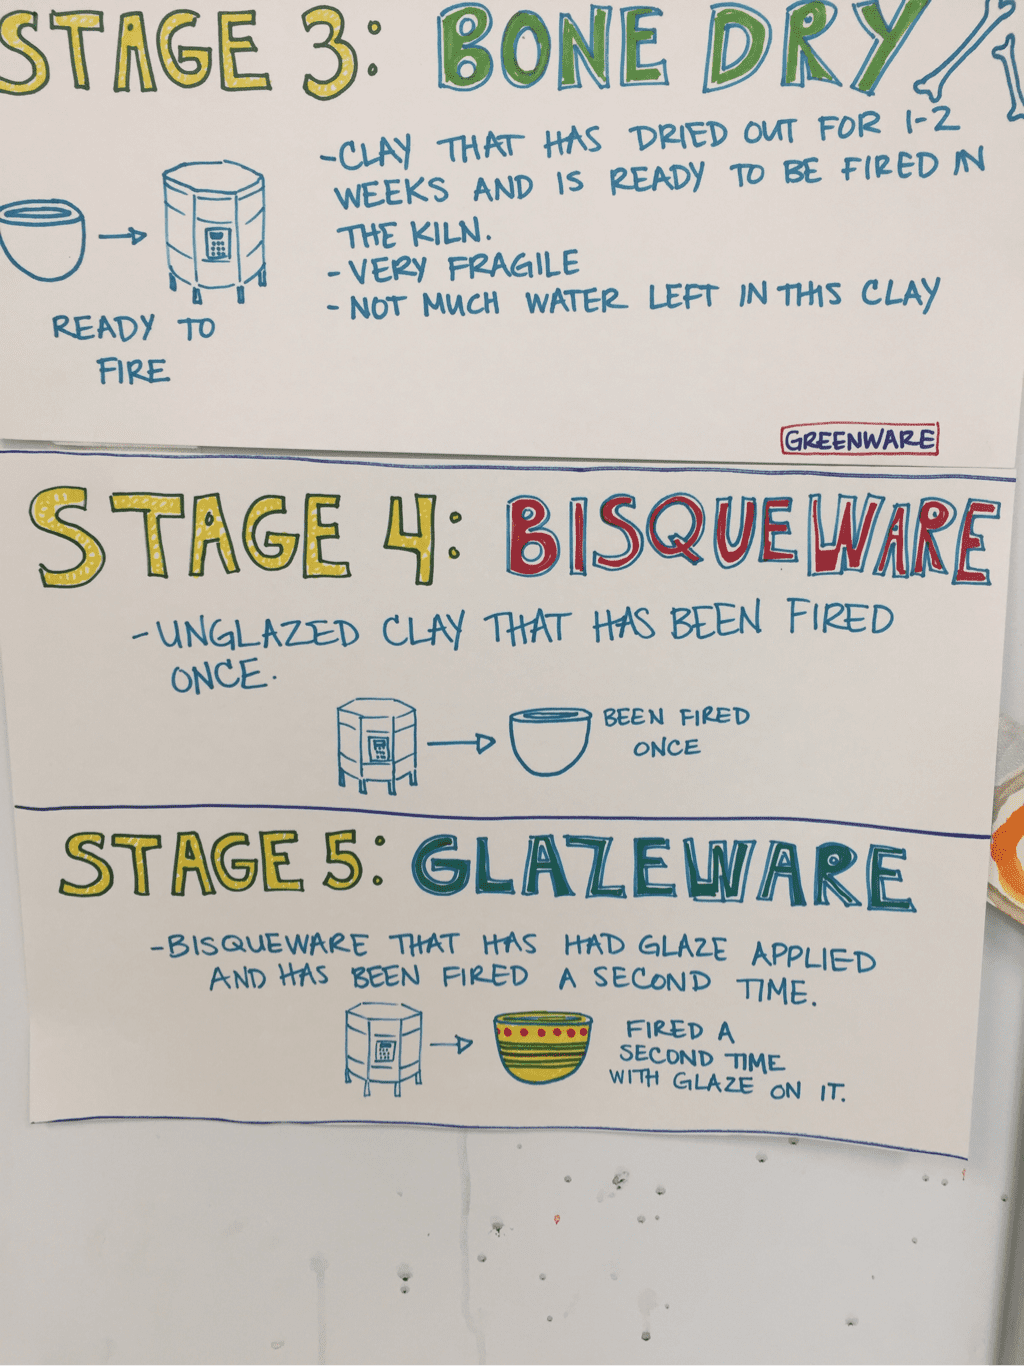 |
|


 RSS Feed
