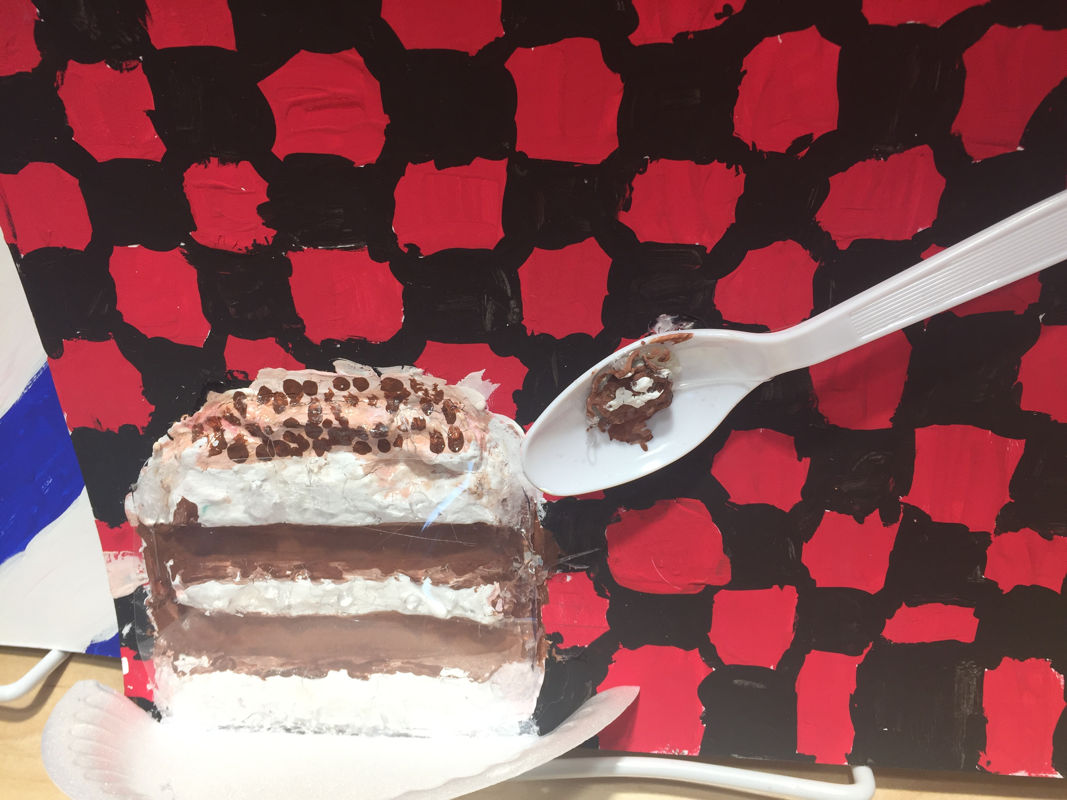
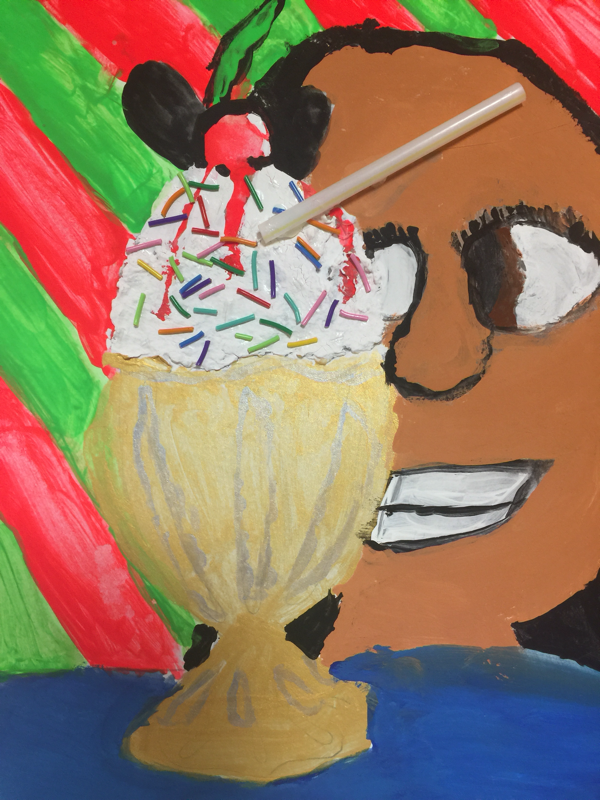
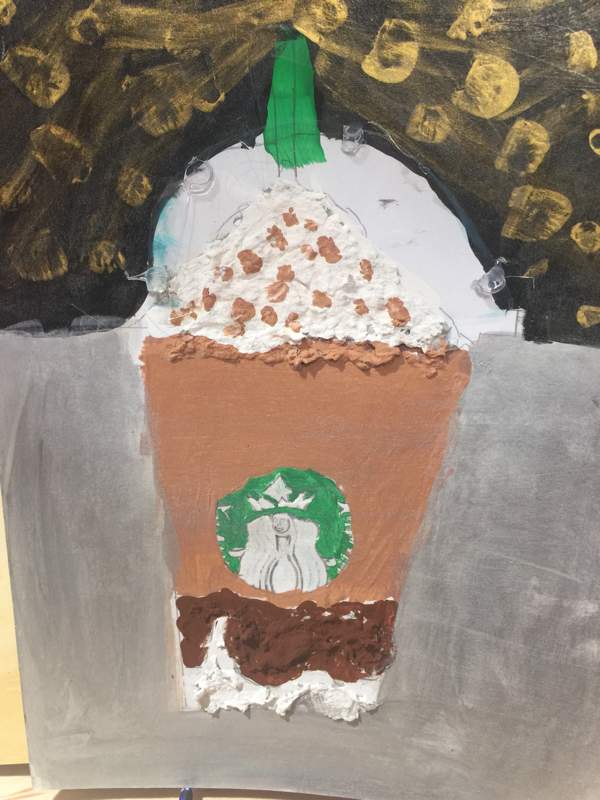
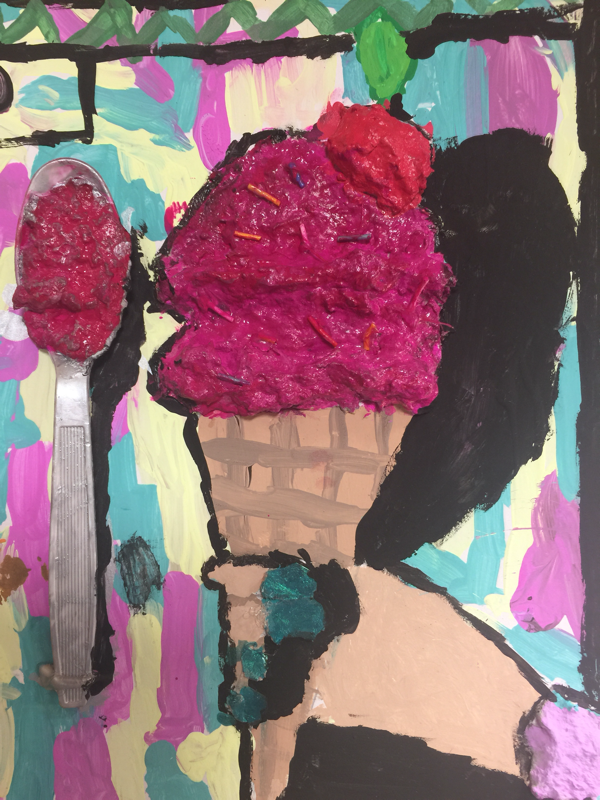
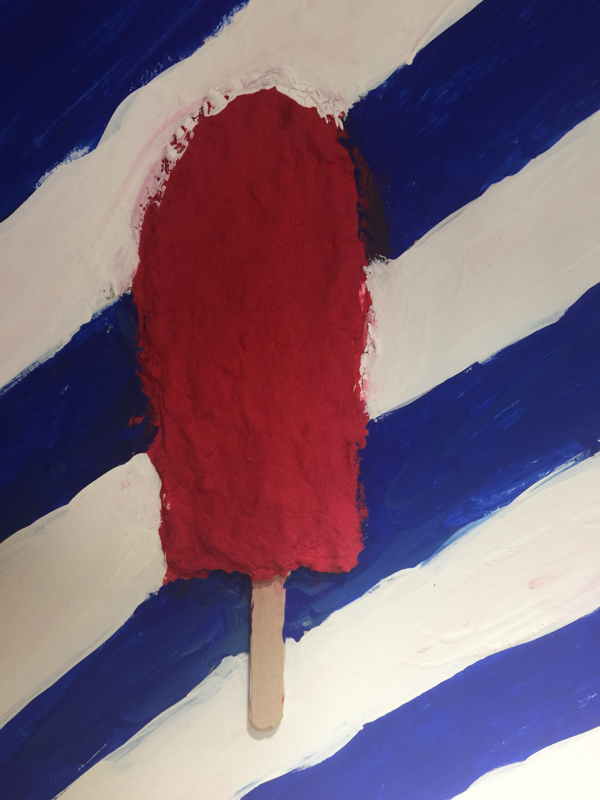
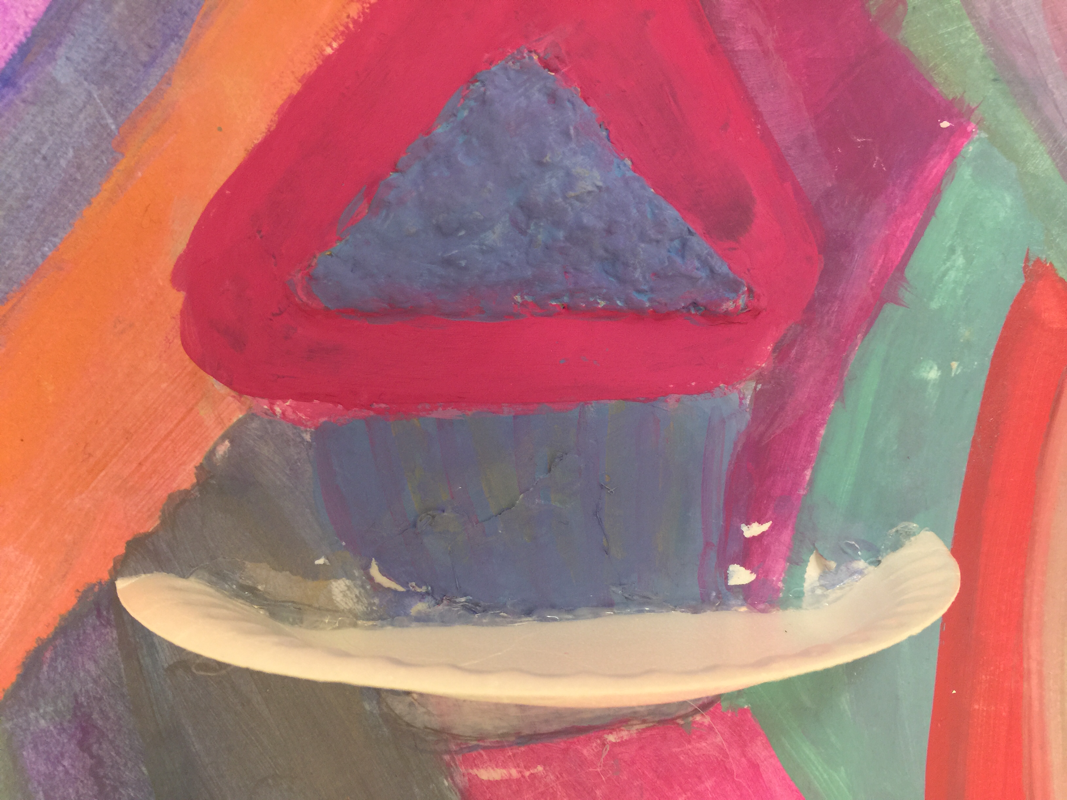
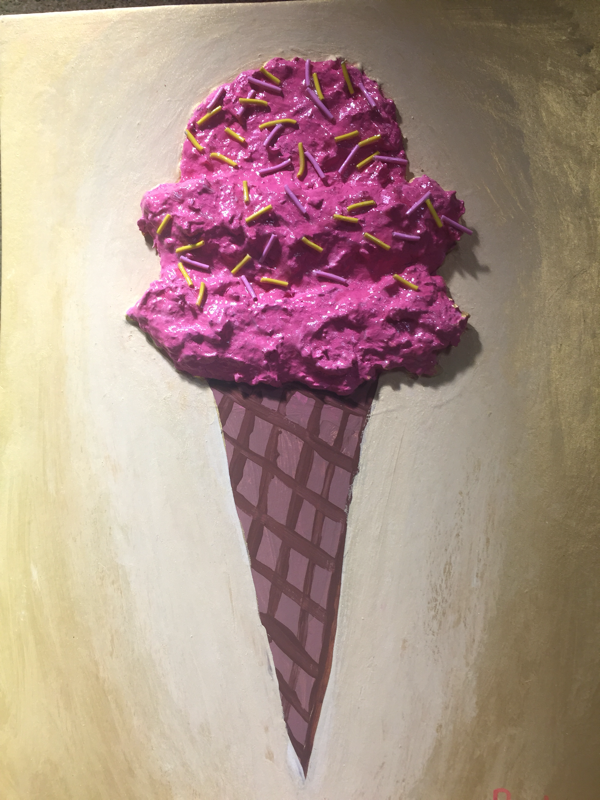
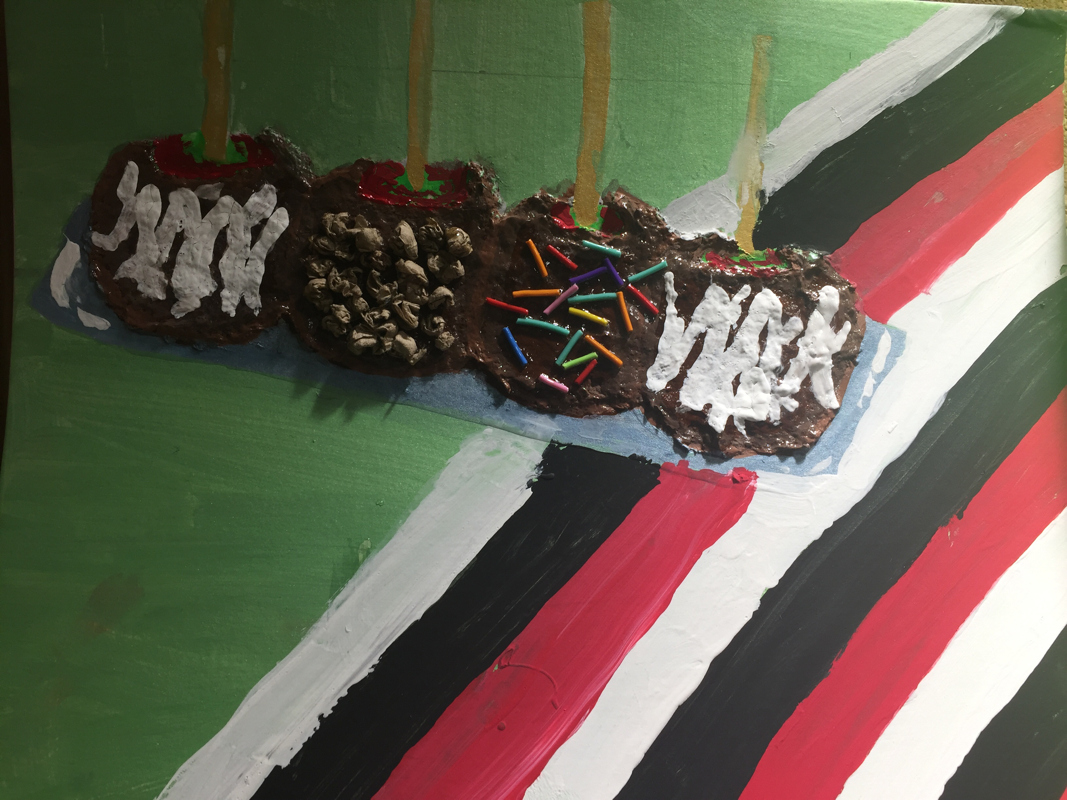
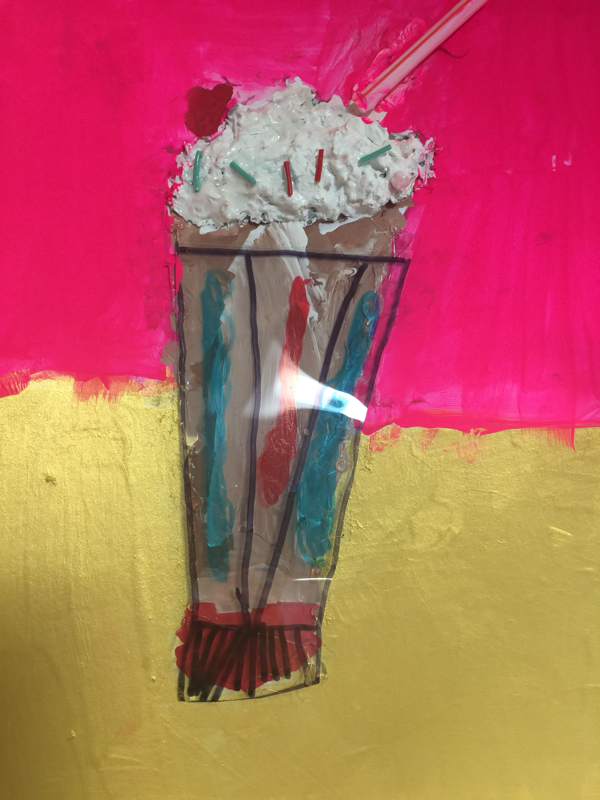
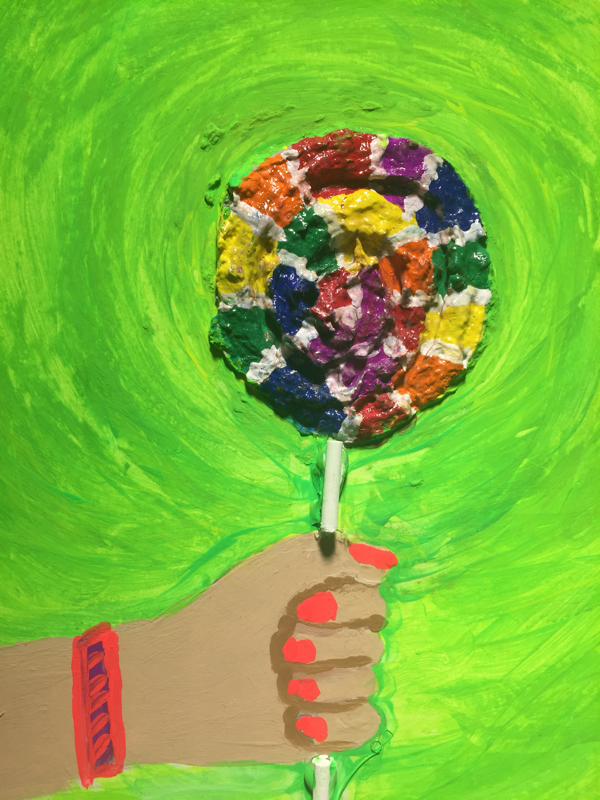
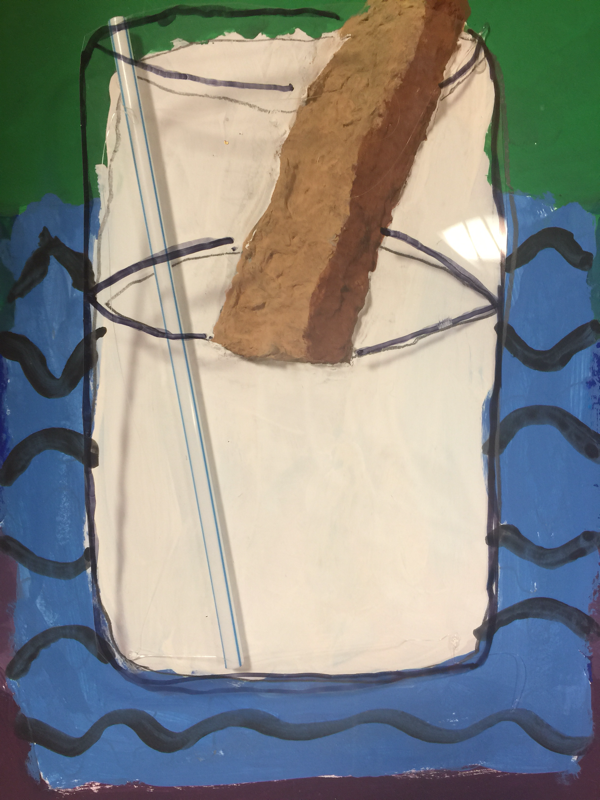
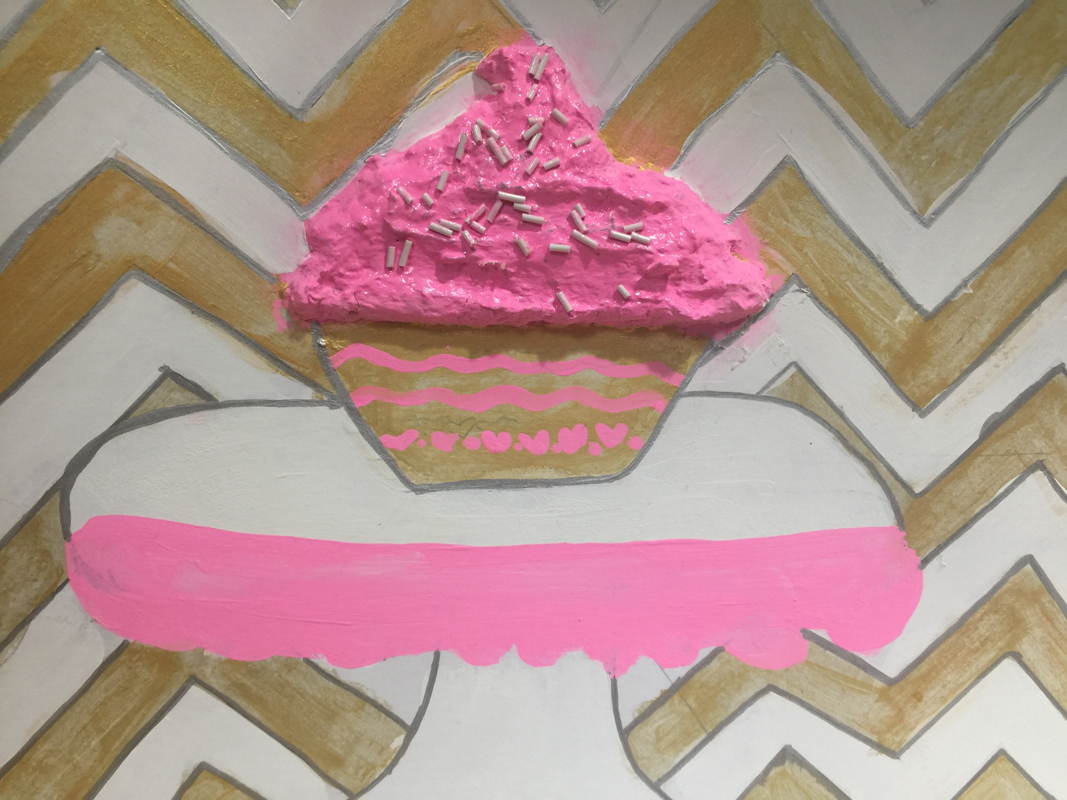
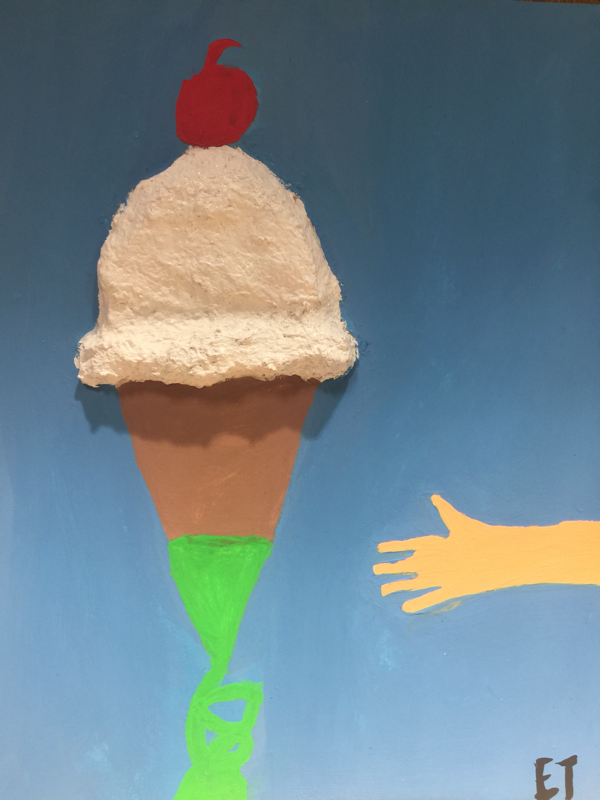
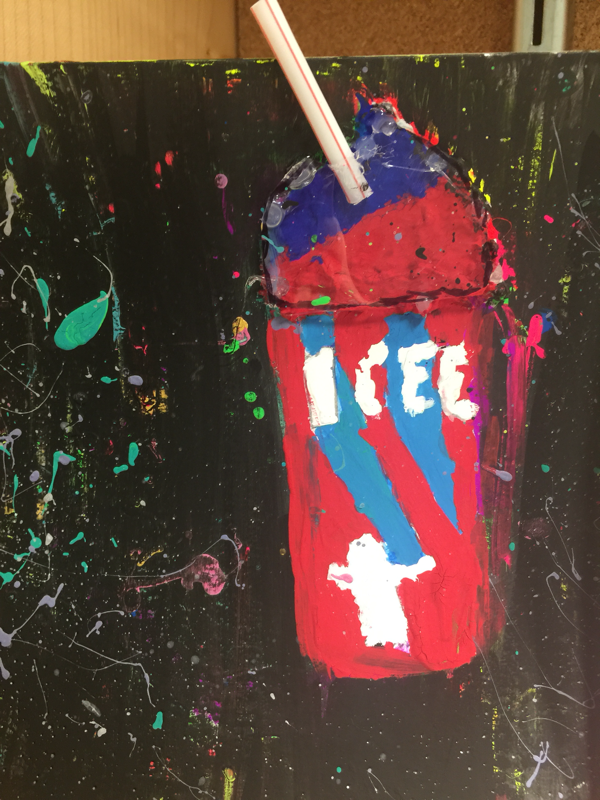
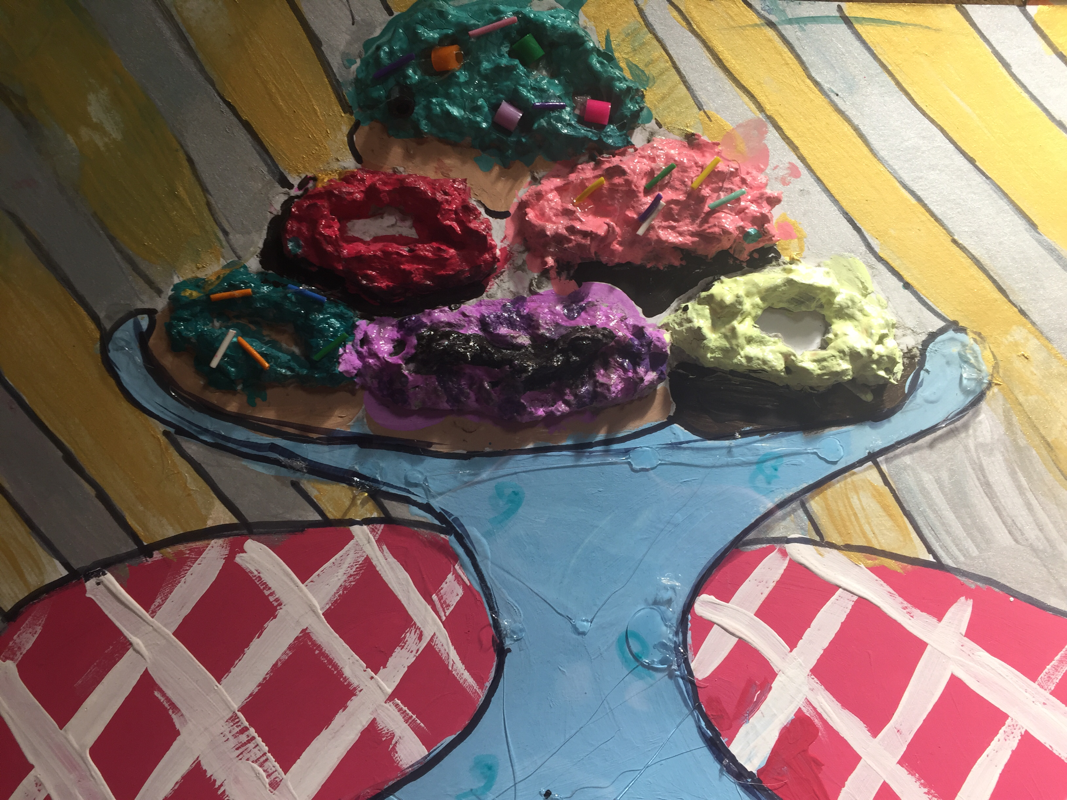
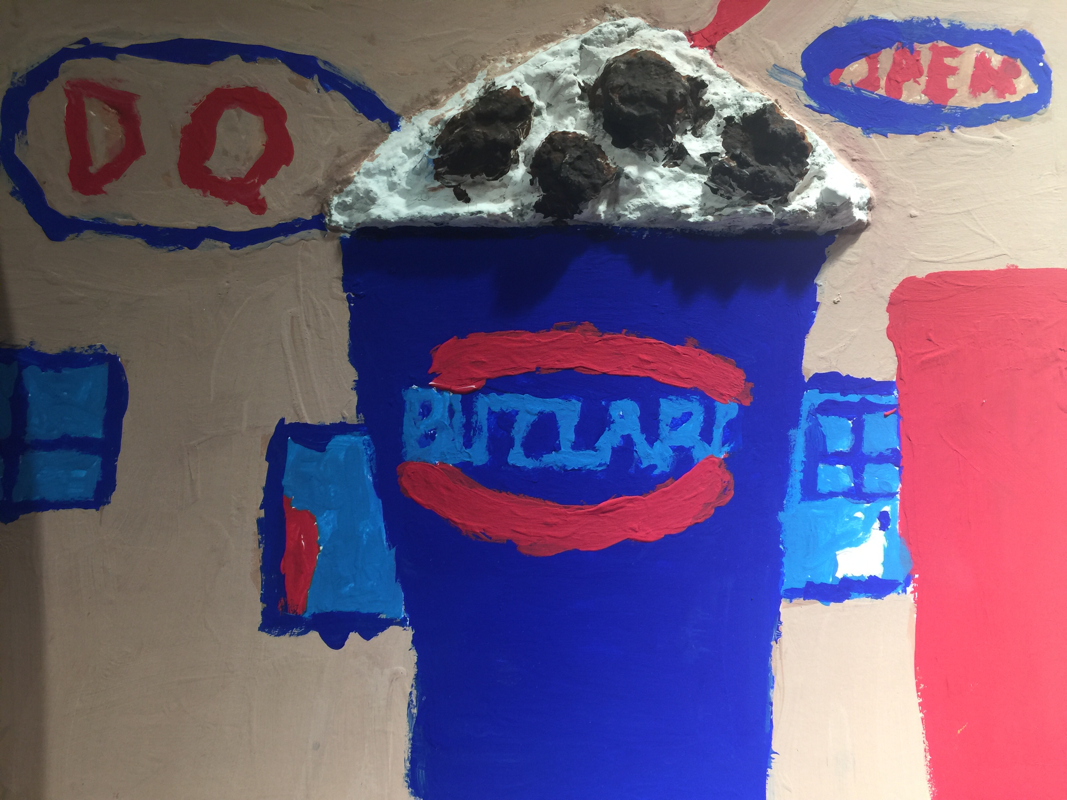
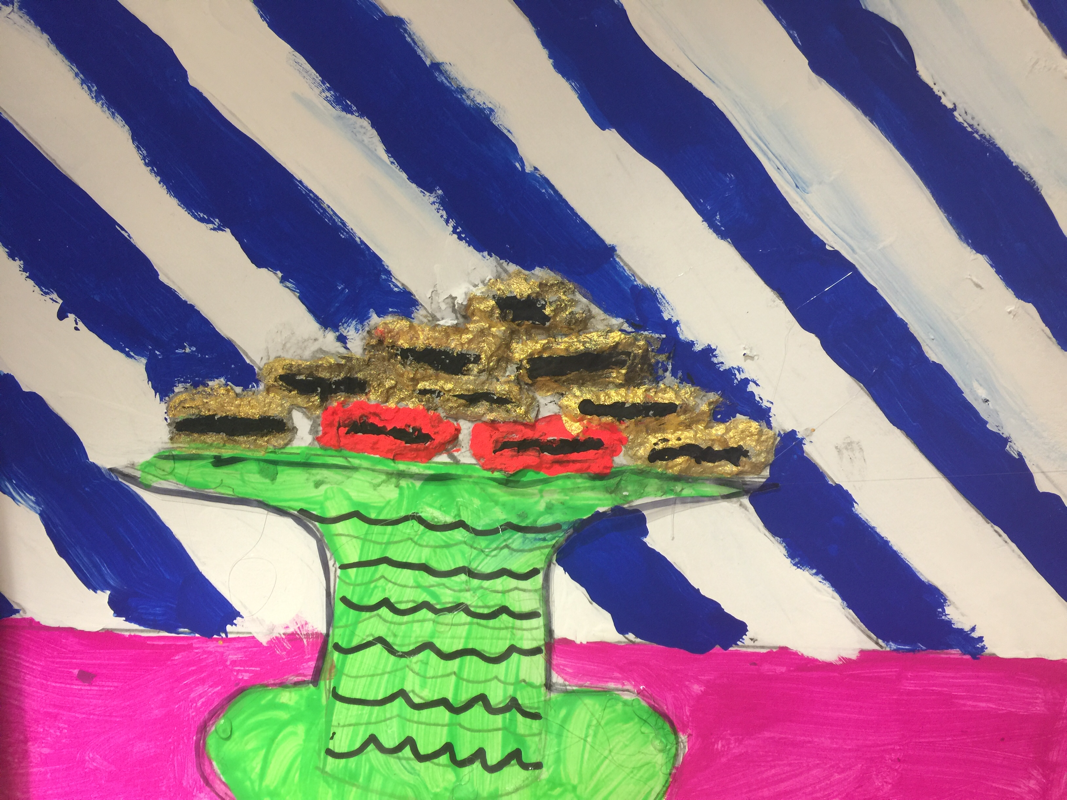
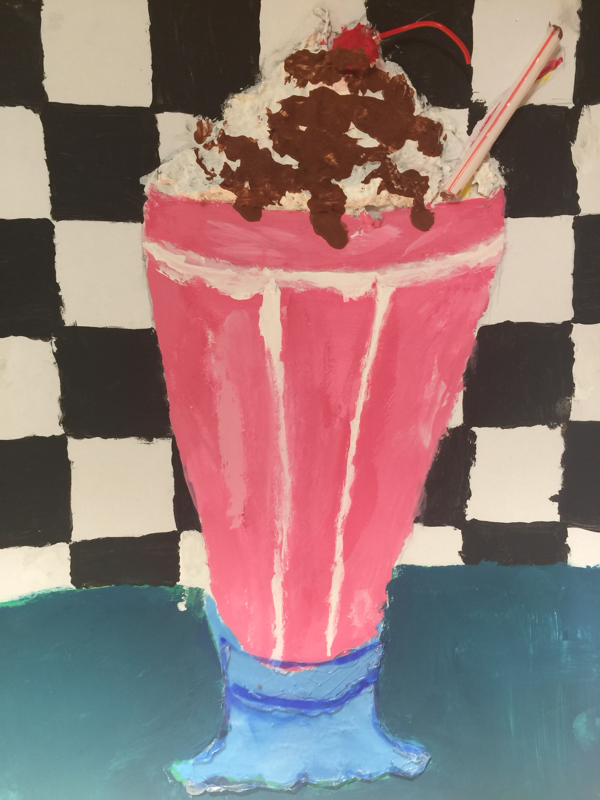
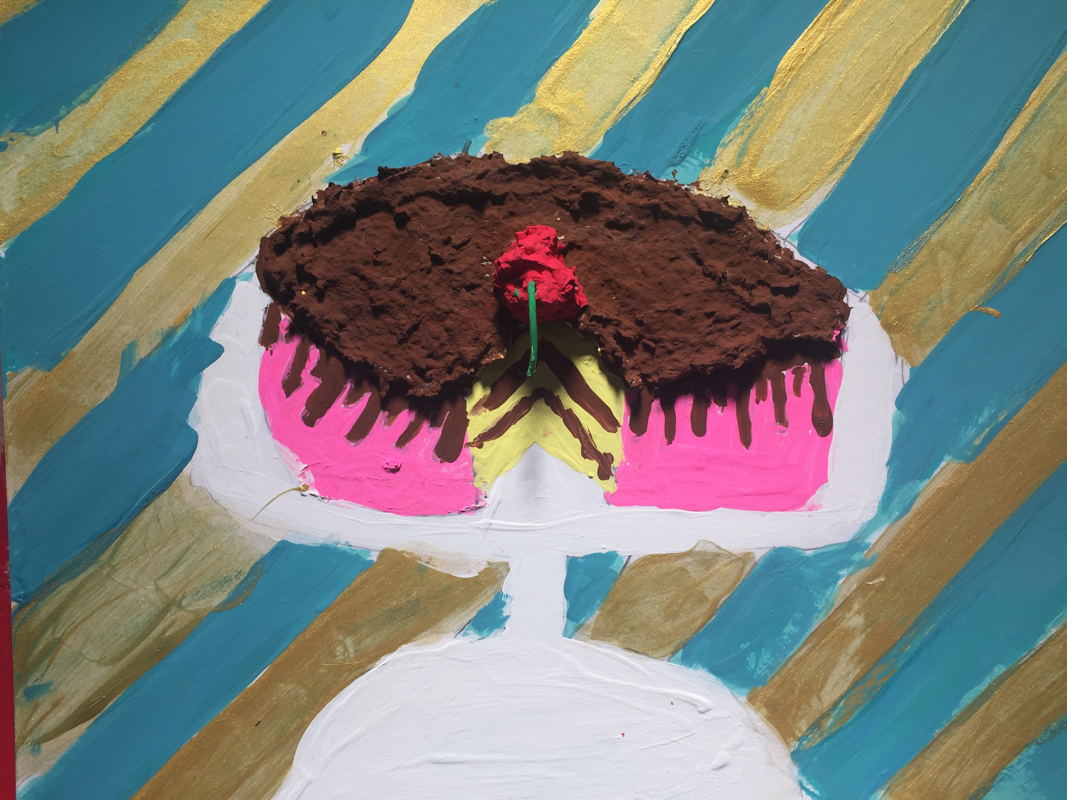
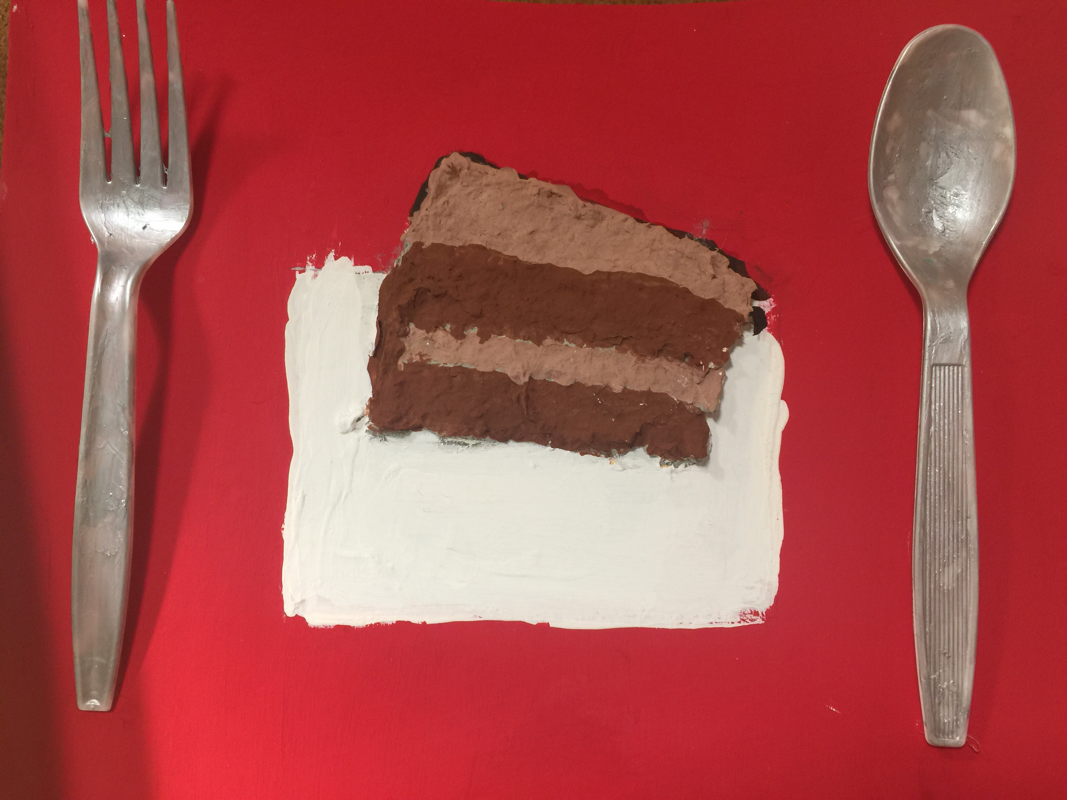
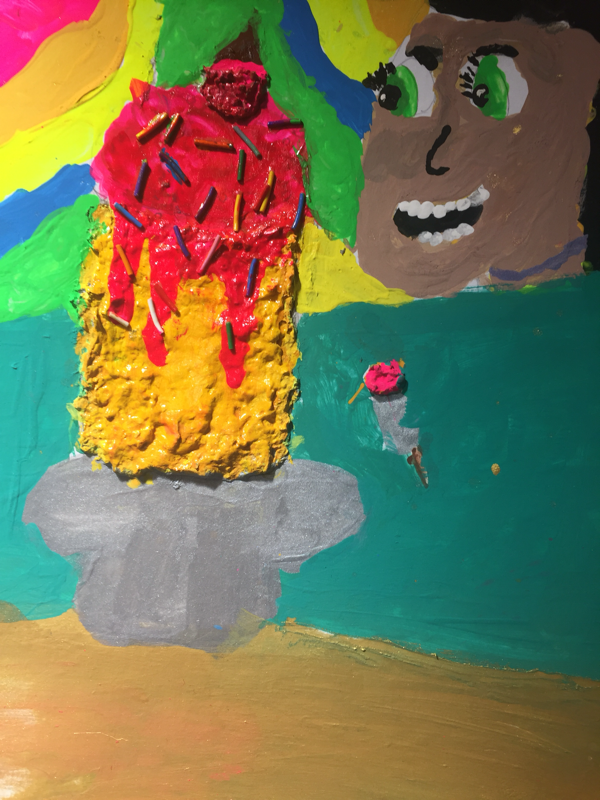
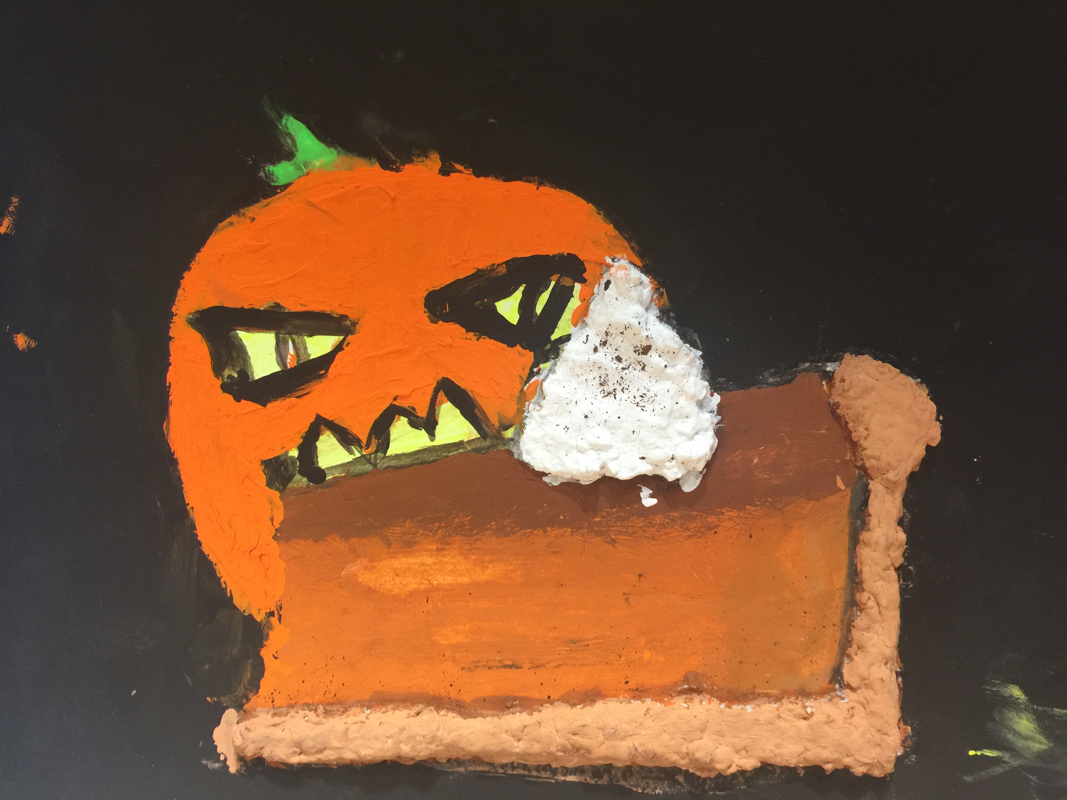
The fifth graders just finished their 3-d paintings inspired by all things sugary sweet. After learning about sugar and the artist Wayne Thiebaud, the students created a sketch of something sweet that they love. After creating a sketch, I demonstrated how to use a paper pulp clay called celluclay. They then created a 3-D painting of their idea. They were able to incorporate other materials such as plates, eating utensils, acetate, wire sprinkles, candles etc. The projects are pictured below.
|
I am currently working on a project with grades K-5 called Art for the Heart Art Swap. The way it works is that the kids make uplifting works of art using a variety of media and have a art swap with a local school, nursing home, assisted living etc. We have chosen to do our art swap with a nursing home in Thornton called Elms Haven. They have around 200 residents and each trimester I have about 200 students. Each of my students will make a piece of work and put it in a decorated envelope. Sometime in November, I will be inviting the kids and parents of Stargate to help pass out artwork to the nursing home residents on a weekend day. In return, they are going to get as many residents as they can to create artwork to send back to us, which we will display in the art room or in the hallway. They said because of arthritis and other issues they may only have a small amount of artwork to send back, but we told them we are more excited to give than to receive.
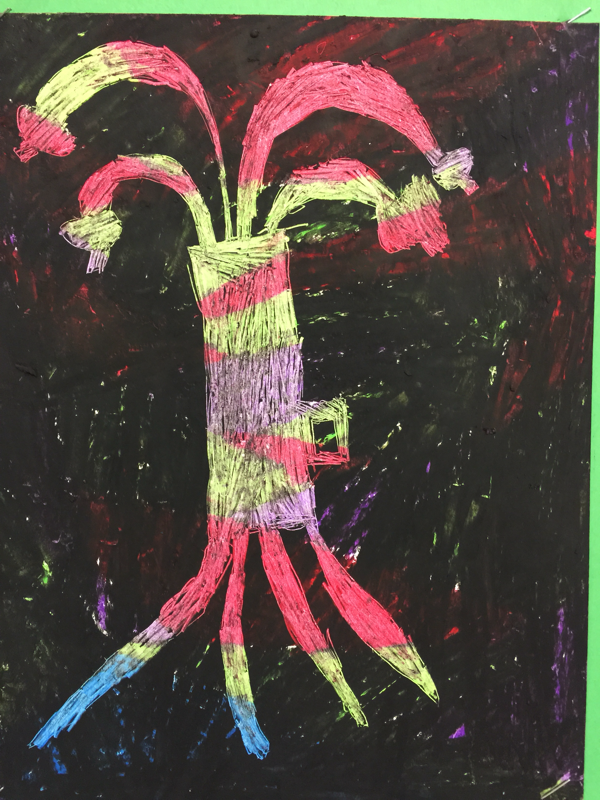
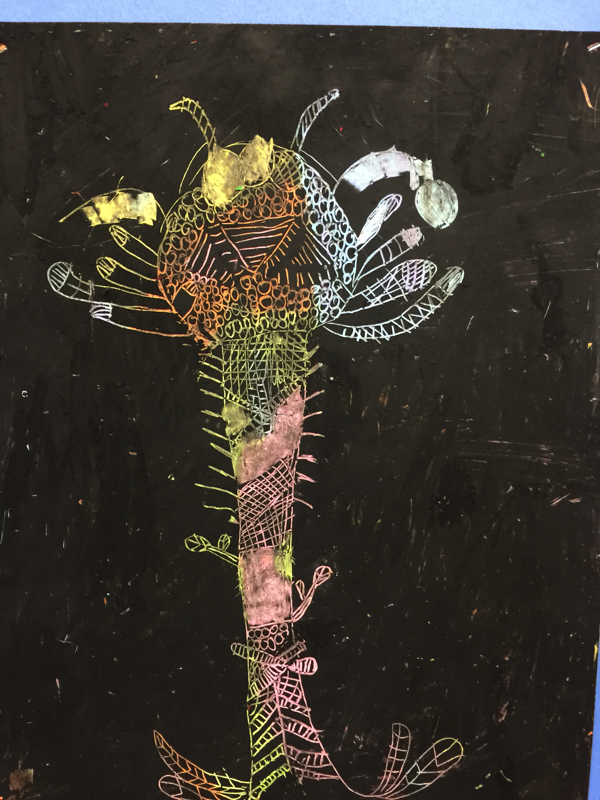
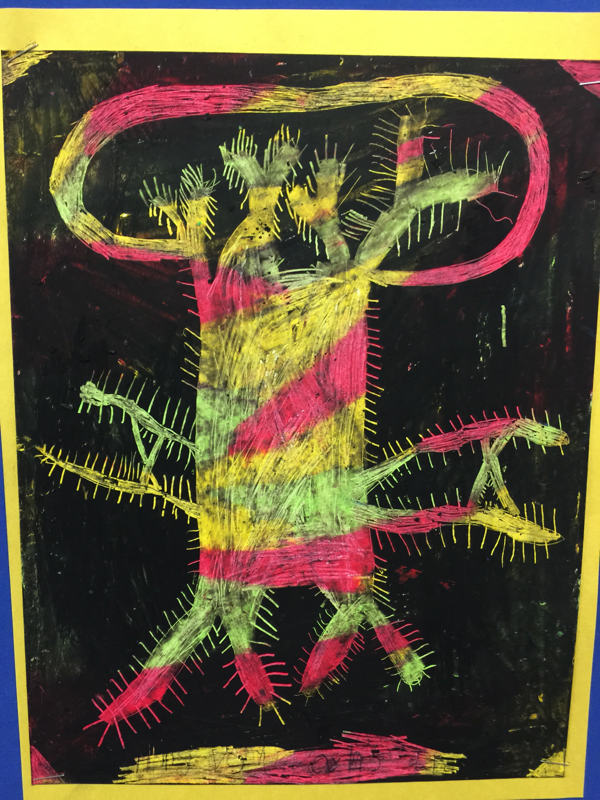
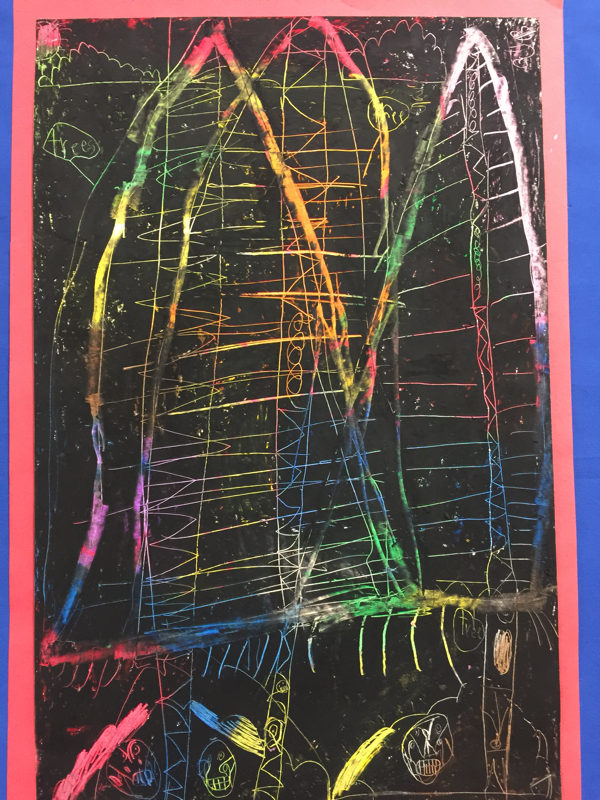
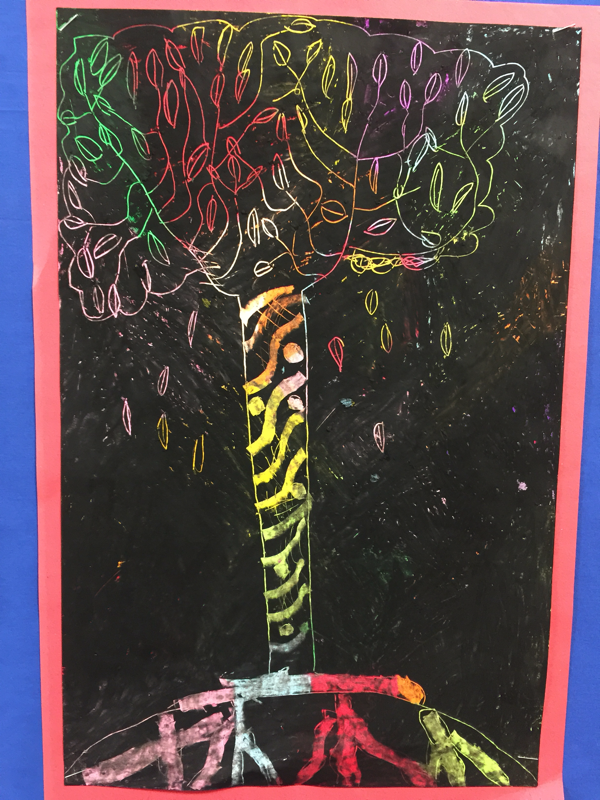
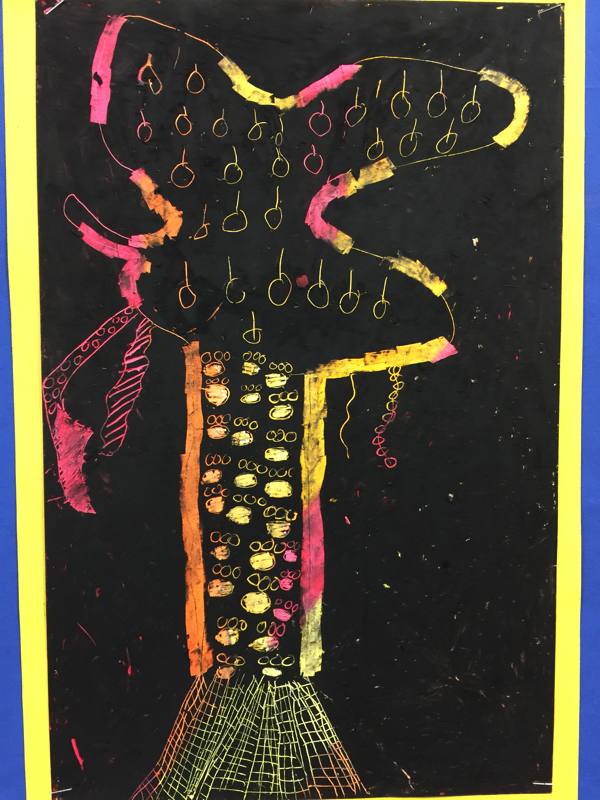
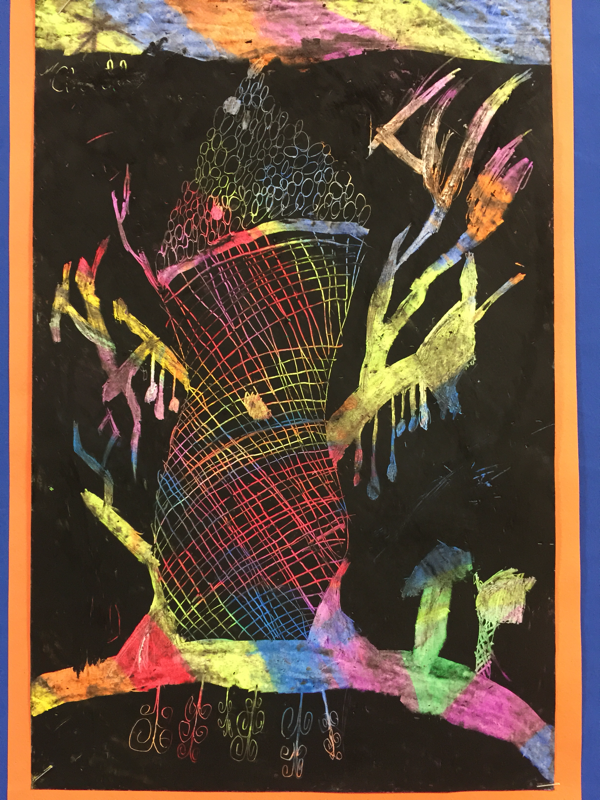
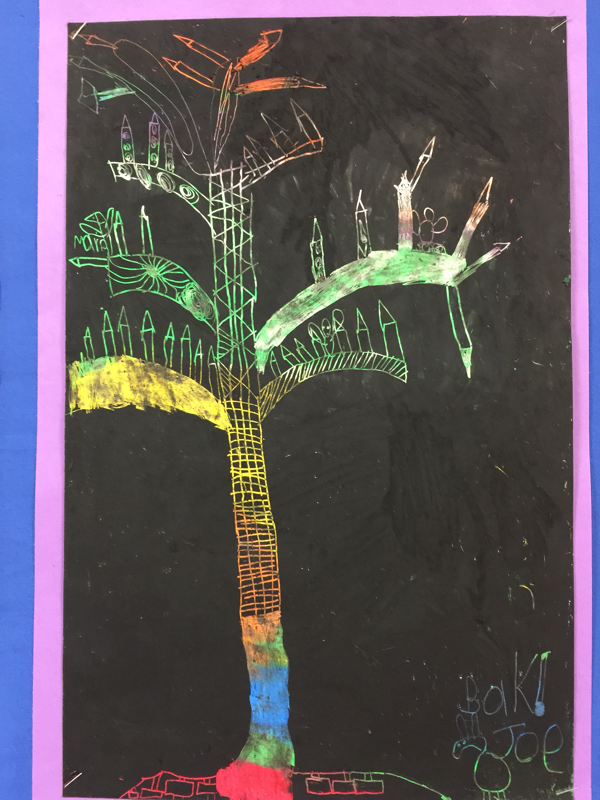
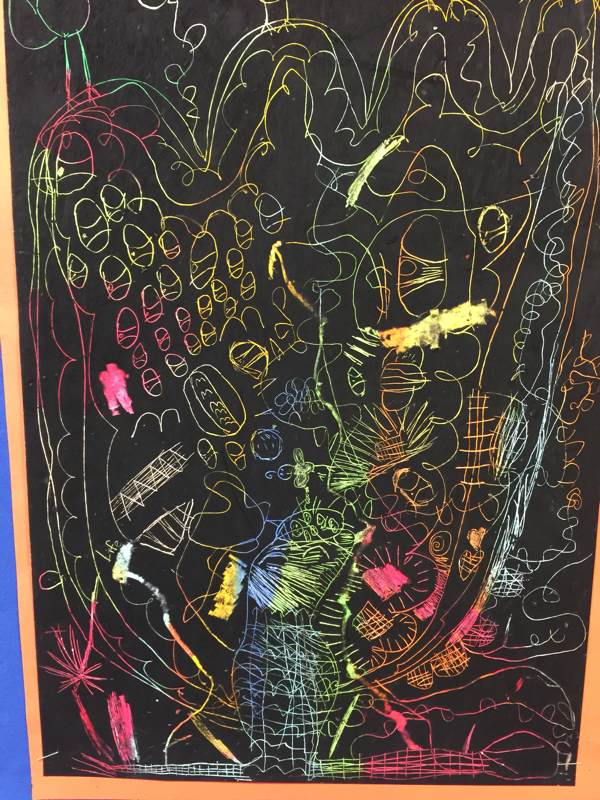
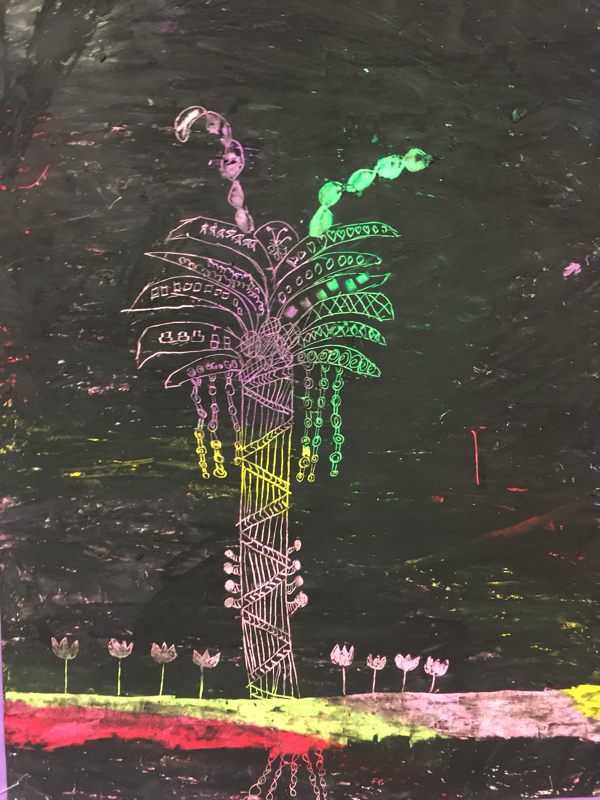
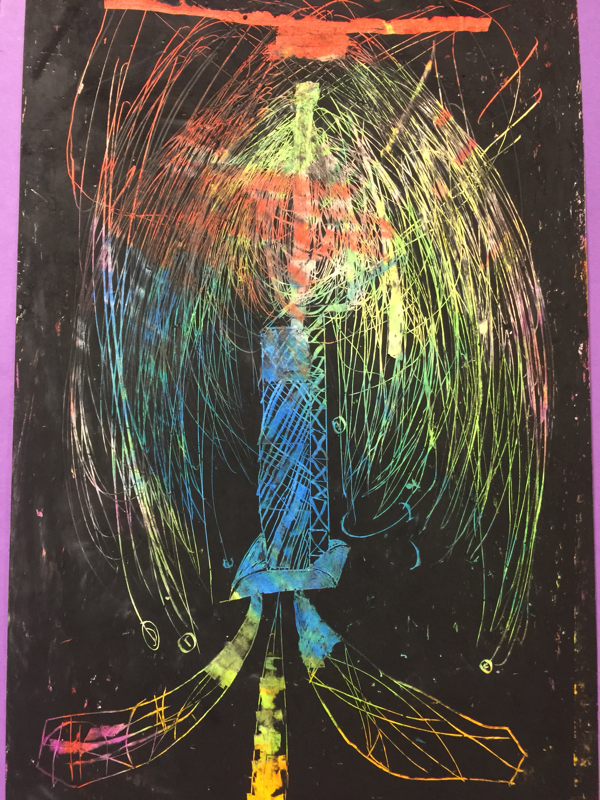
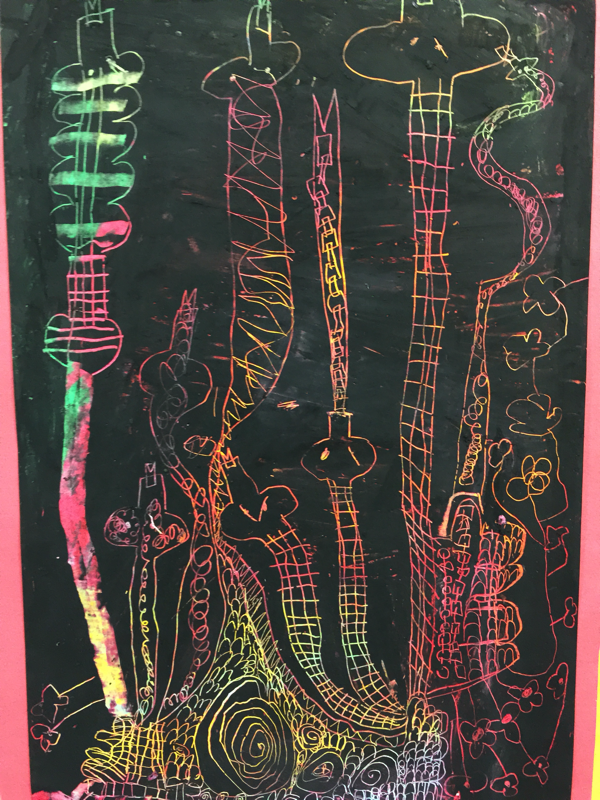
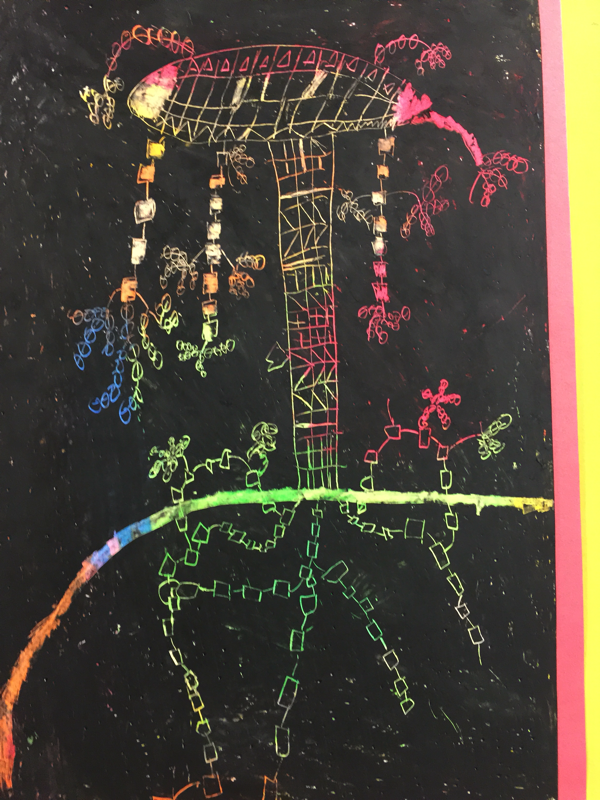
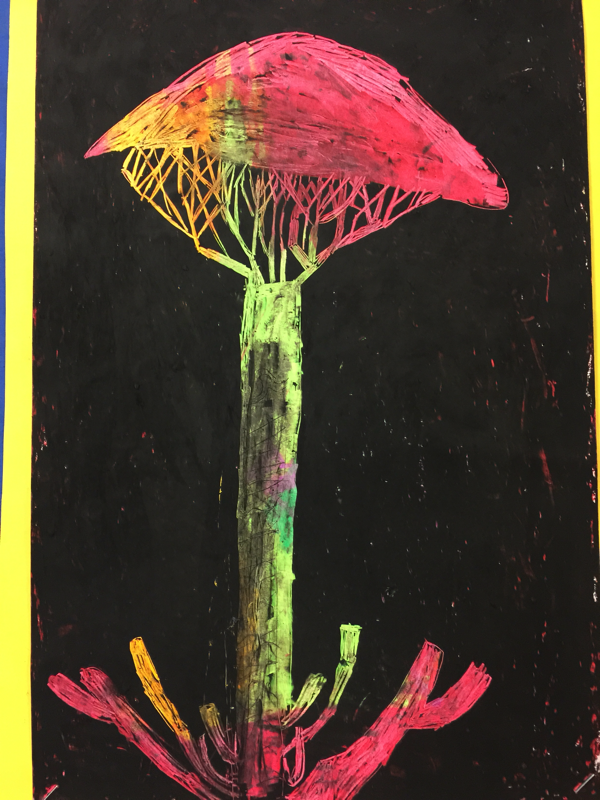
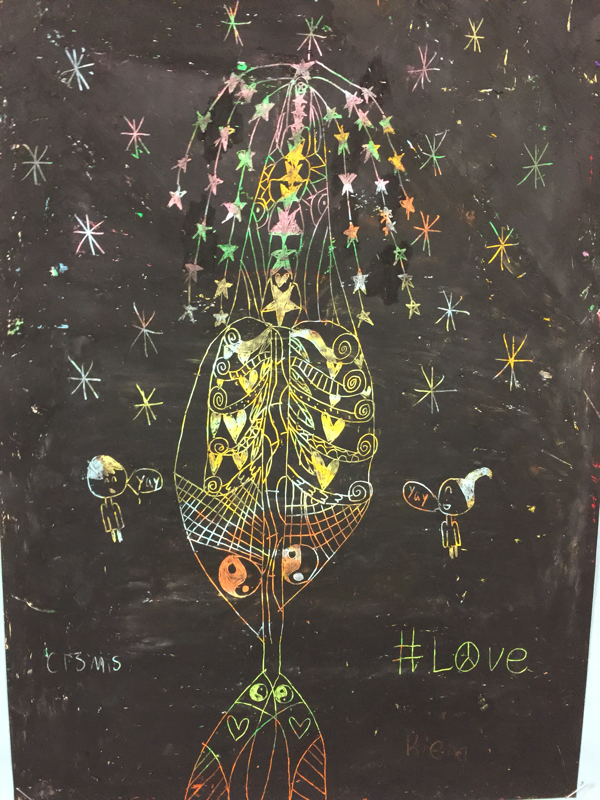
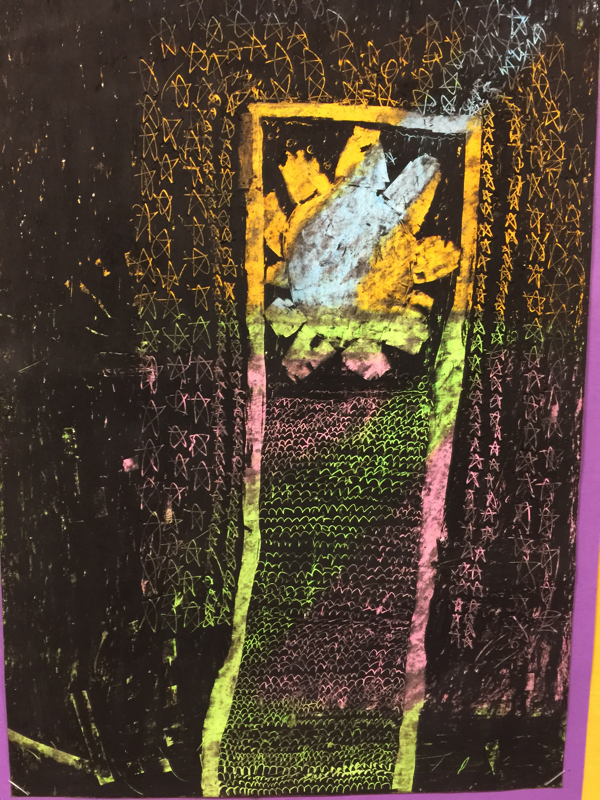
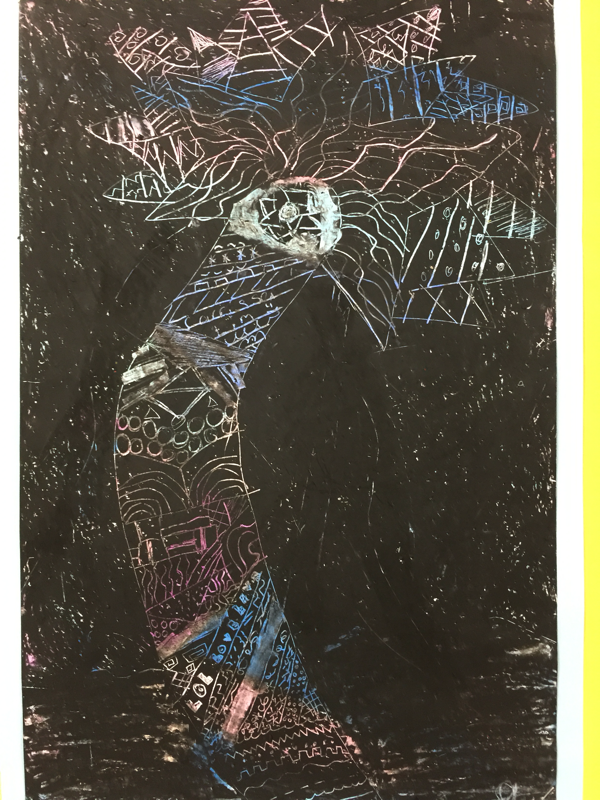
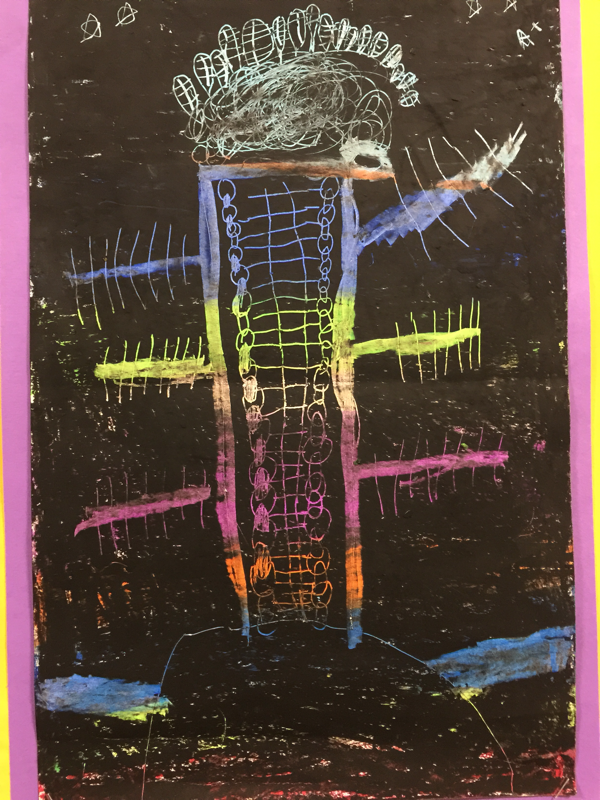
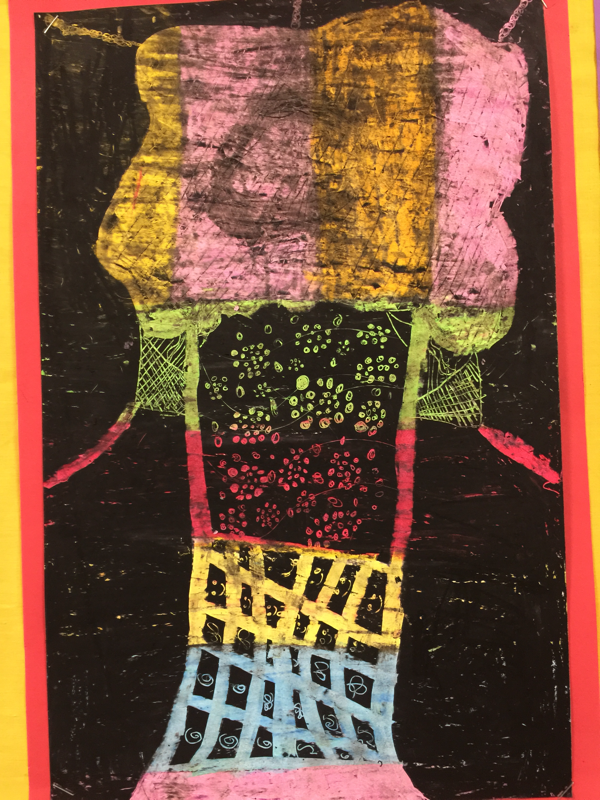
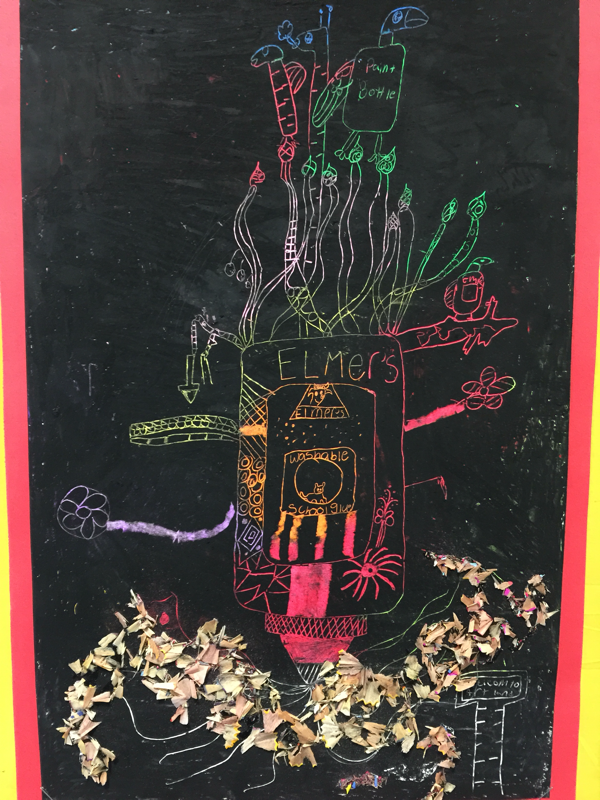
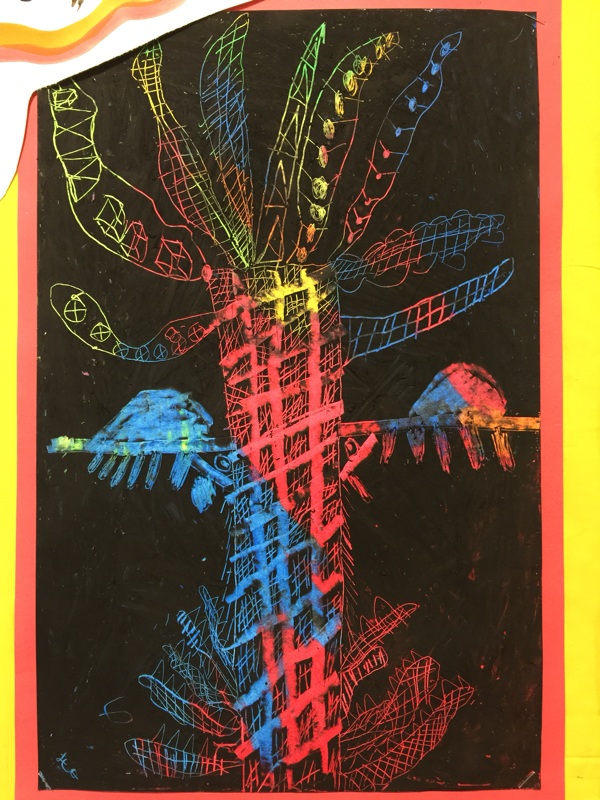
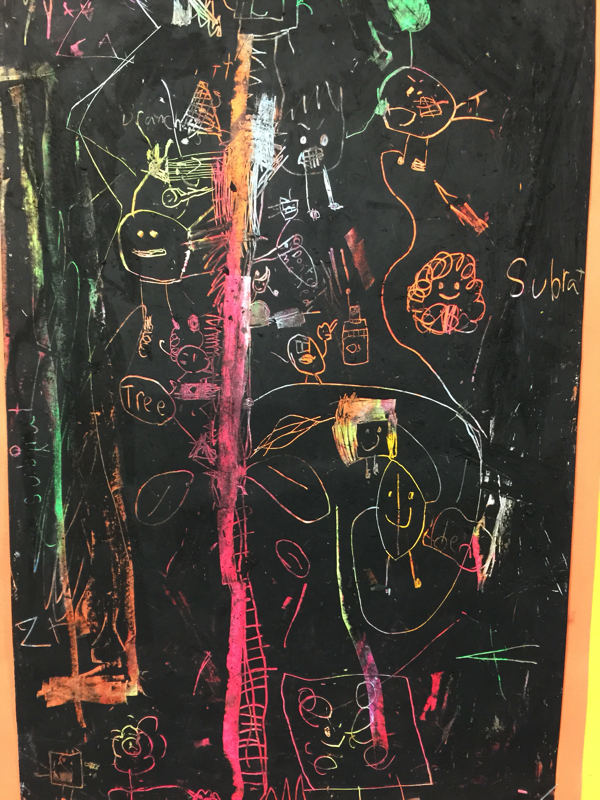
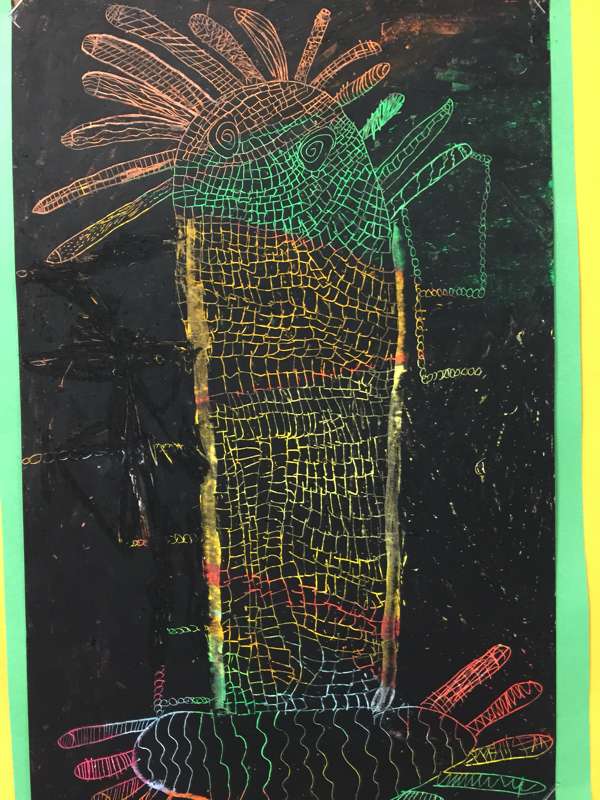
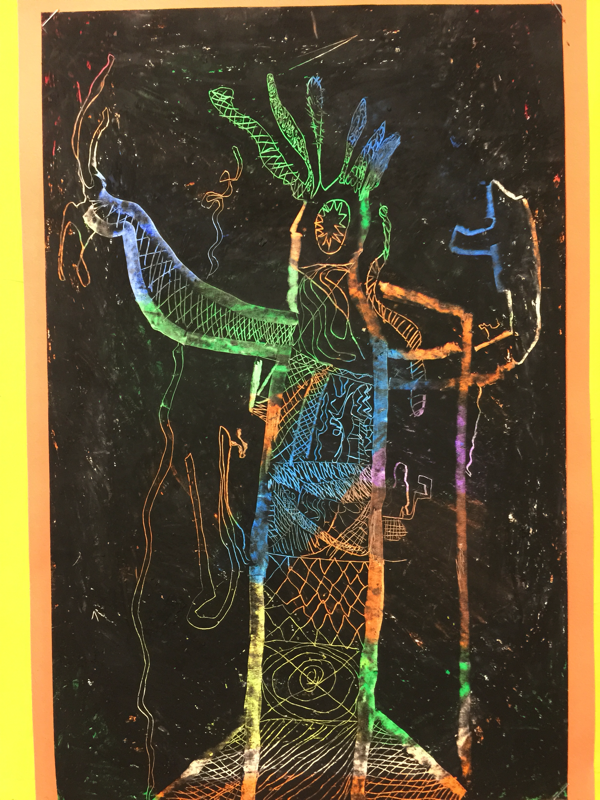
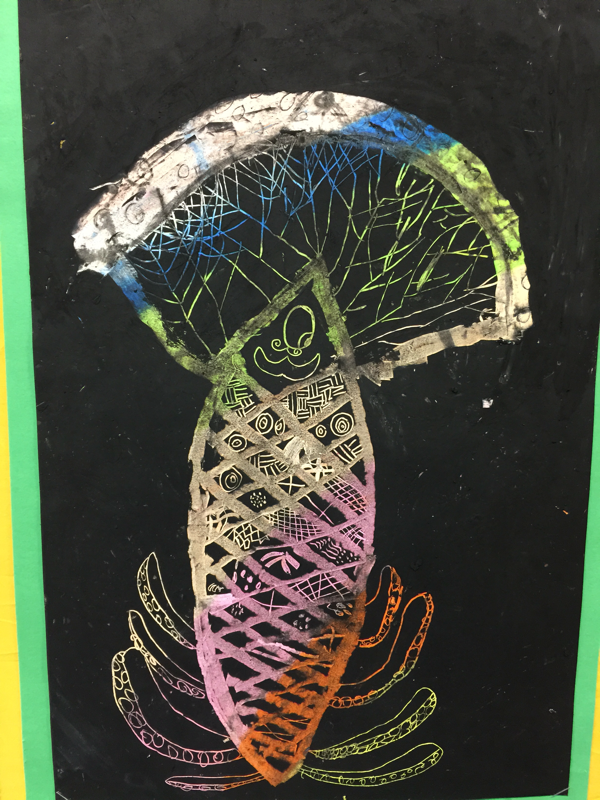
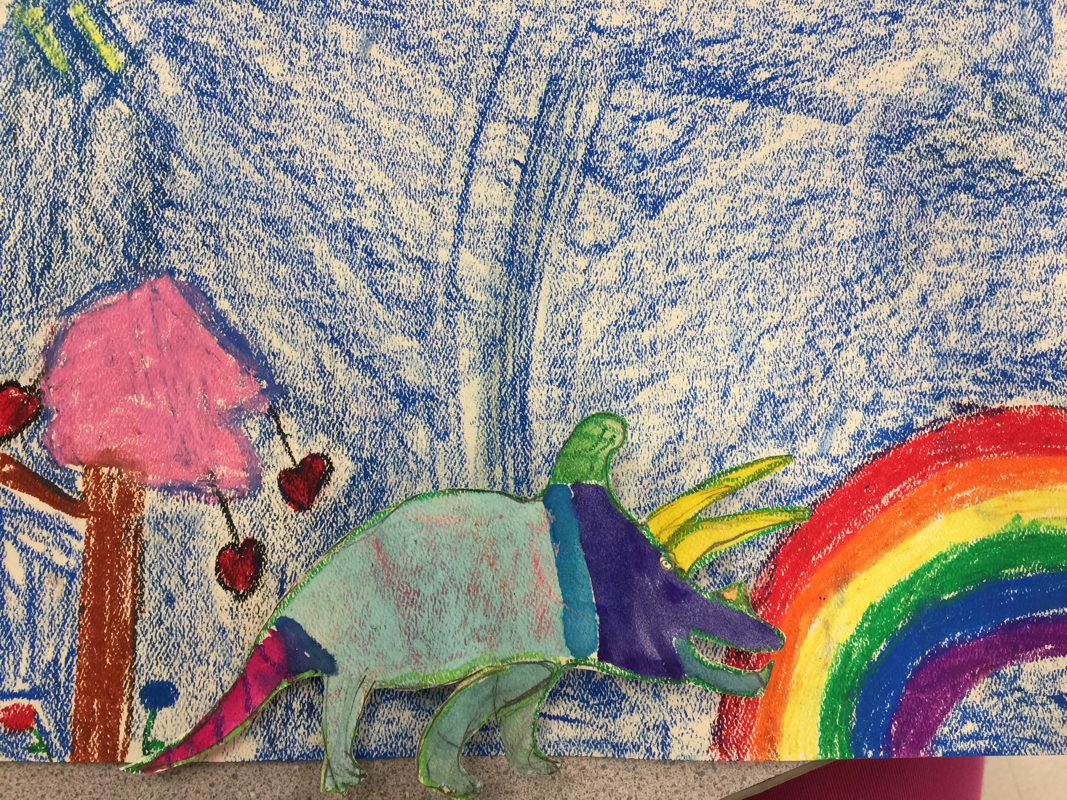
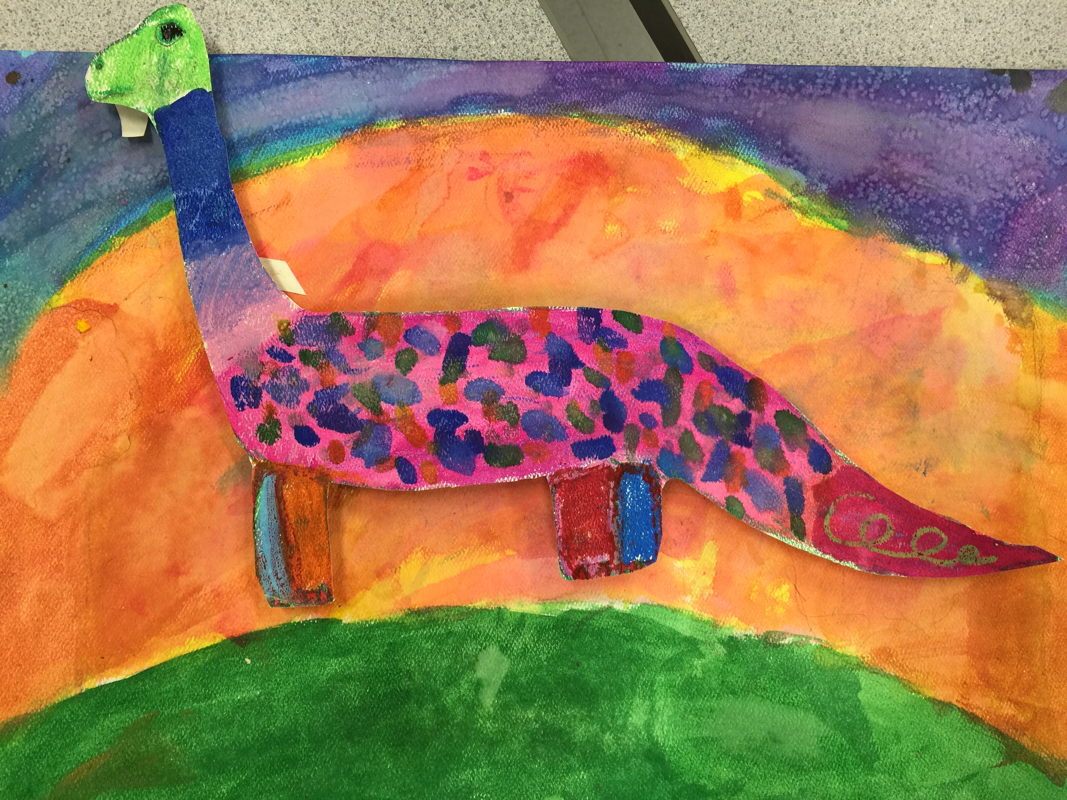
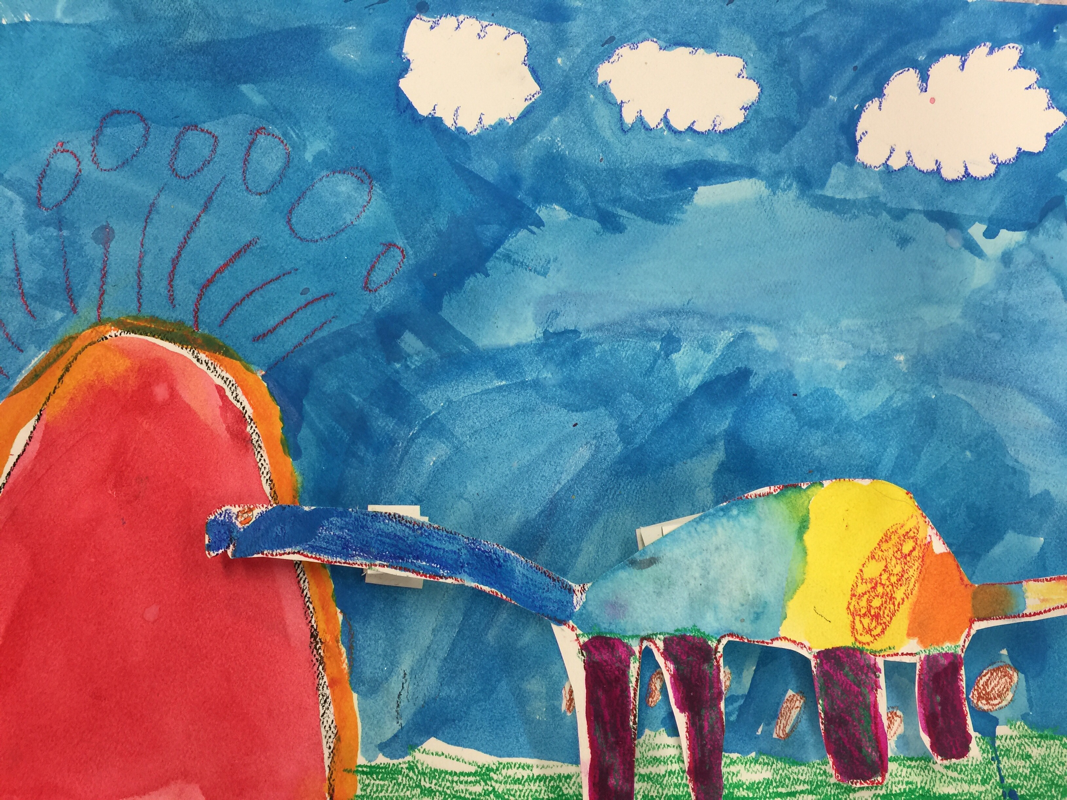
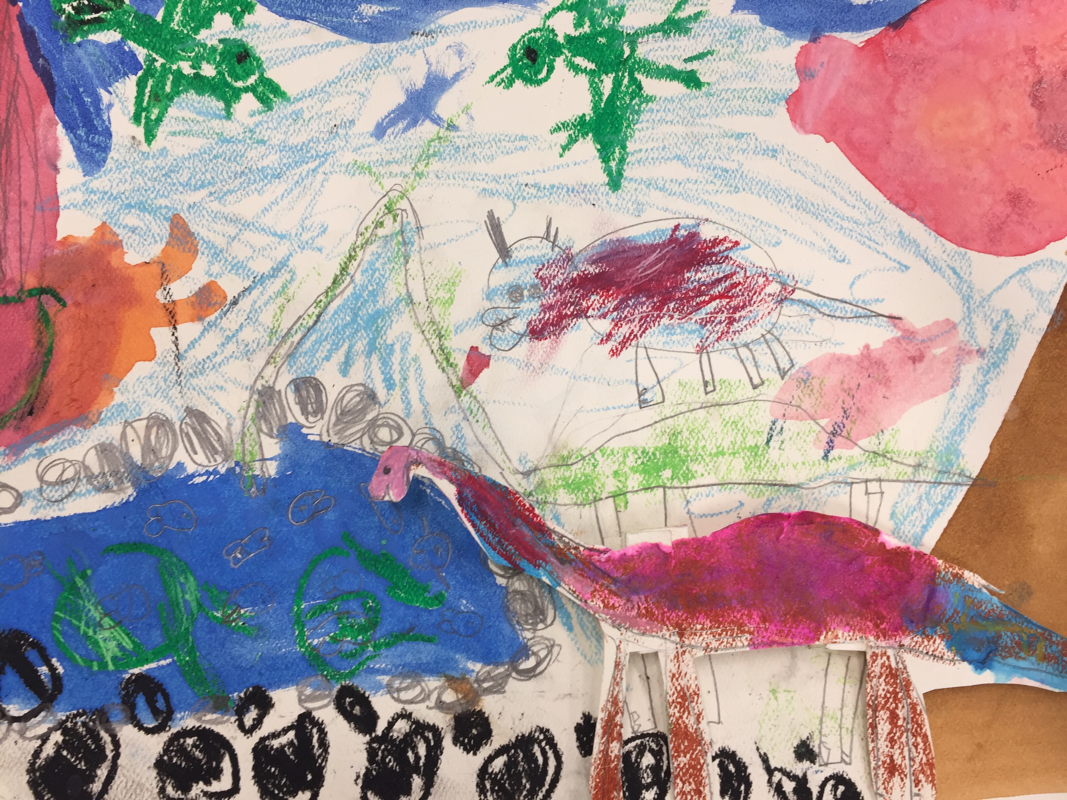
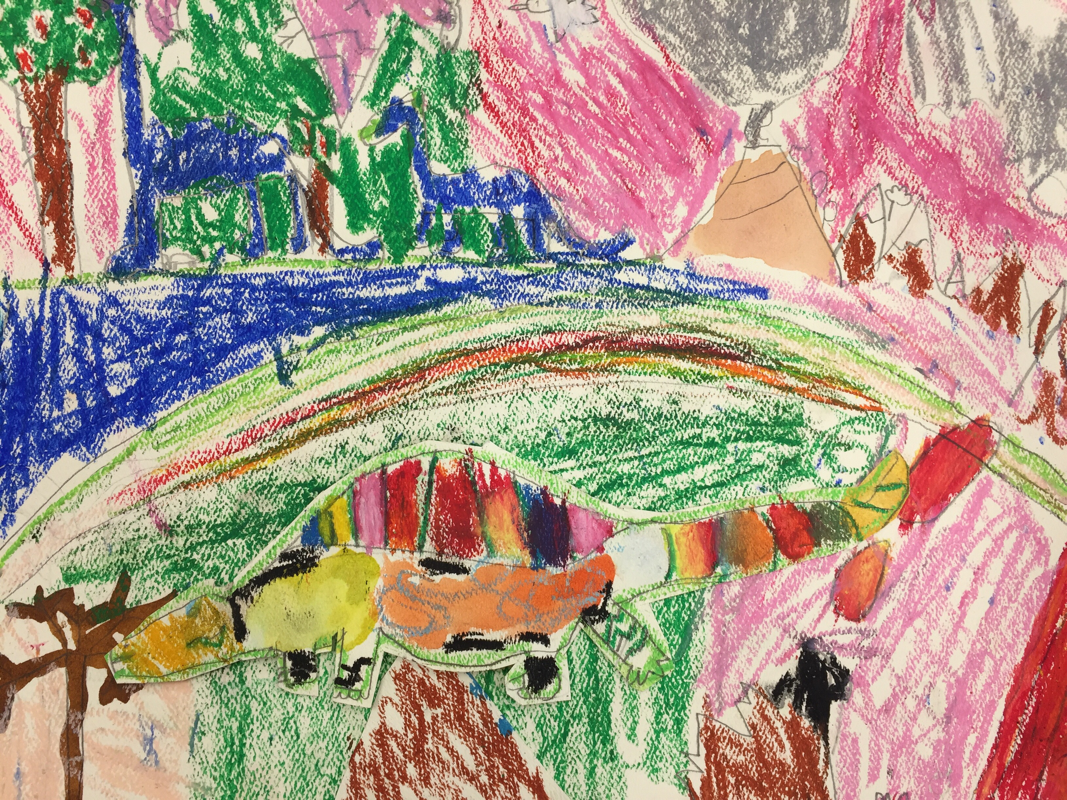
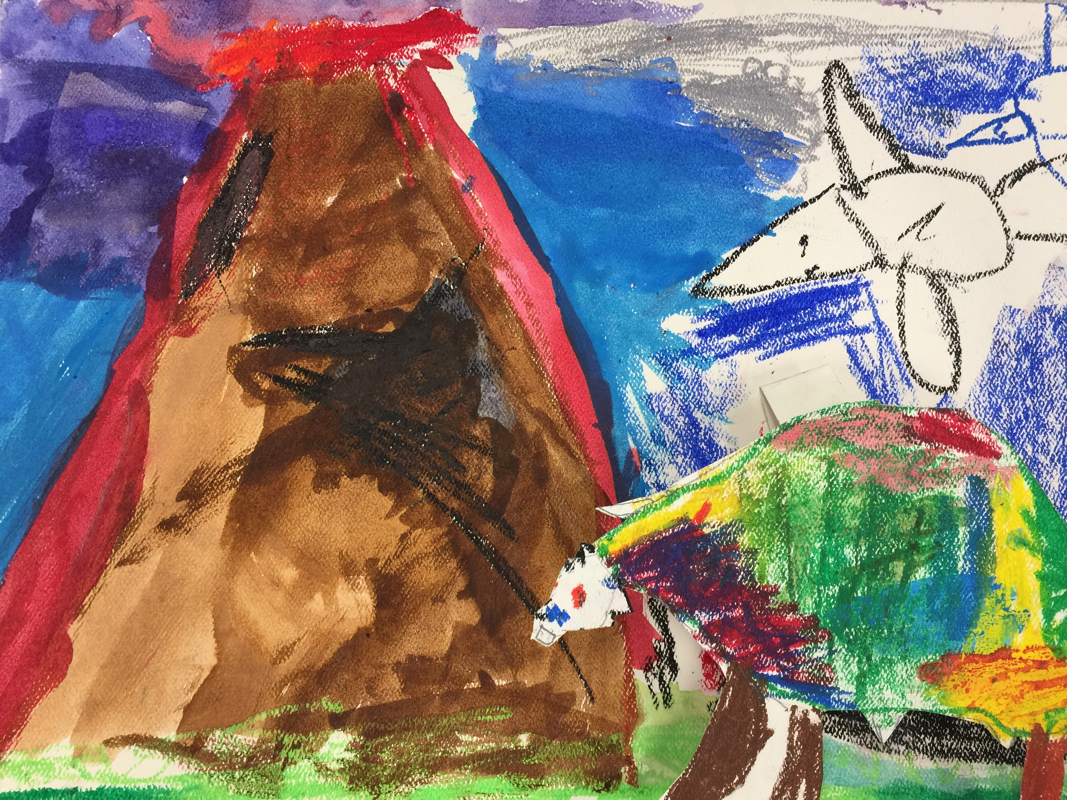
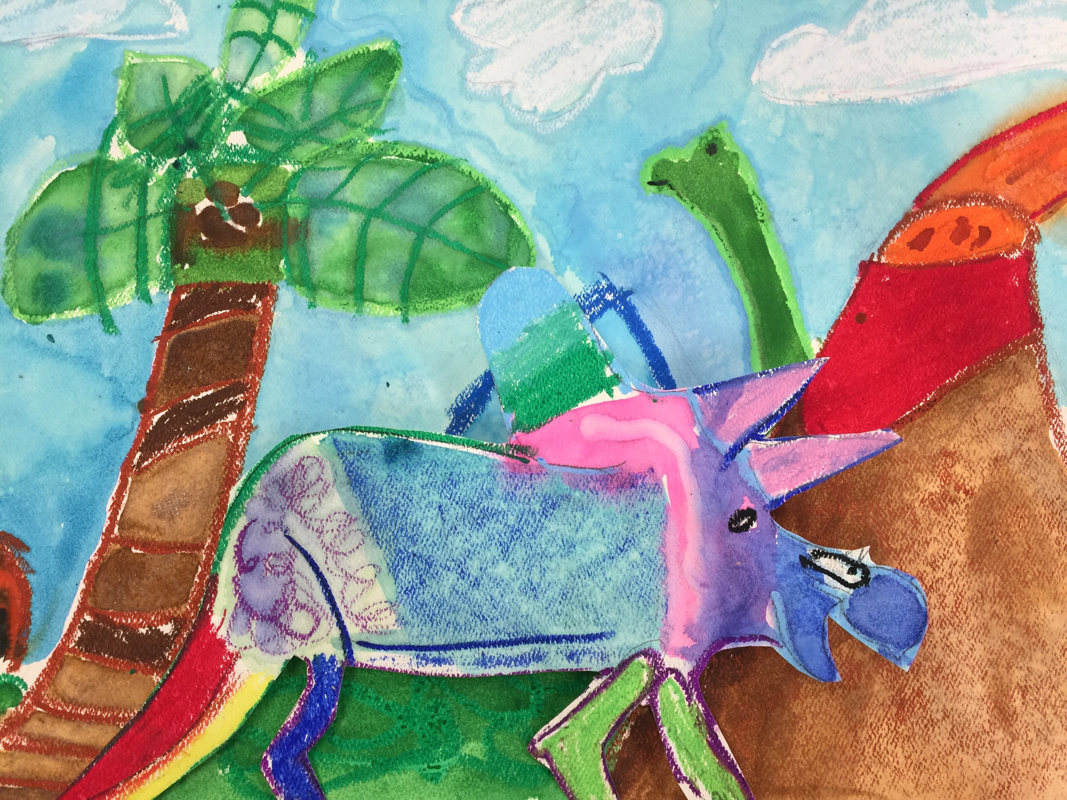
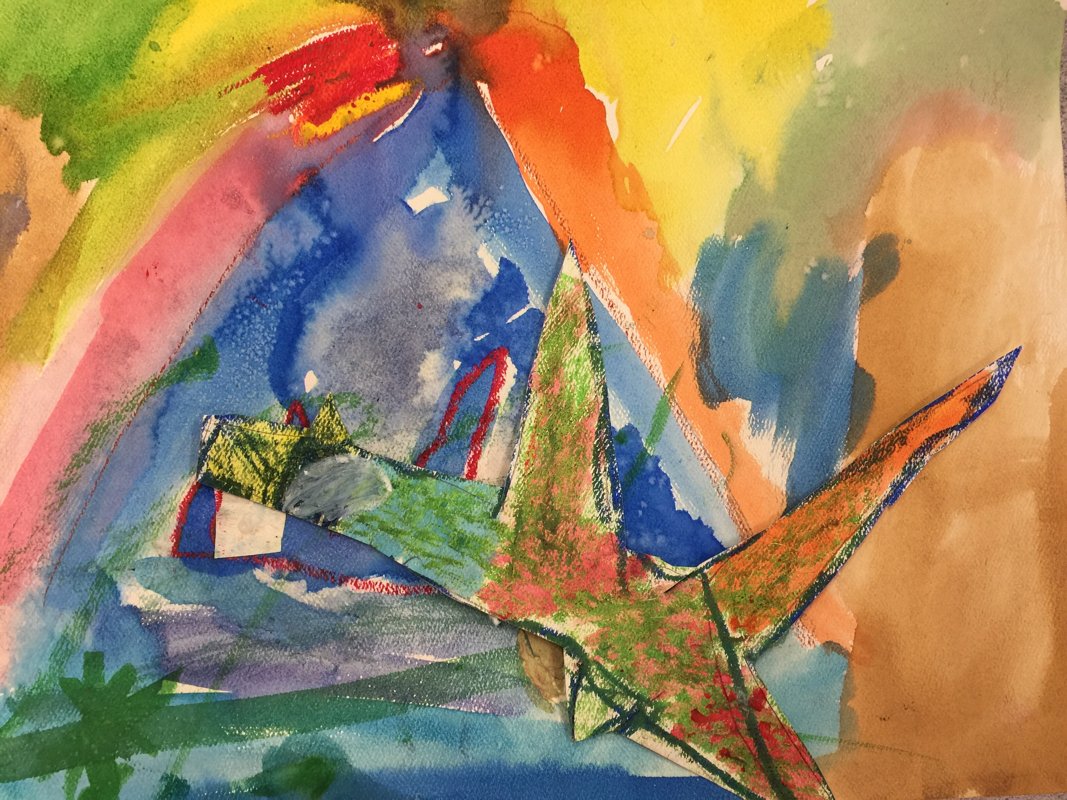
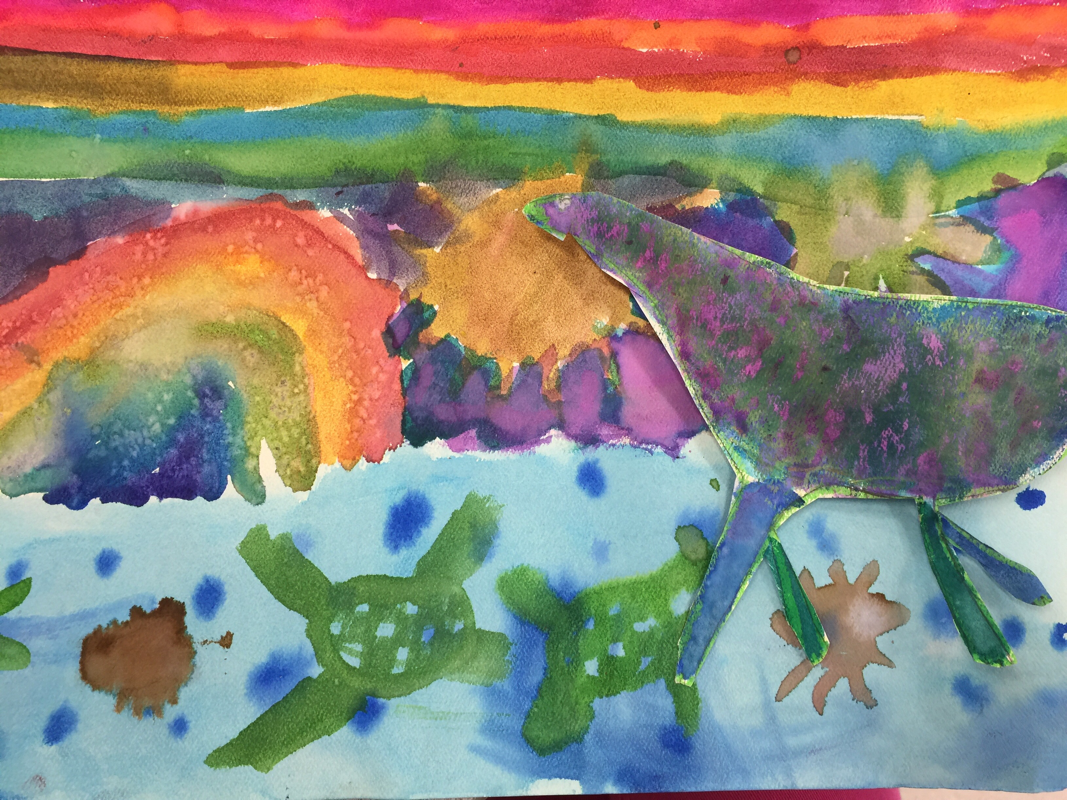
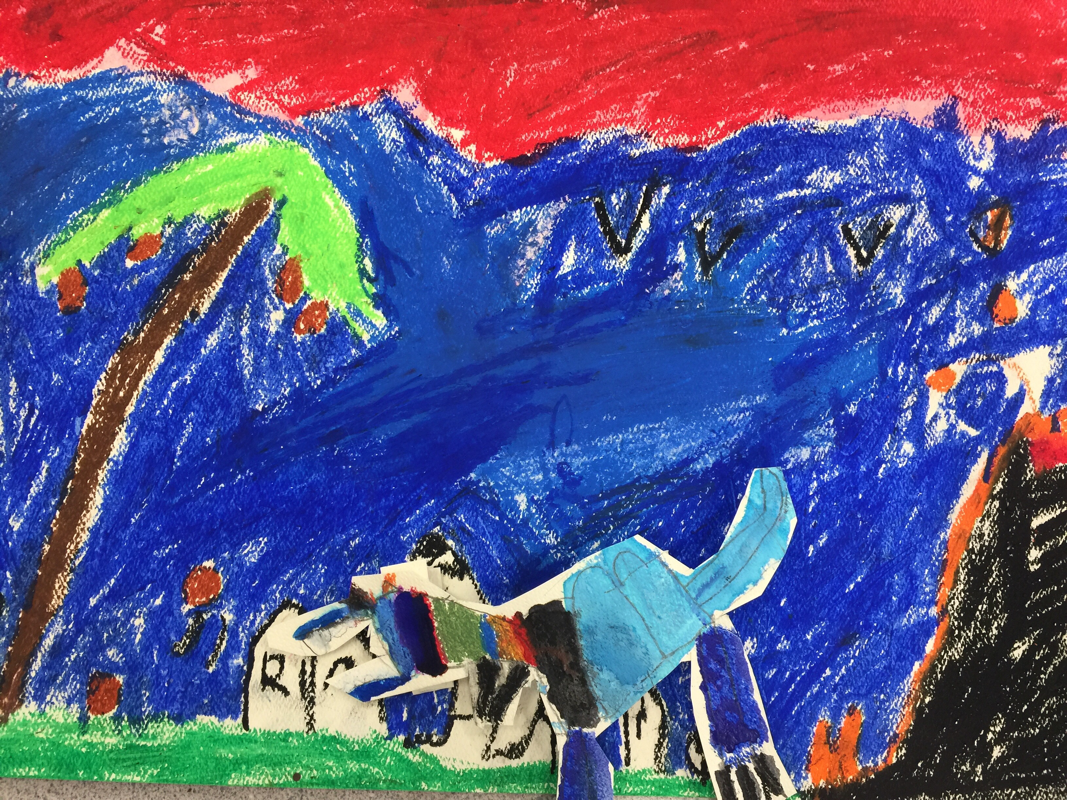
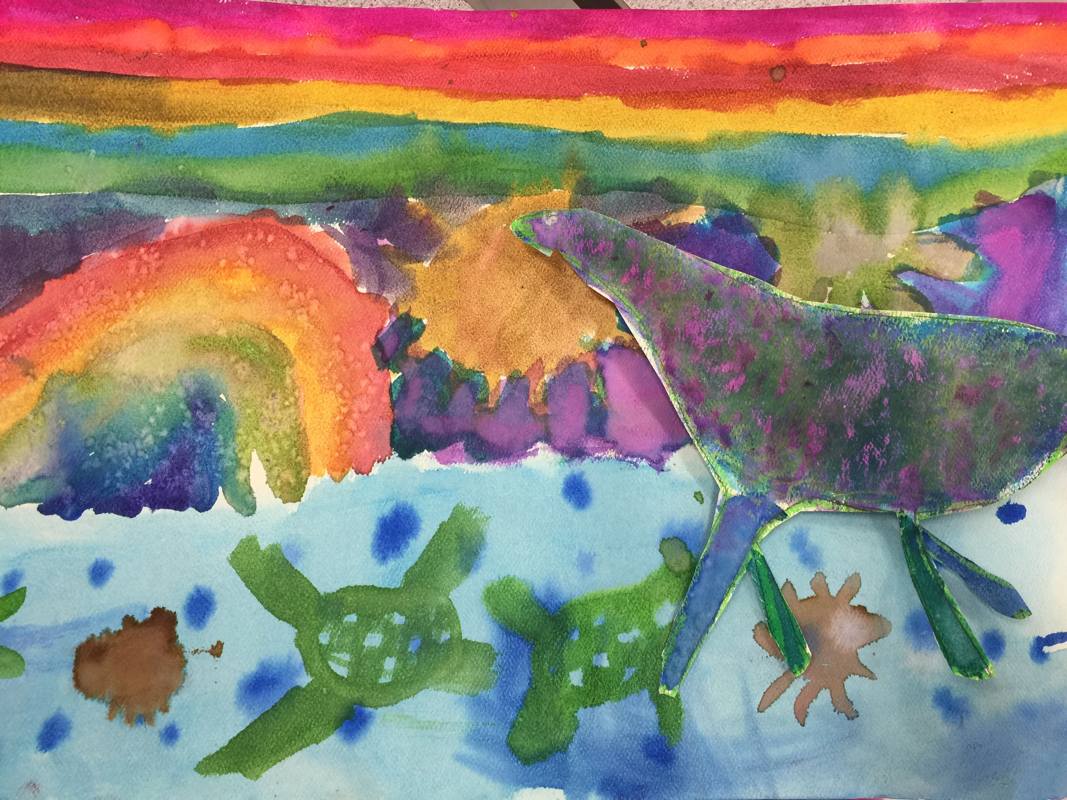
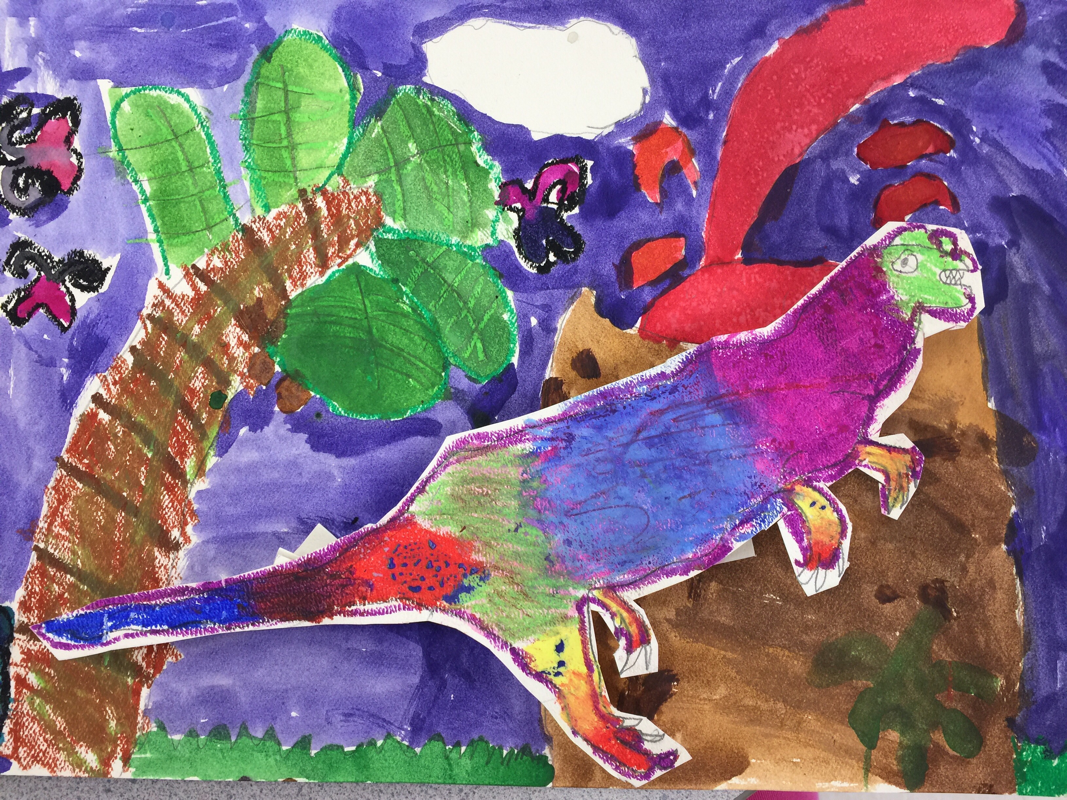
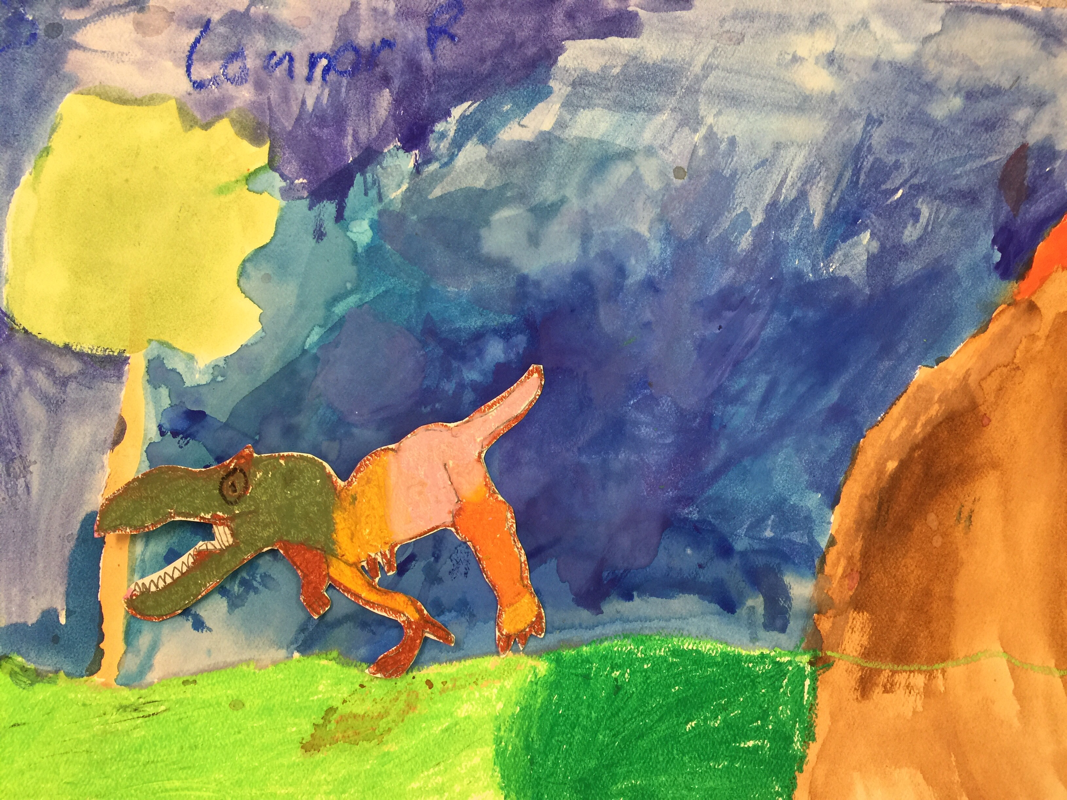
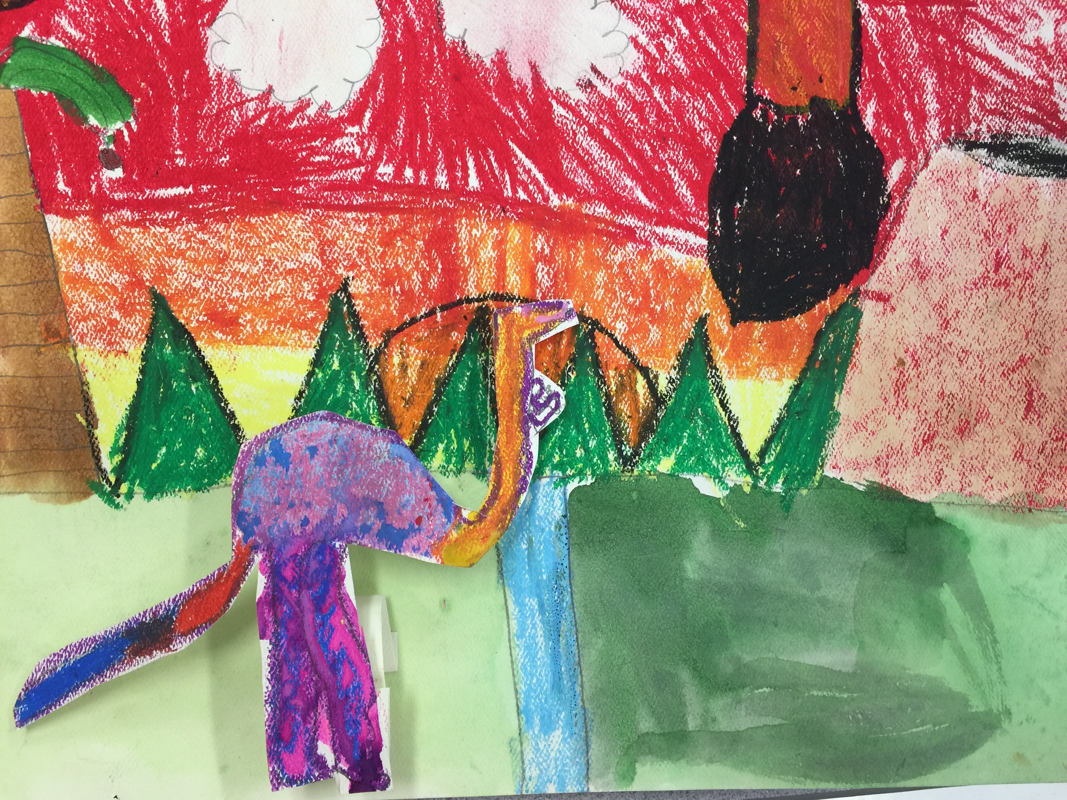
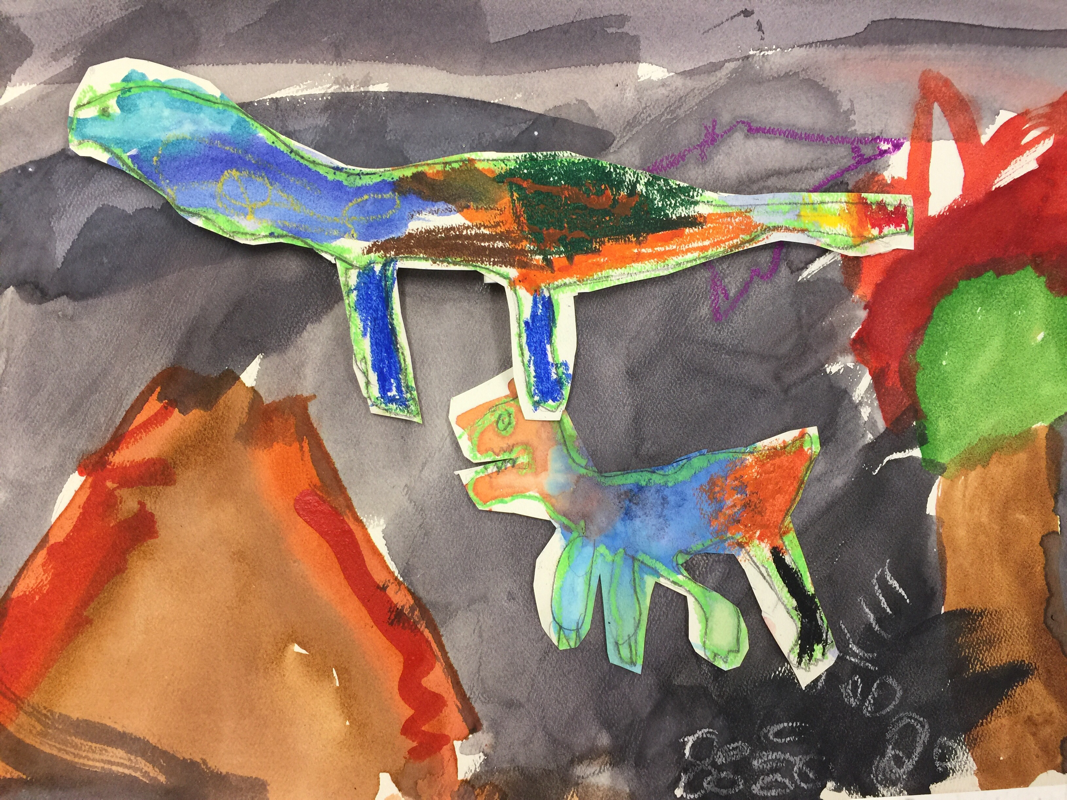
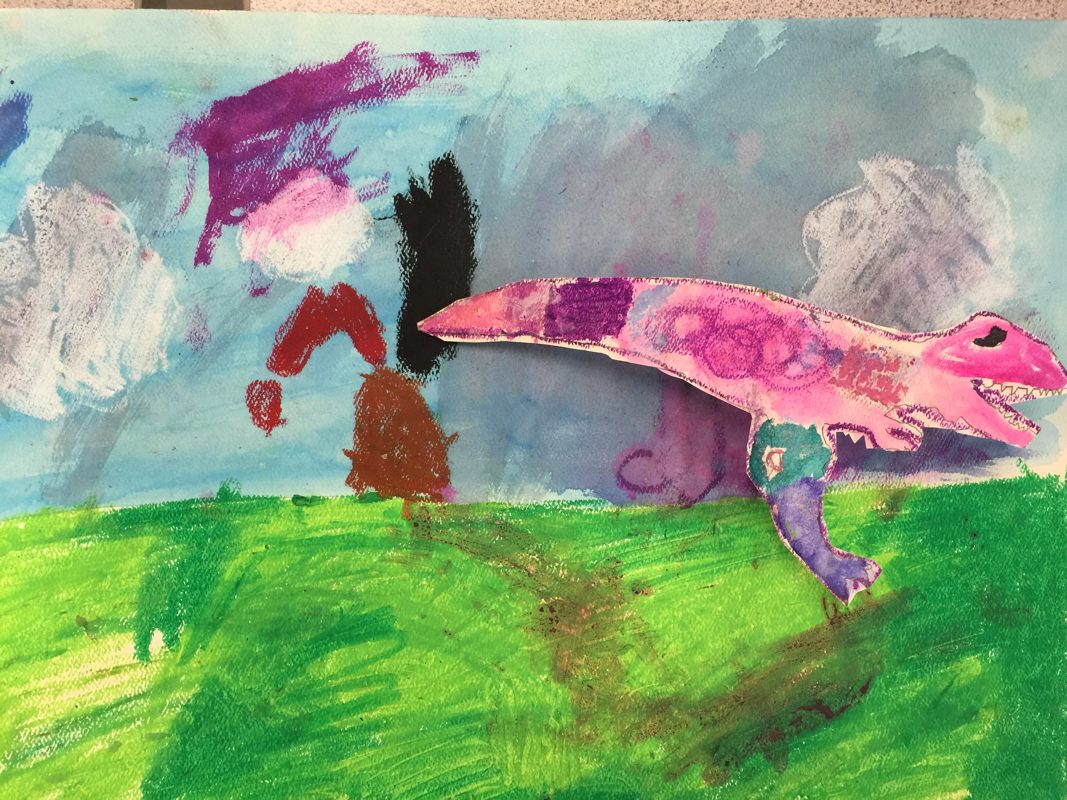
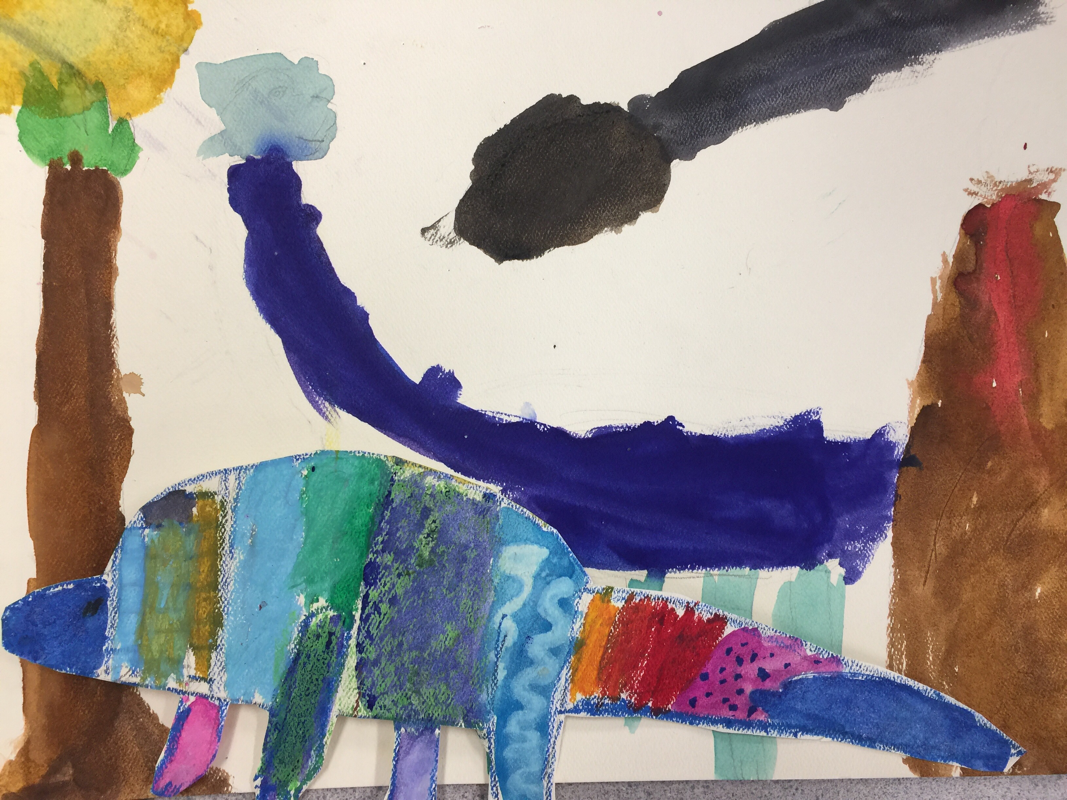
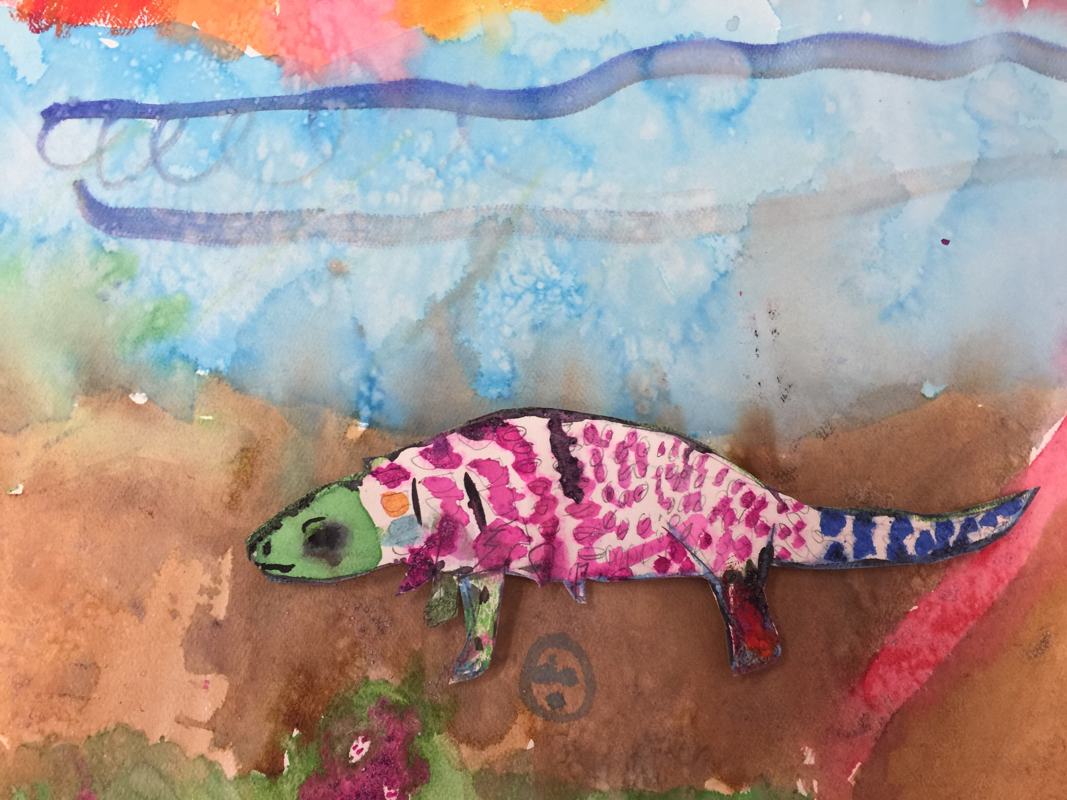
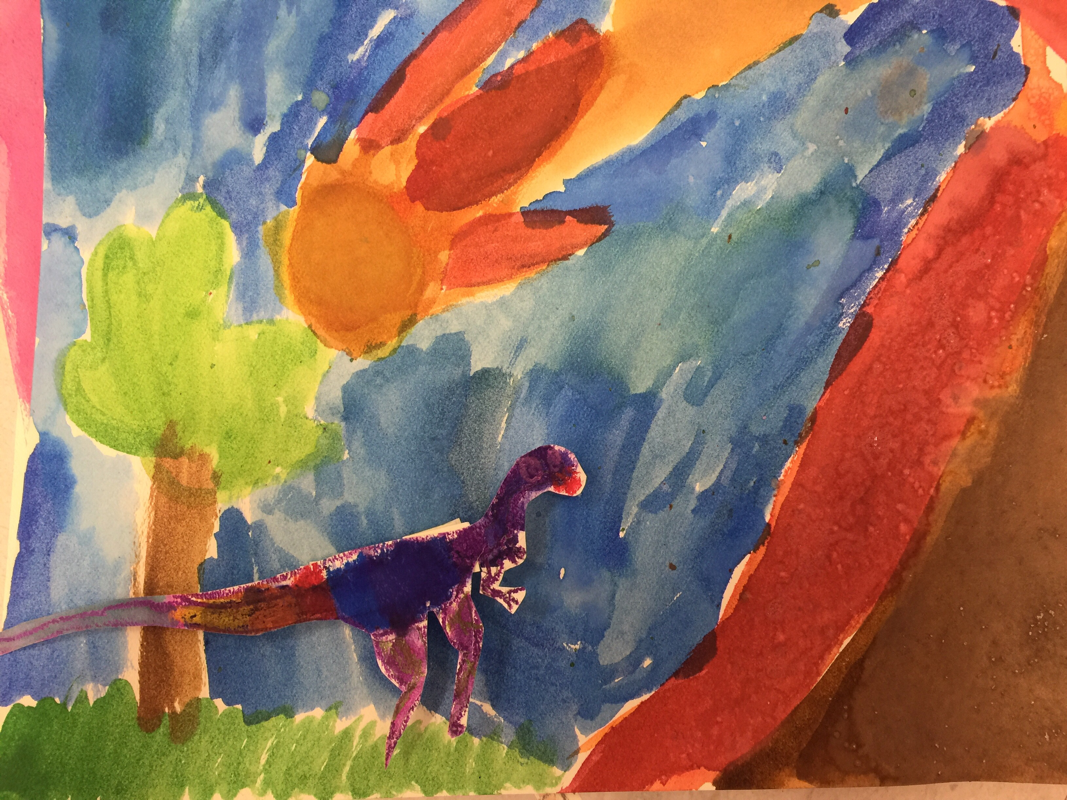
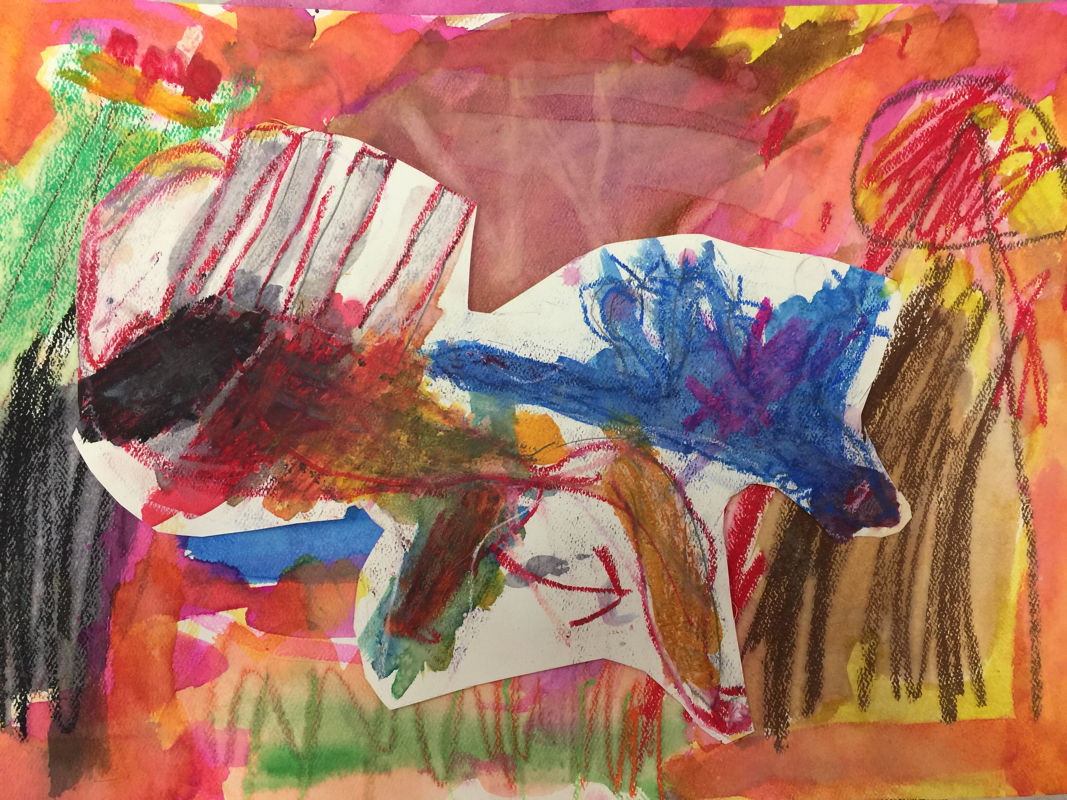
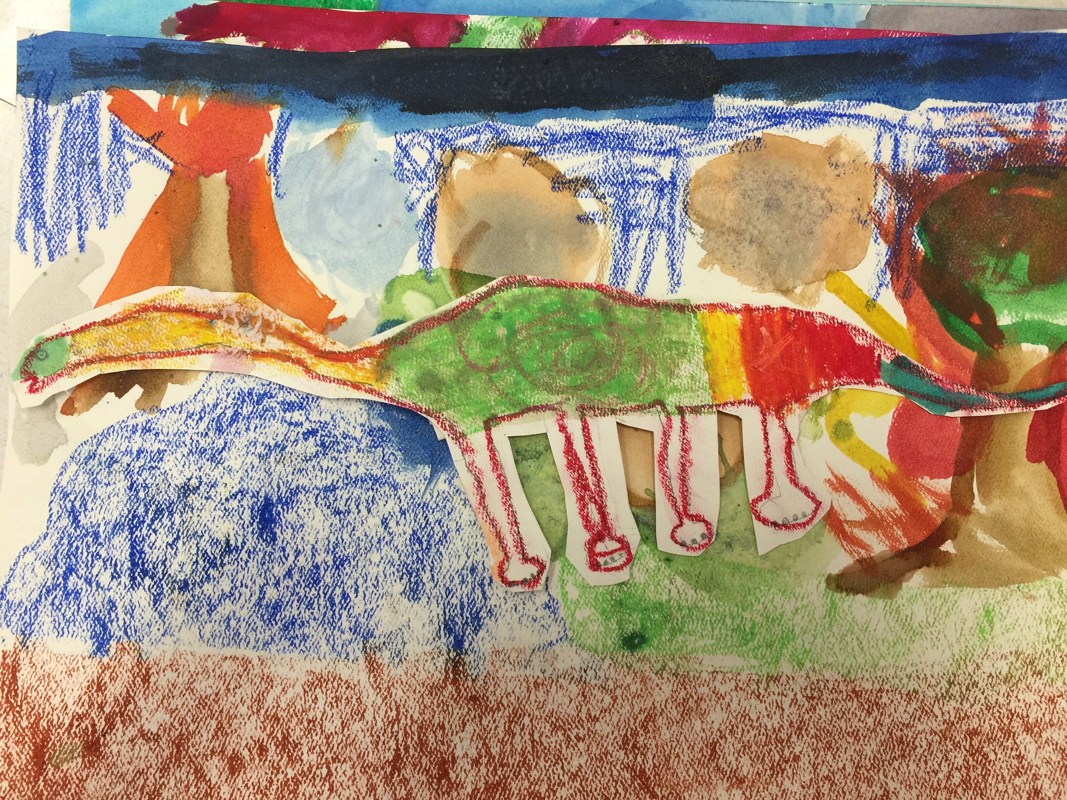
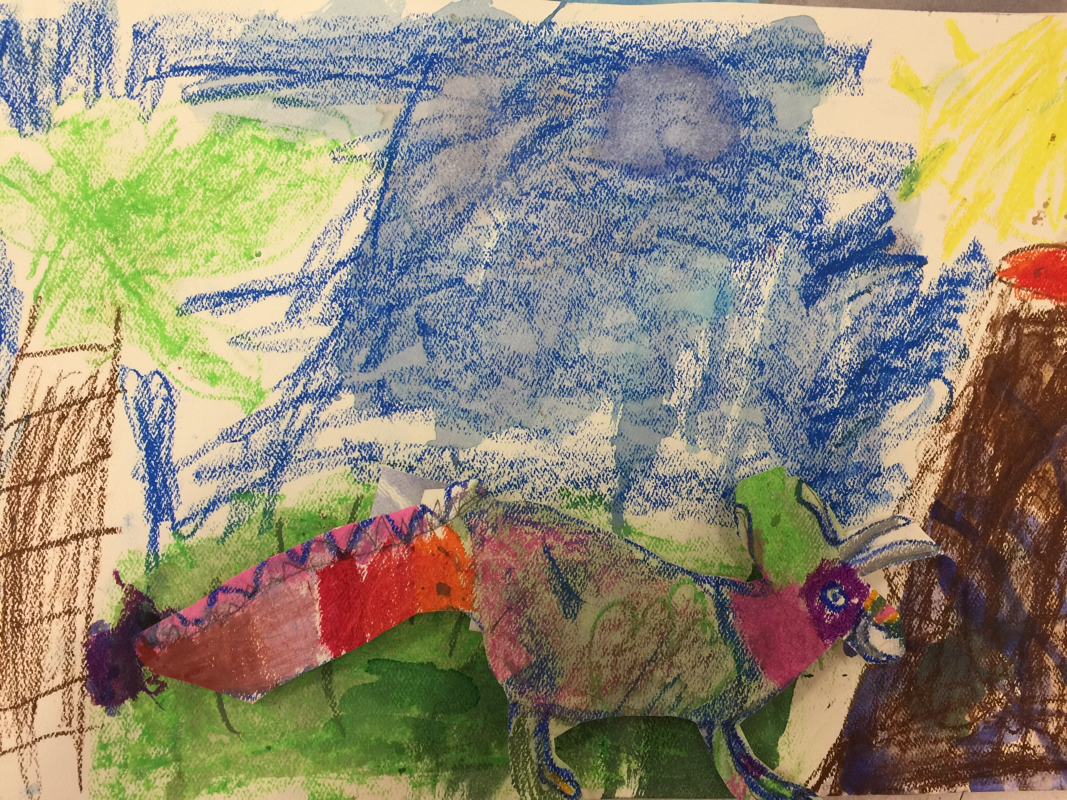
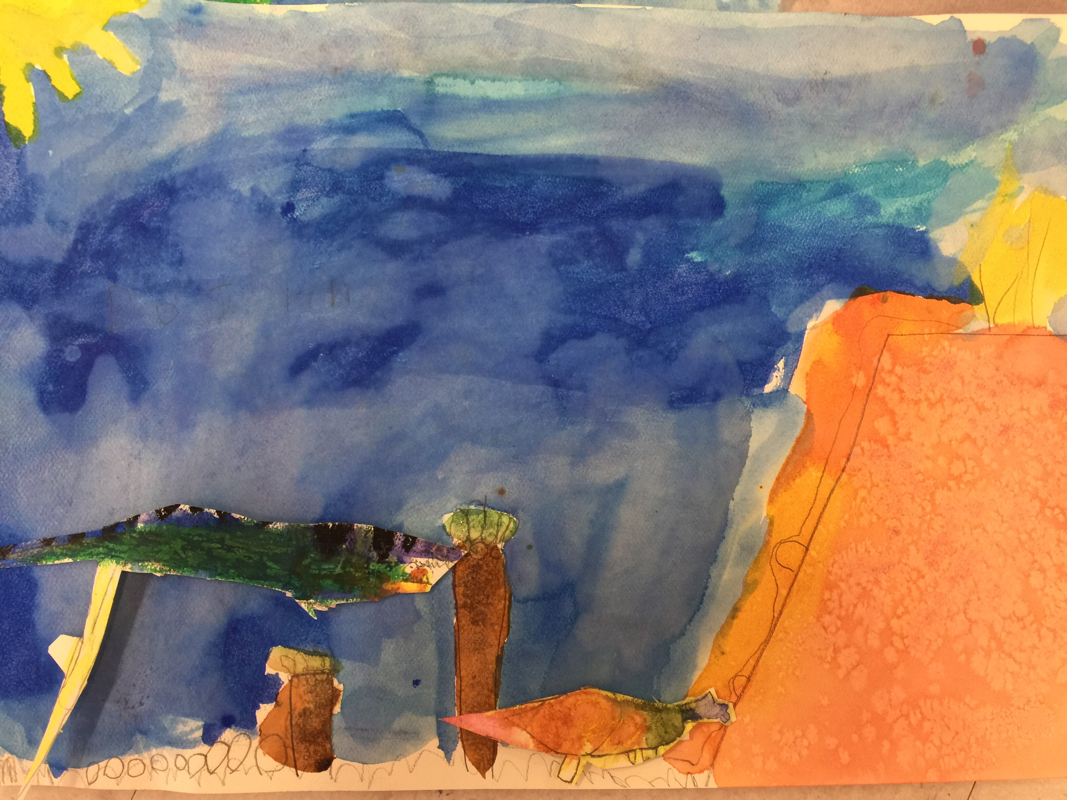
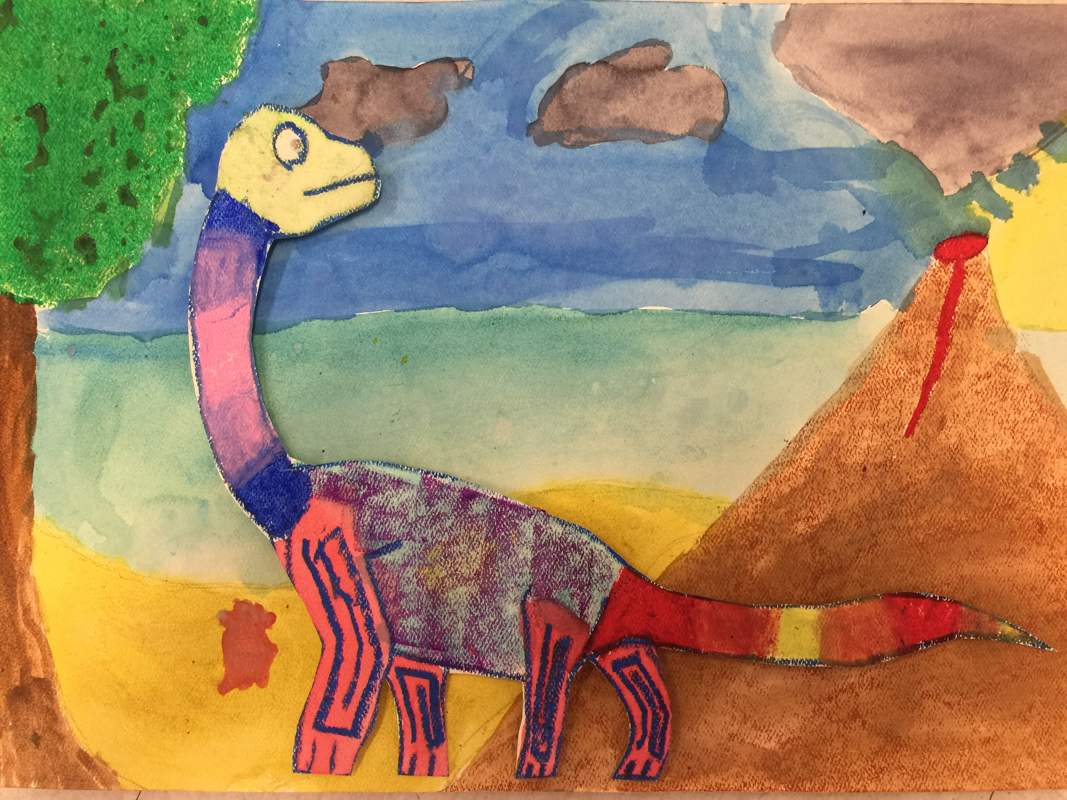
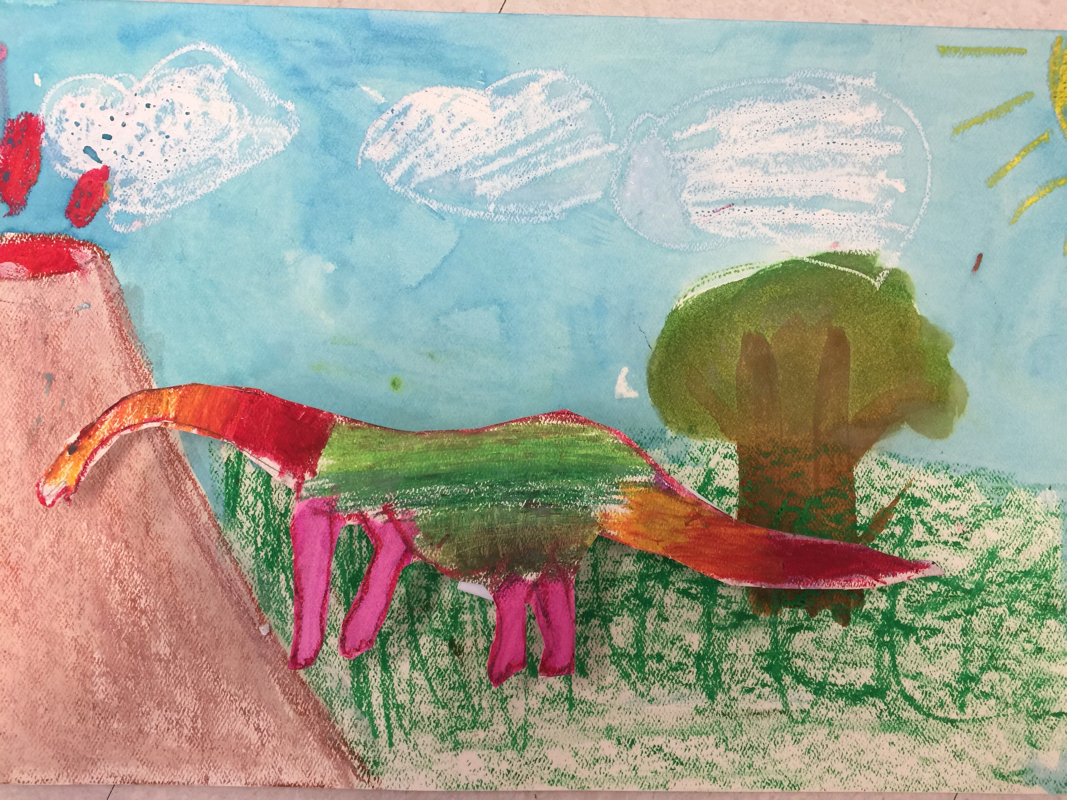
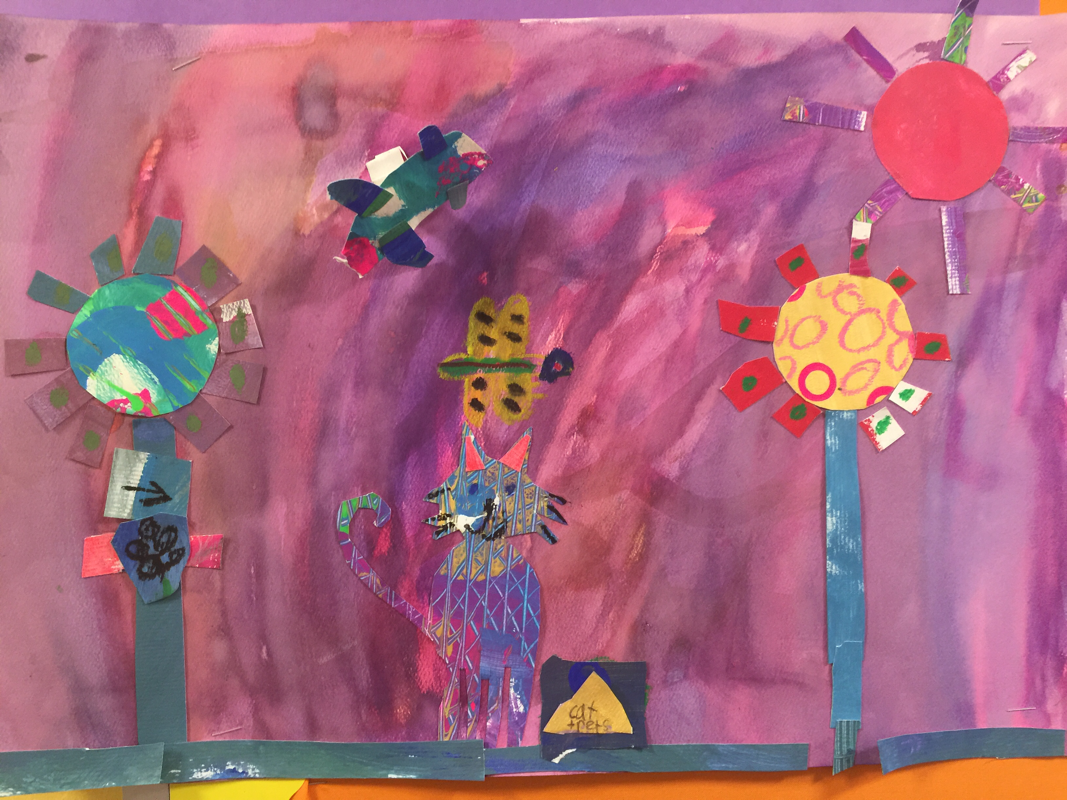
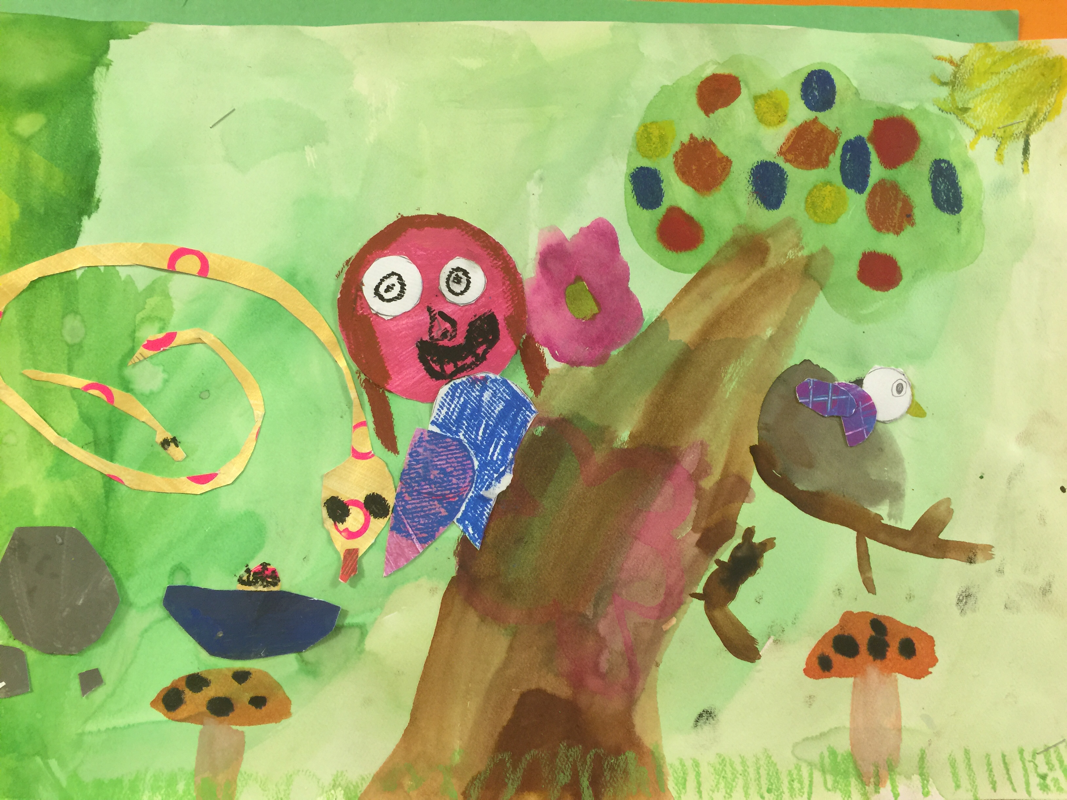
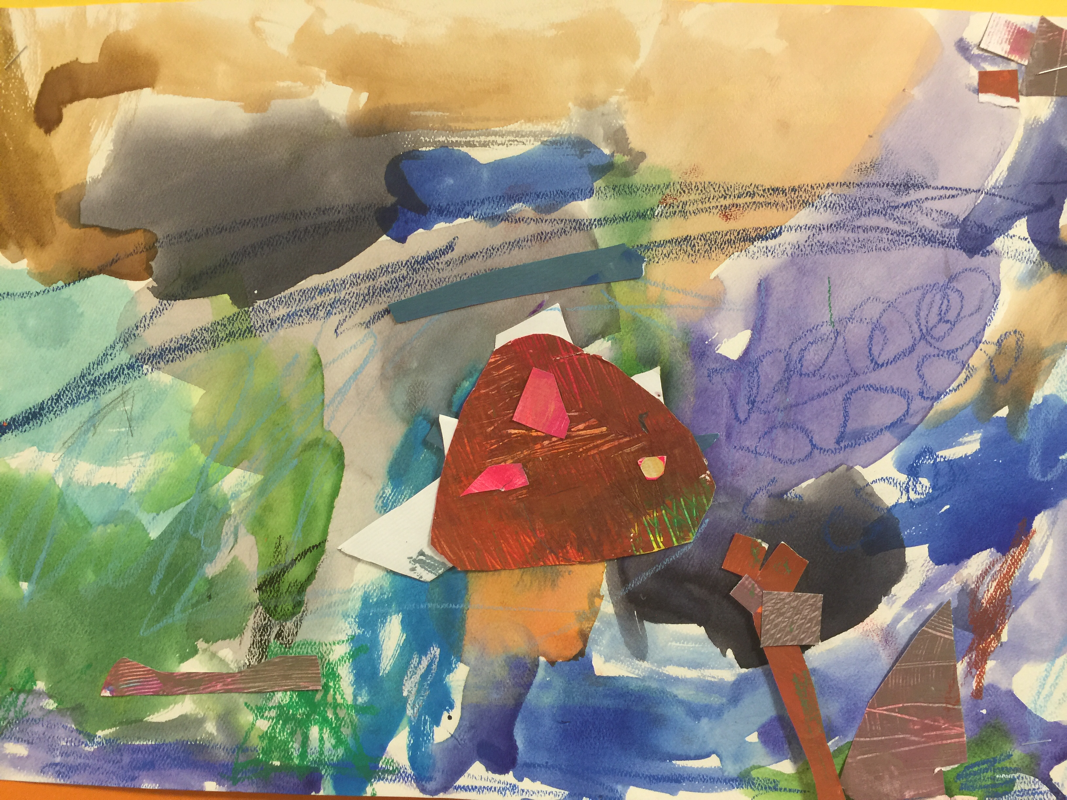
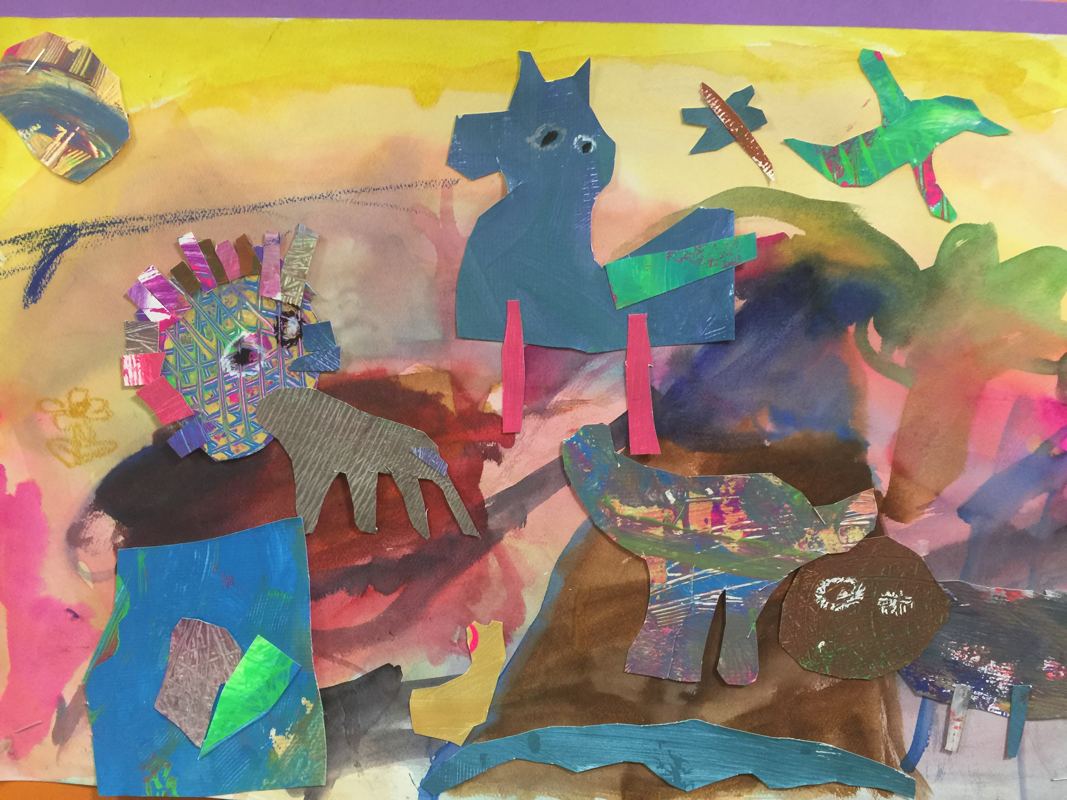
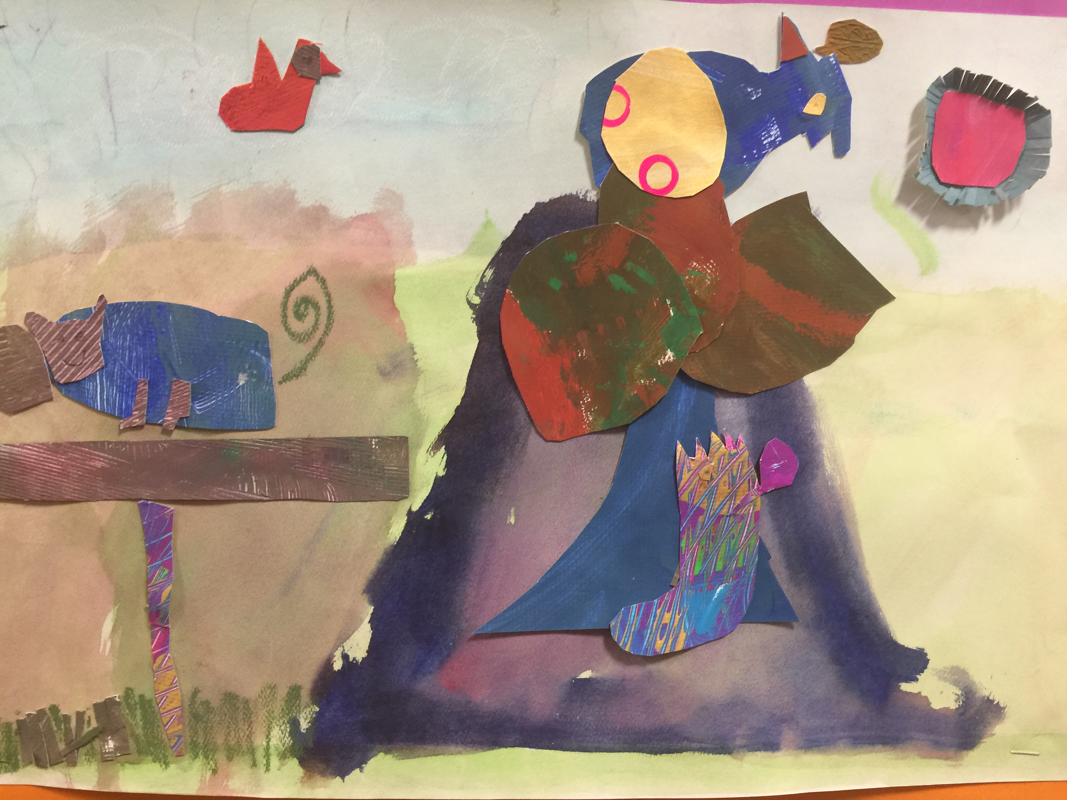
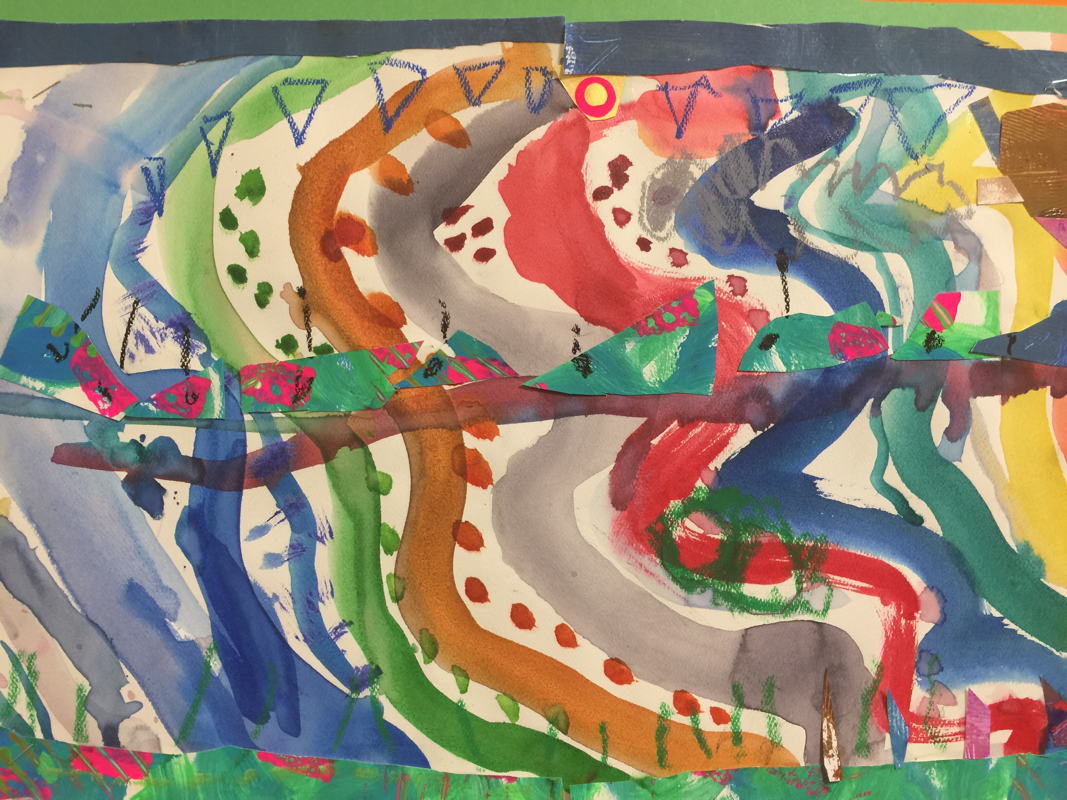
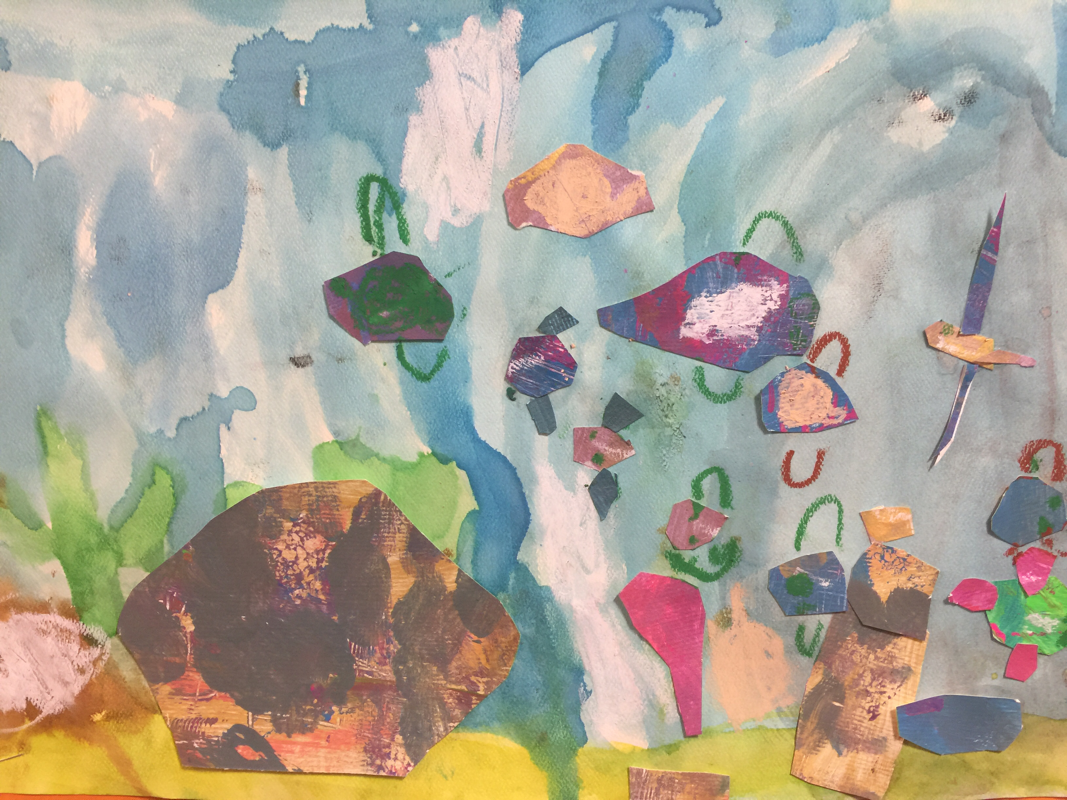
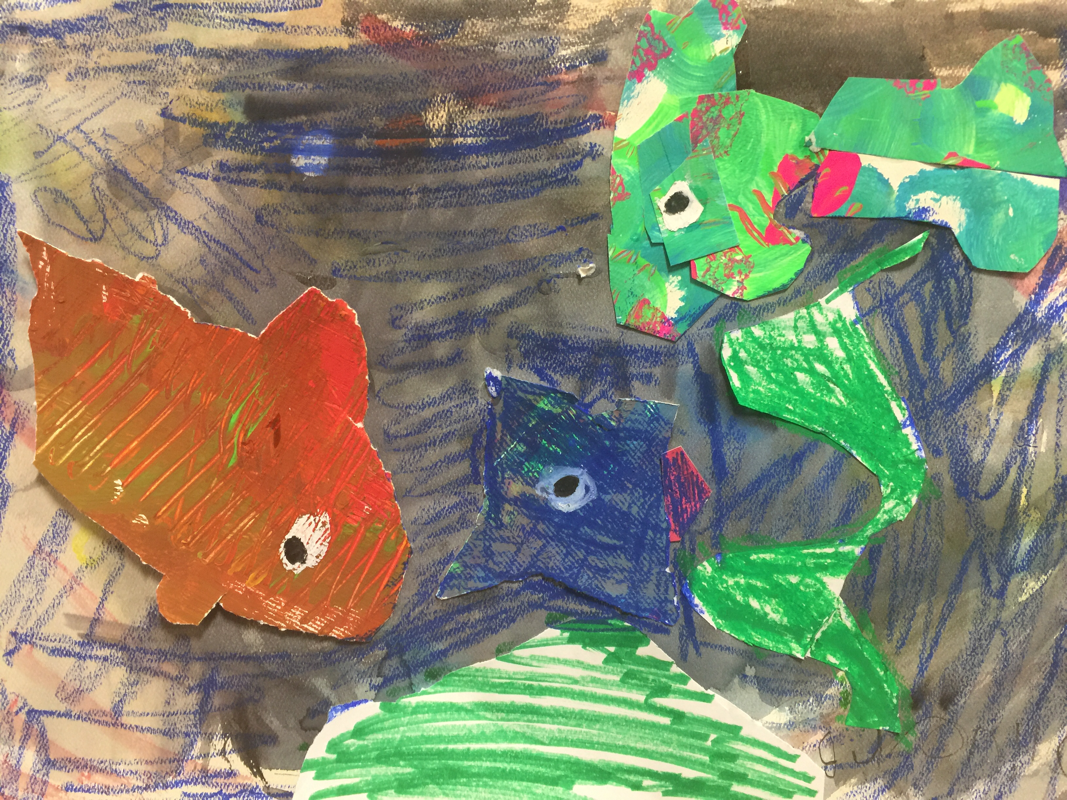
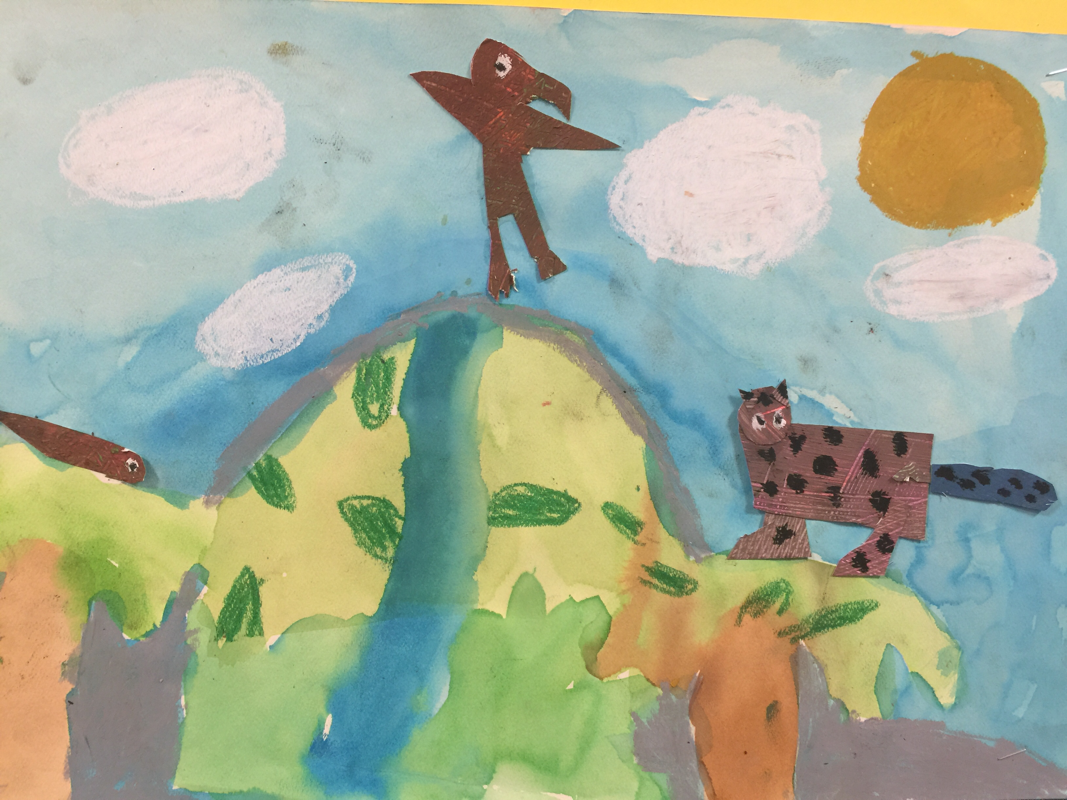
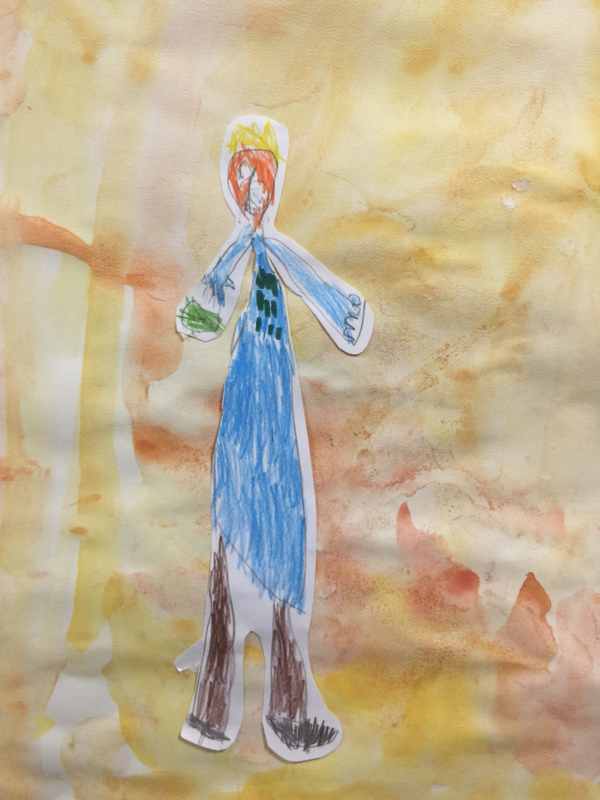
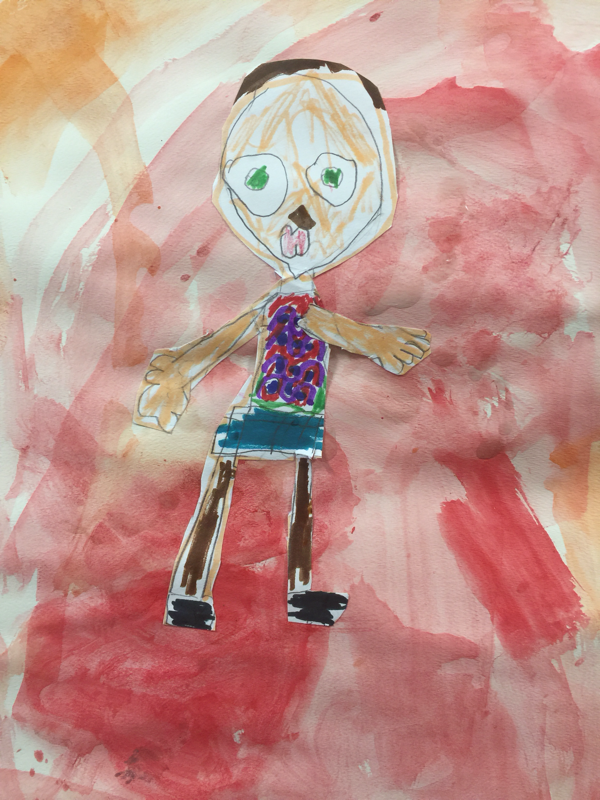
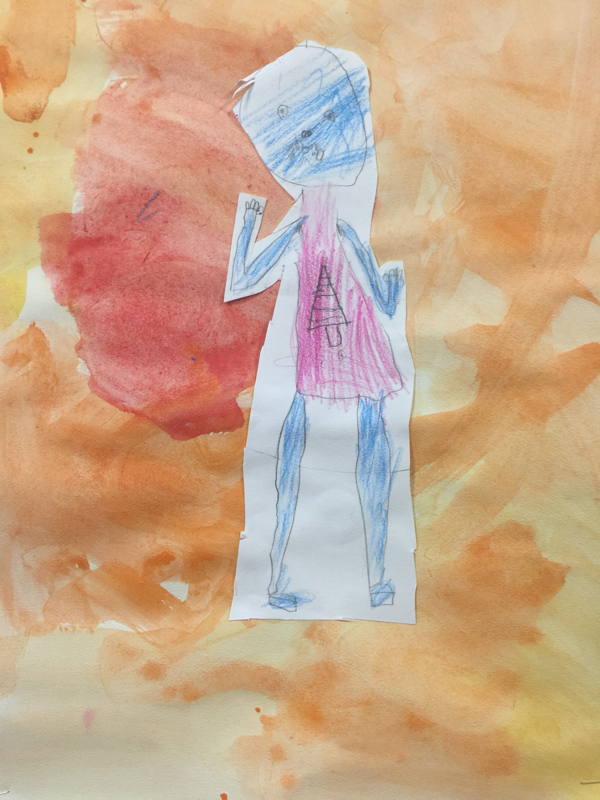
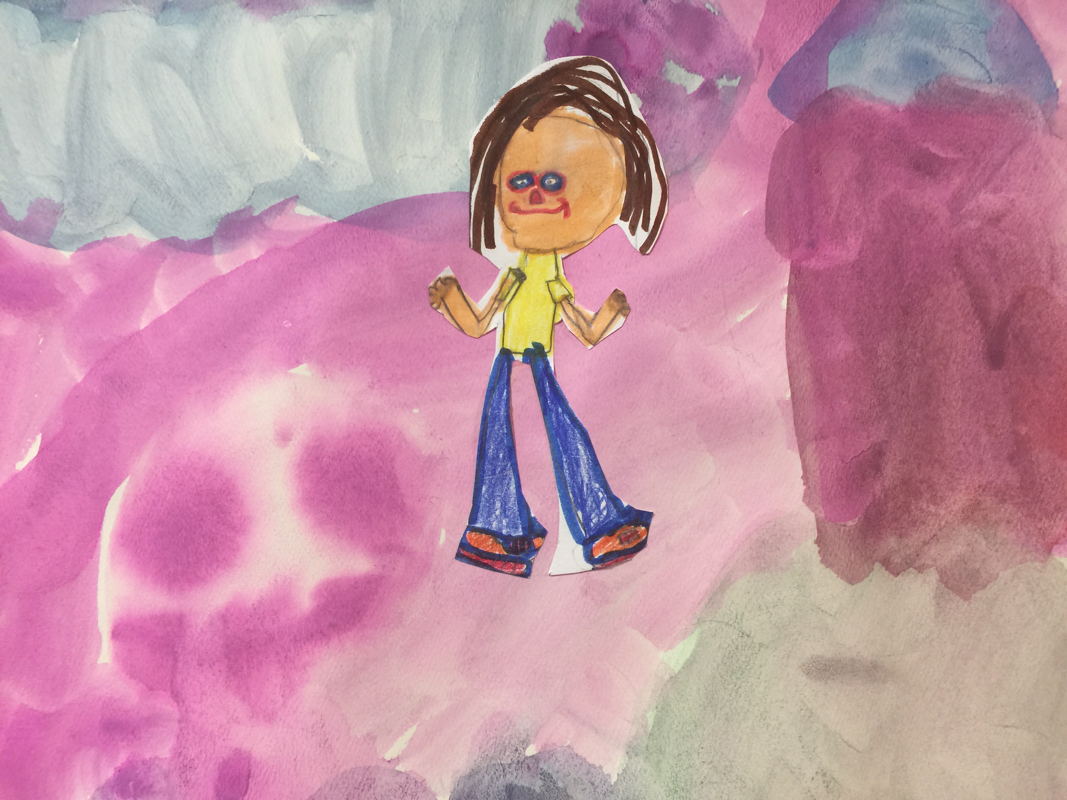
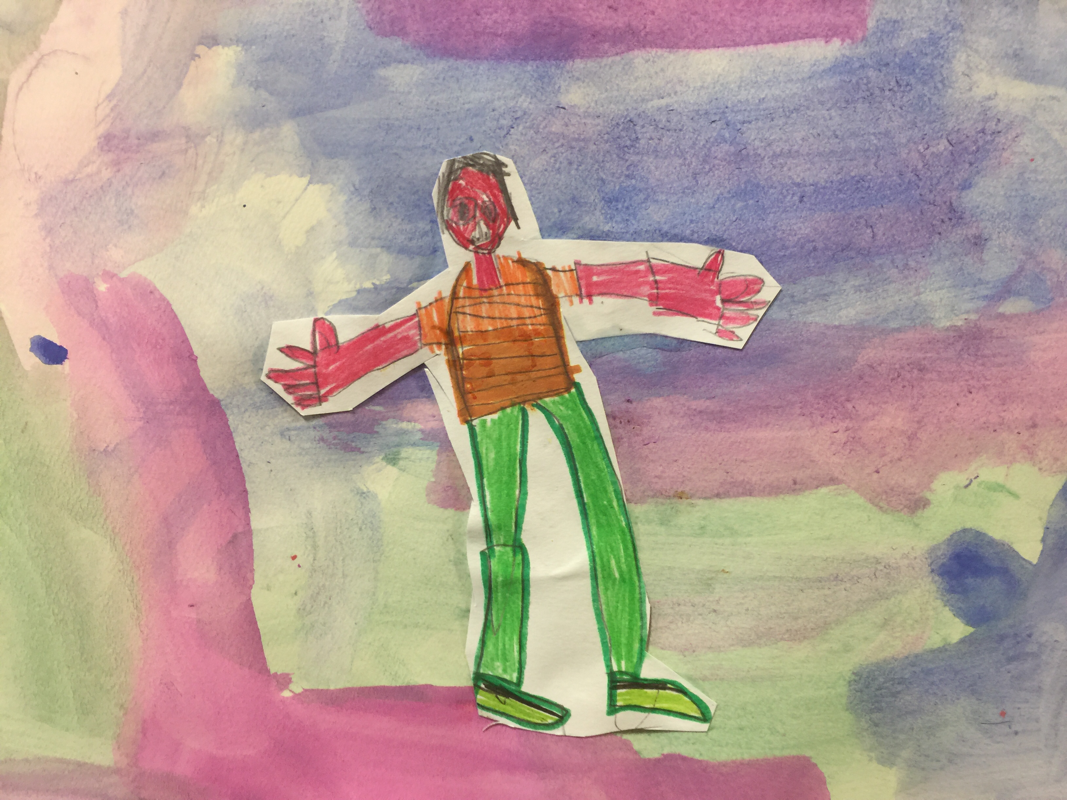
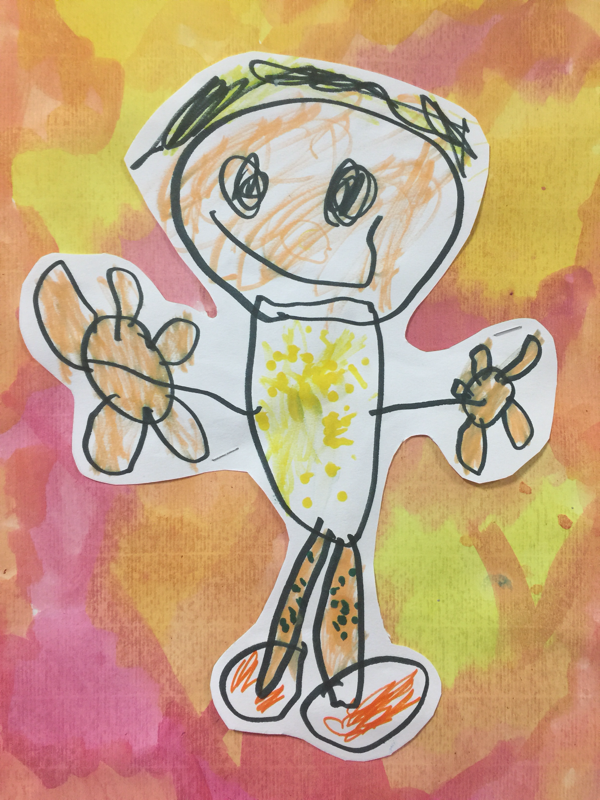
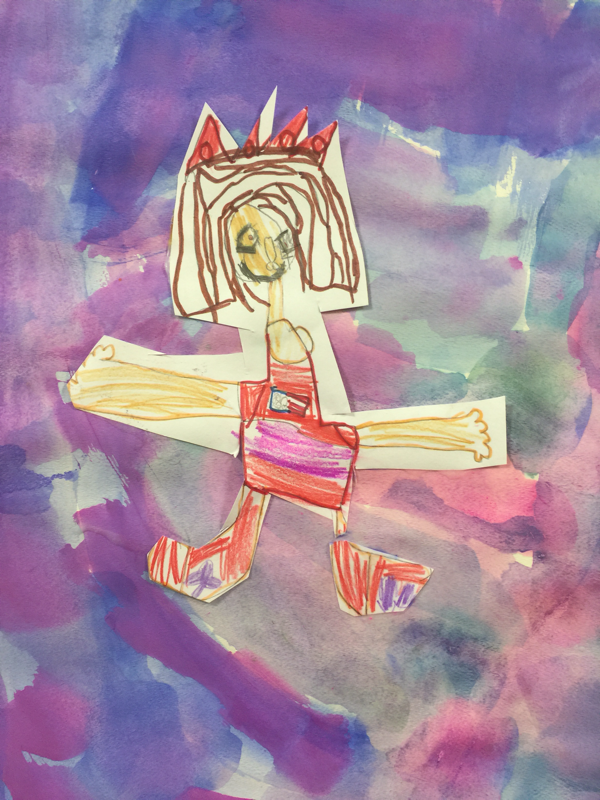
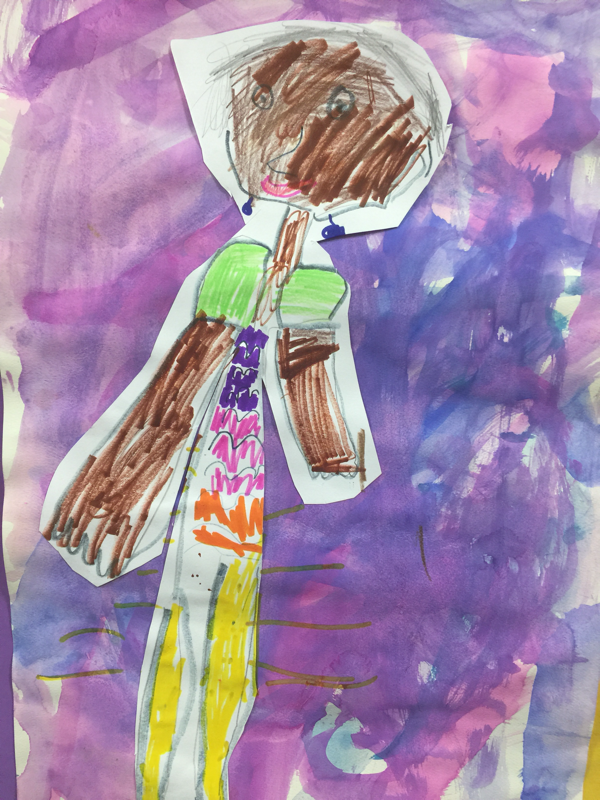
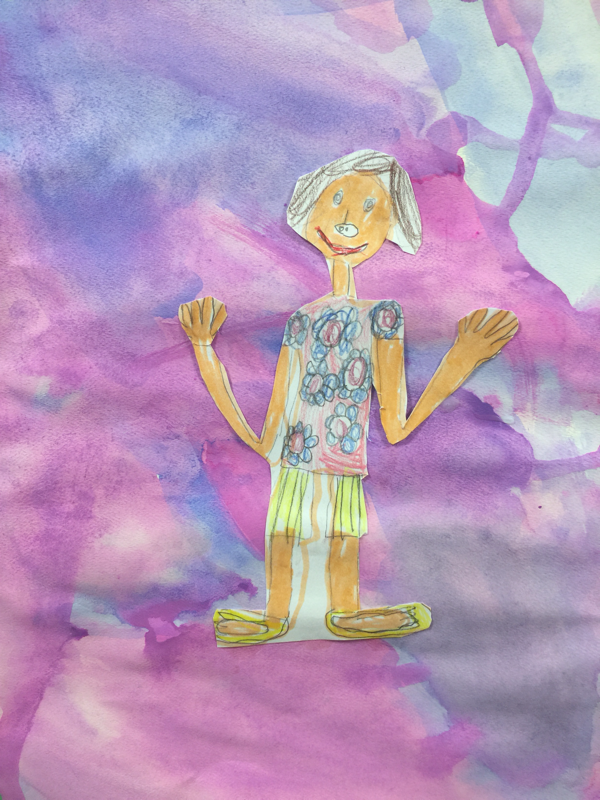
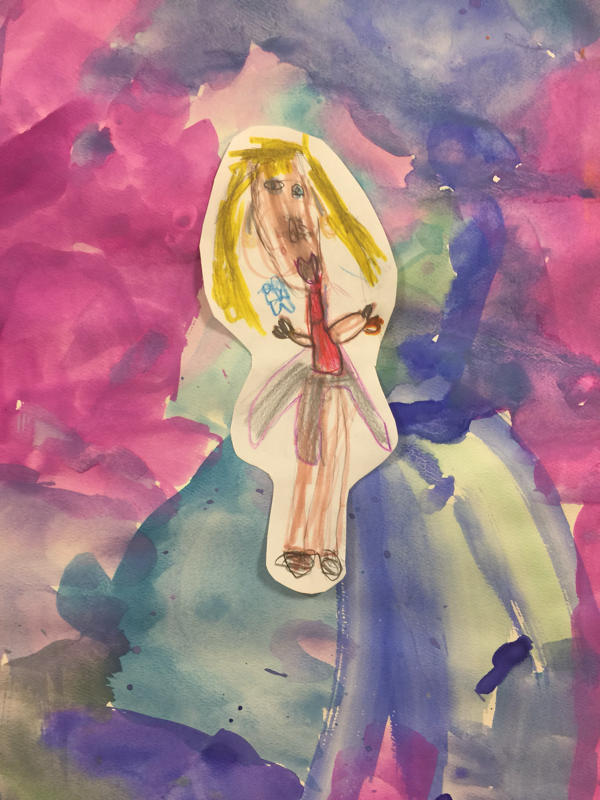
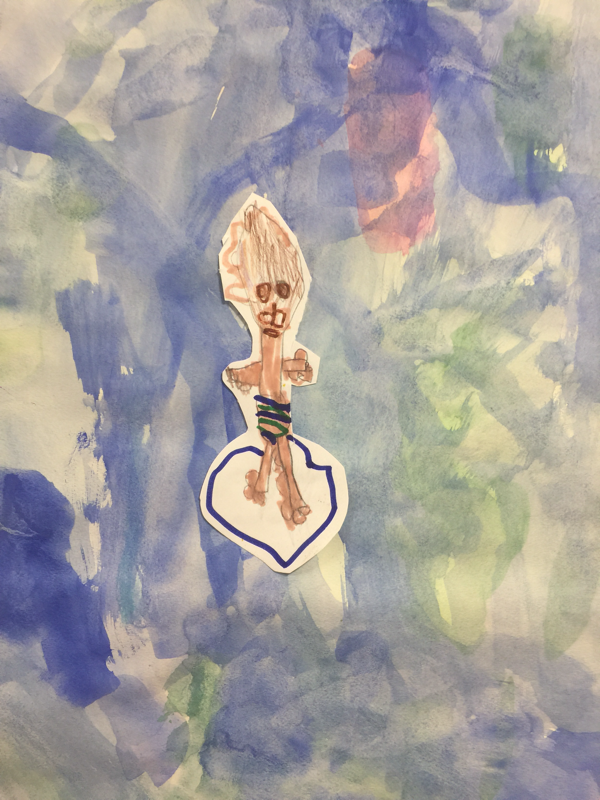
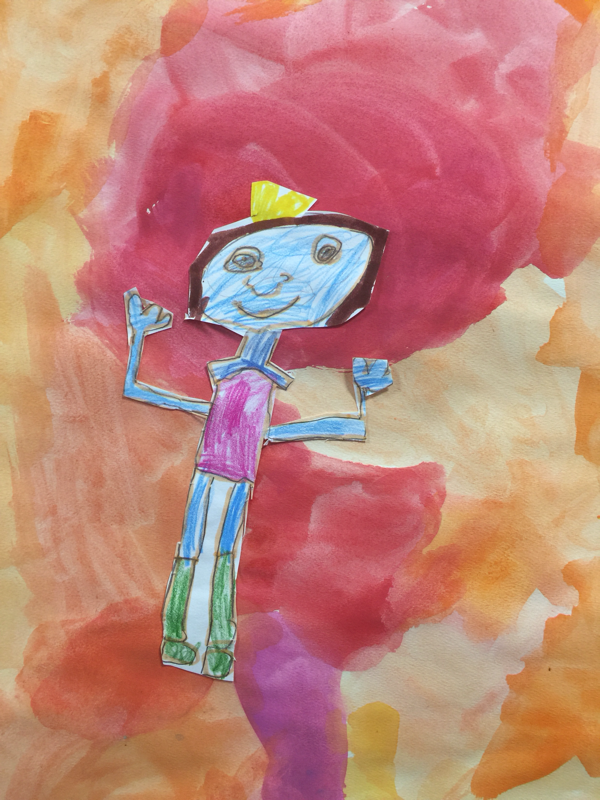
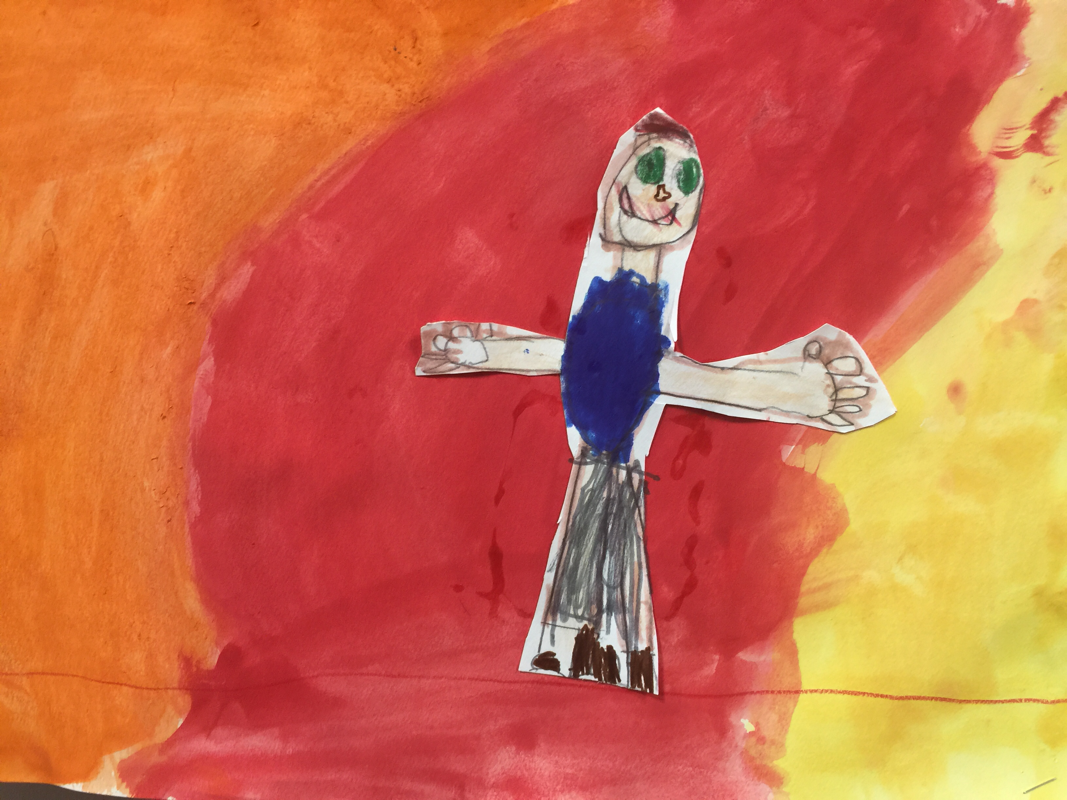
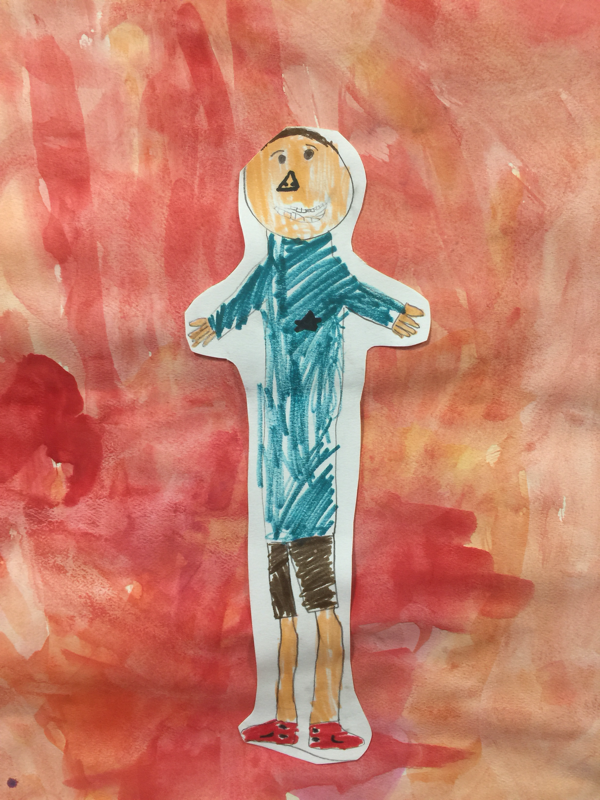
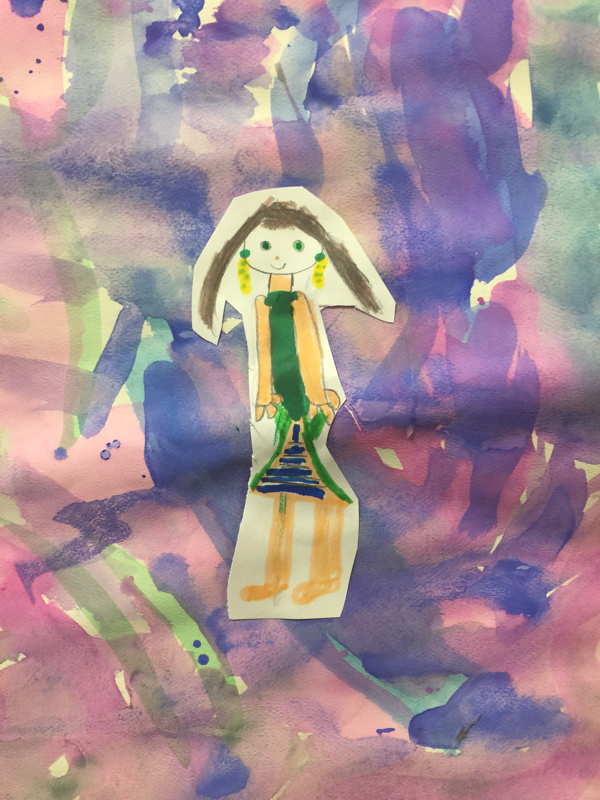
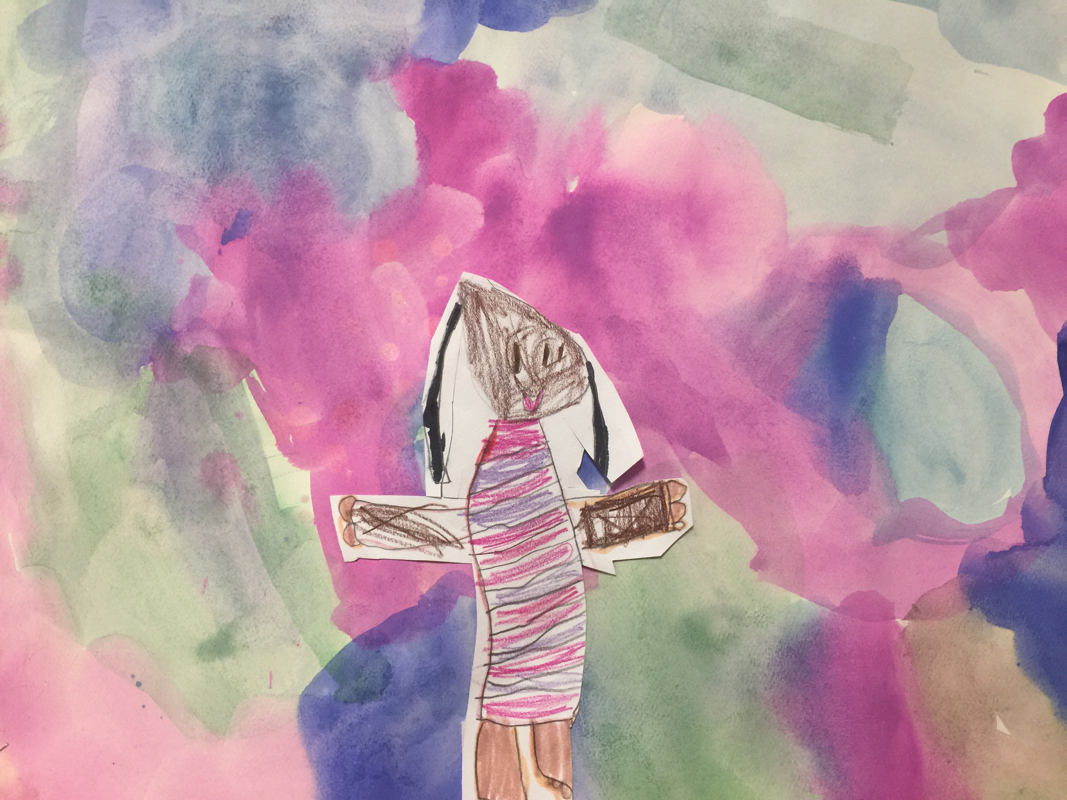
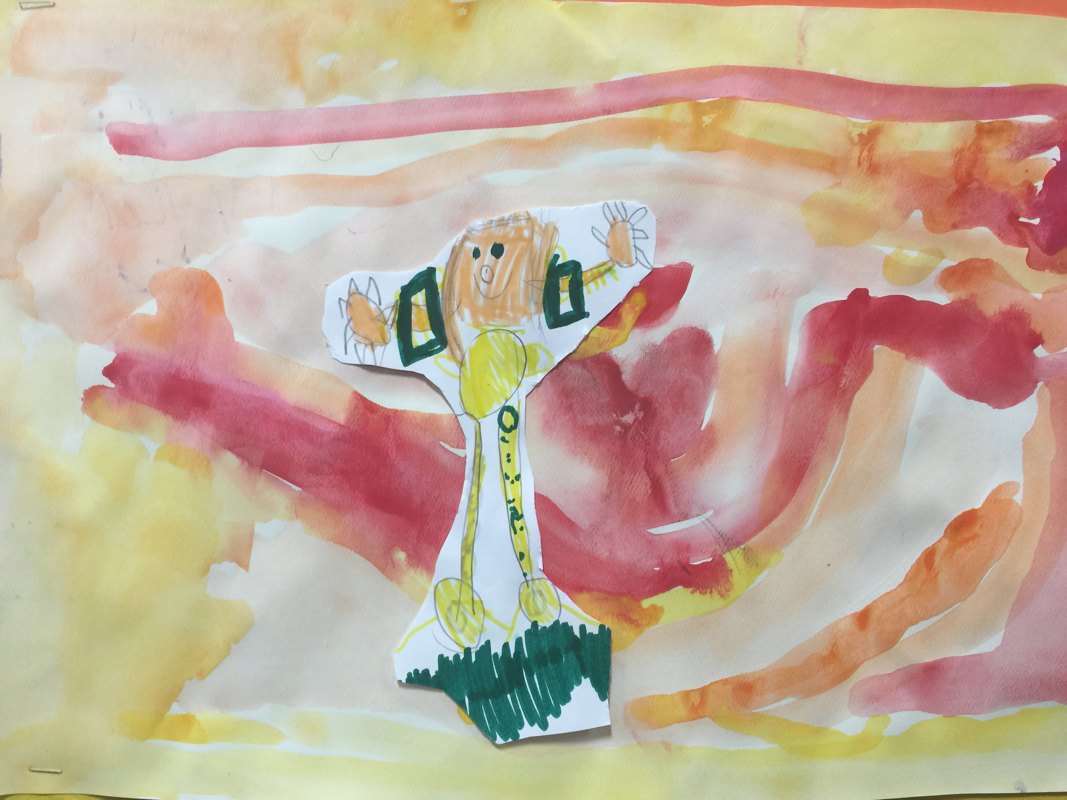
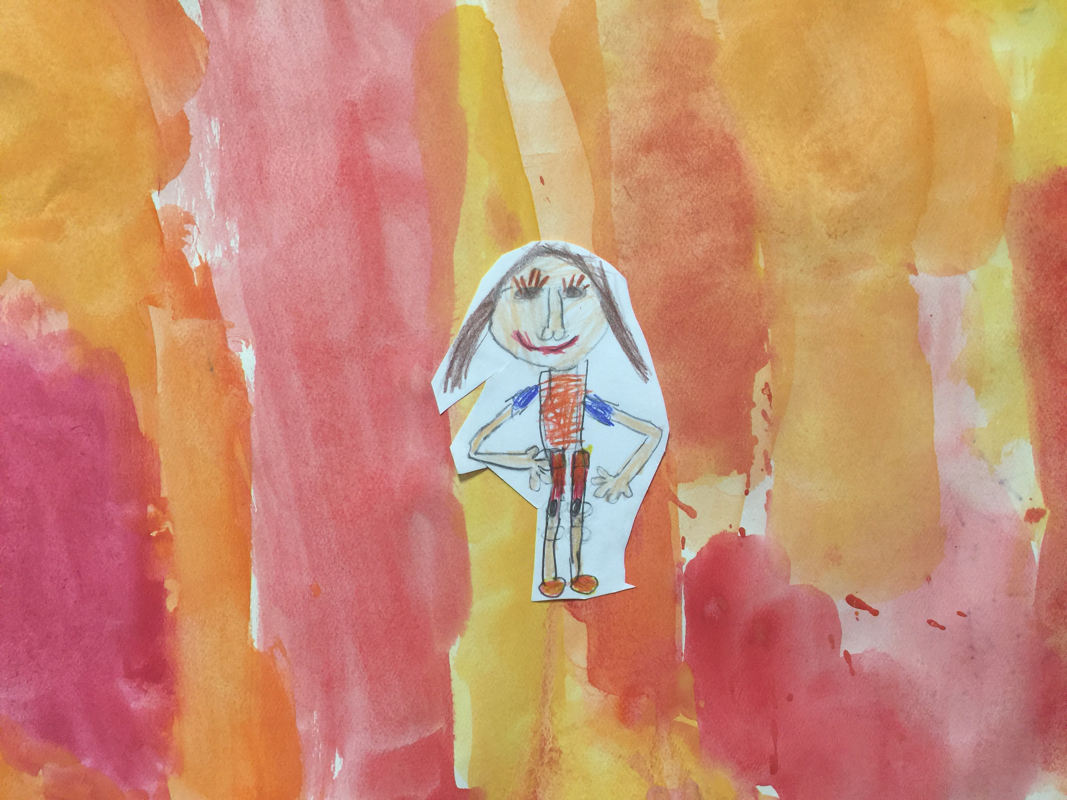
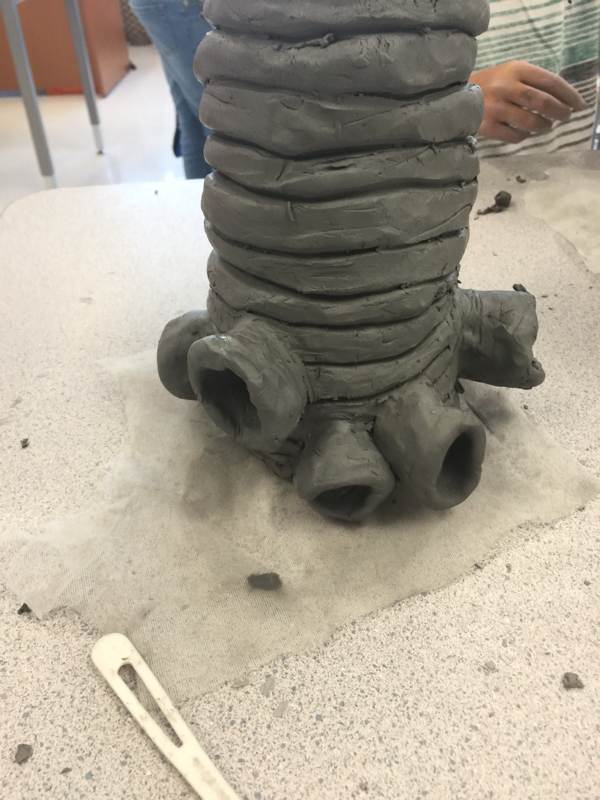
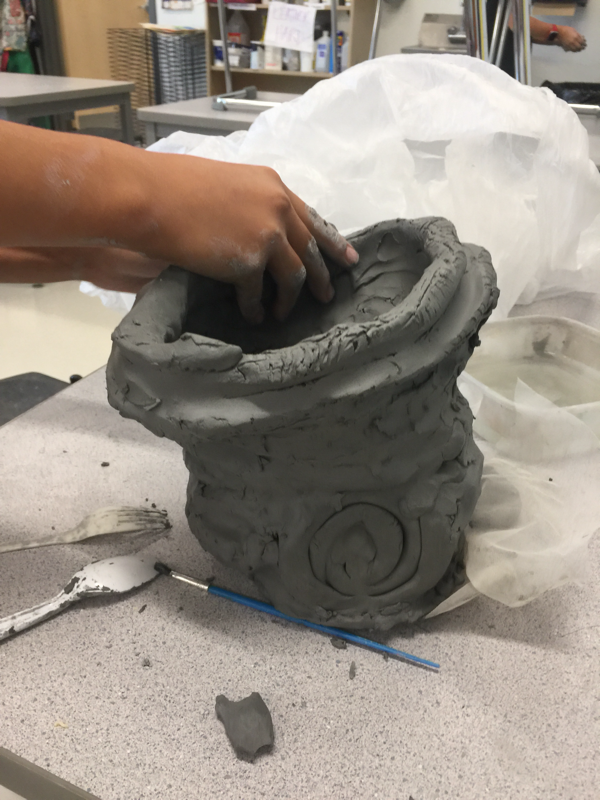
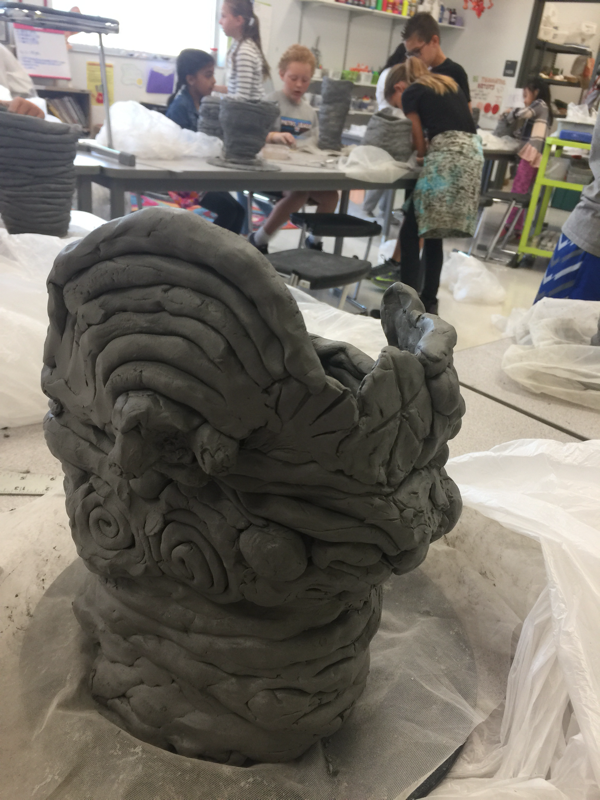
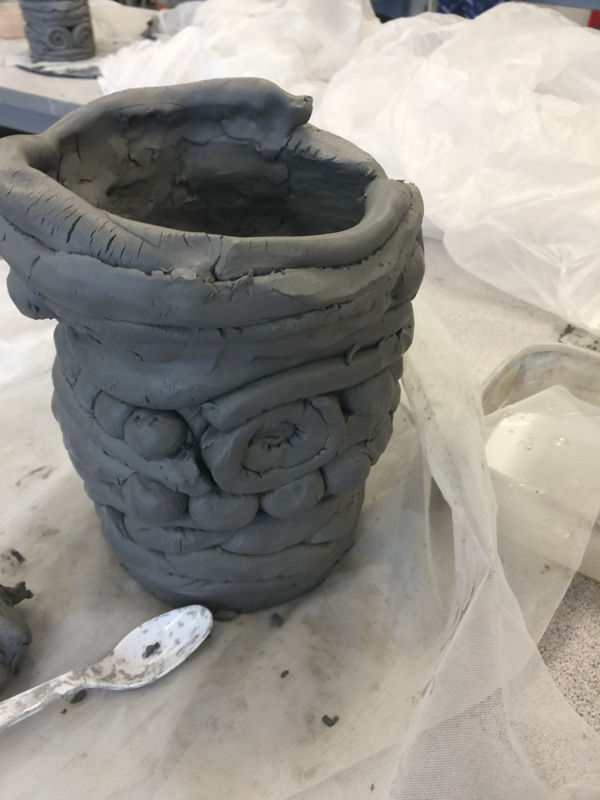
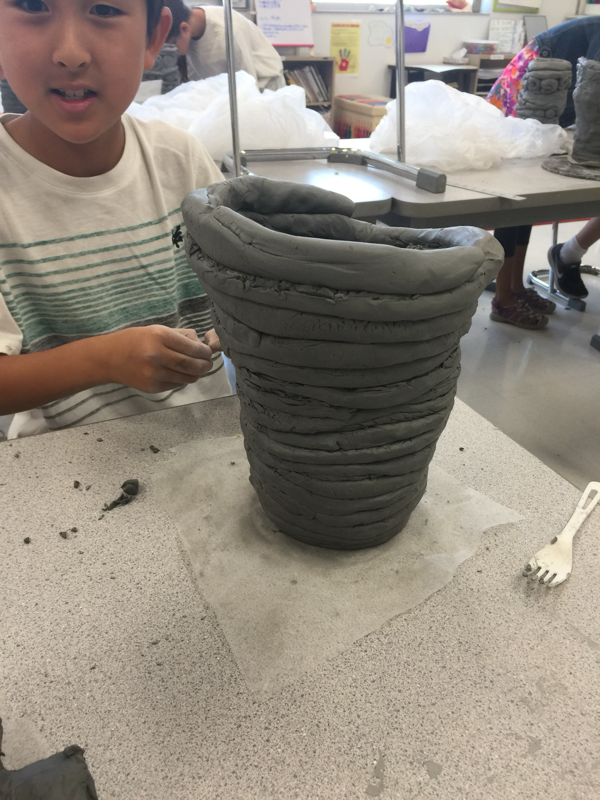
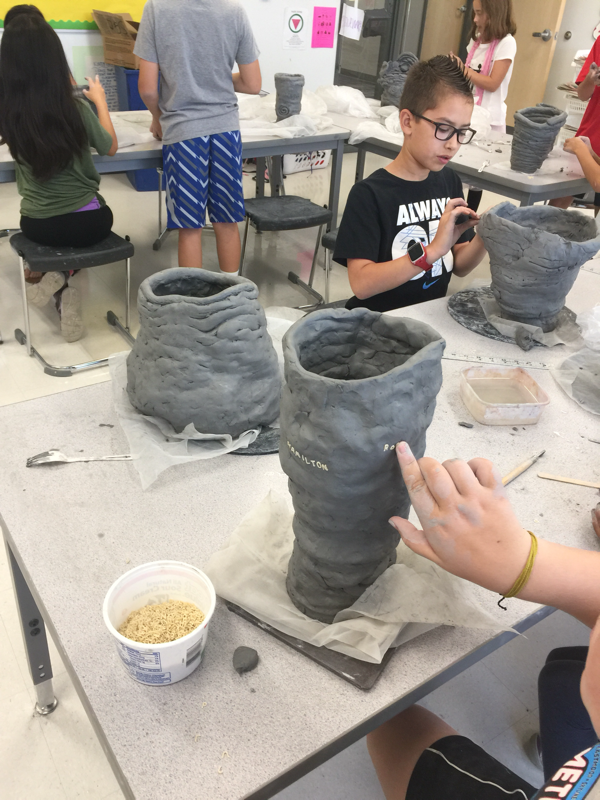
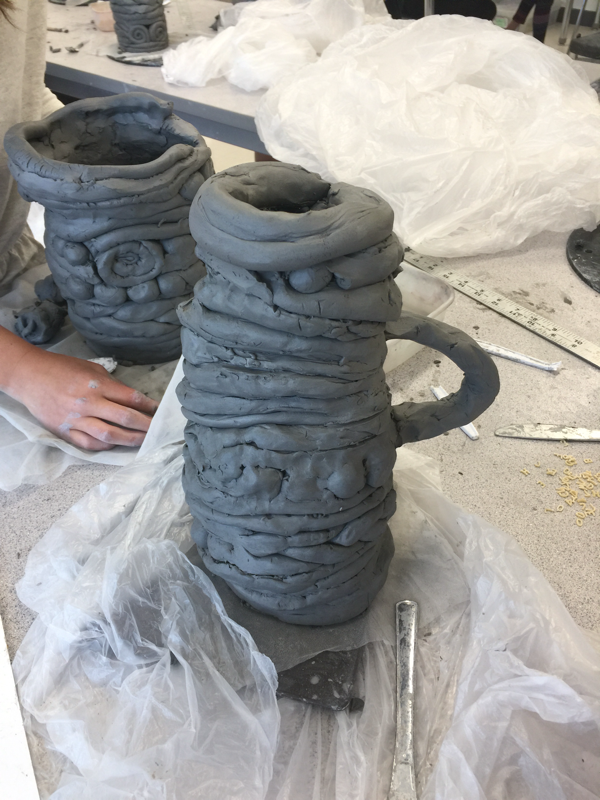
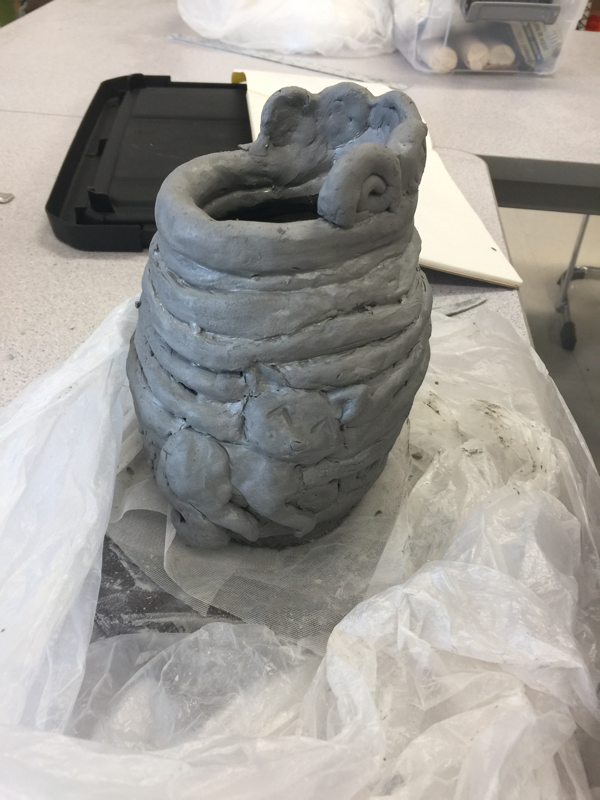
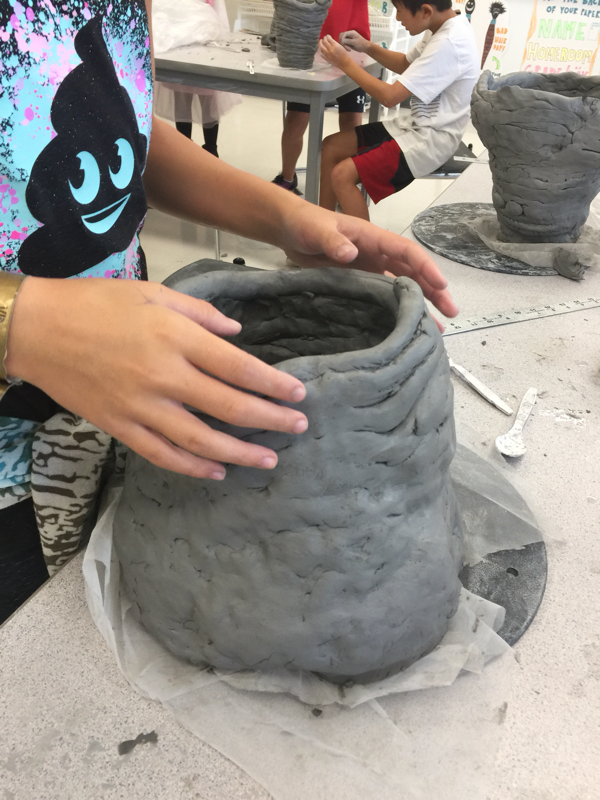
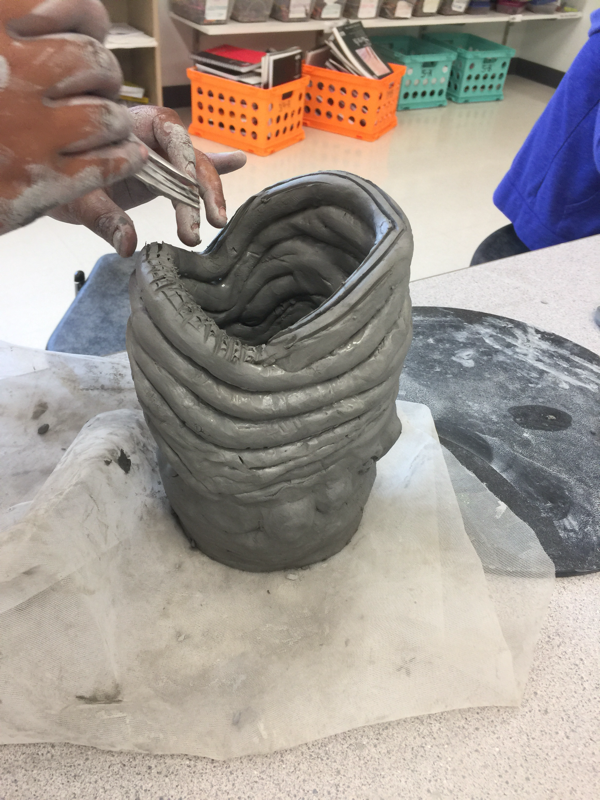
Sgraffito is the act of scratching away a surface to create a design by revealing another color underneath. Sgraffito is widely know as a technique used on clay with glaze, but we did it using layers of oil pastel. The first step is that you need to create a layer of light and bright oil pastel colors on a piece of paper. Then you cover that oil pastel with a layer of black oil pastel. You then use scratch sticks to scratch away the black oil pastel to reveal the colors underneath. The theme for this project was real or imaginary trees. We studied and compared and contrasted artists that have used trees as subject matter in art. We studied different kinds of trees by watching a short video and looking at pictures. The students were then asked to come up with an idea to create either a real or imaginary tree. Almost every student chose to create an imaginary tree and they are all pictured below. The second graders recently finished their pop-out dinosaurs using watercolor and oil pastel techniques. We started the unit by learning about dinosaurs and watching some of the news clips about the triceratops that was found near by in Thornton. We then looked at the work of dinosaur illustrator Sergey Krasovskiy. We practiced drawing dinosaurs by looking at pictures and using whisper lines to make the sketches. Next, I demonstrated how to use salt, rubbing alcohol, and oil pastel to create some neat effects with the watercolor. I showed them how to blend and mix oil pastel. They picked a dinosaur that they wanted to create for their final piece and used the techniques to create their dinosaur. They used these same techniques to create a background. I showed them how to accordion fold paper to make their dinosaur pop out from the background. The work is pictured below. The 1st graders recently finished their mixed media paper collages. The subject matter was a scene with at least one animal in it. We started this lesson by reviewing what a collage is. They learned about the artist, writer, and illustrator named Eric Carle who was famous for writing The Very Hungary Catepillar. We read a couple of his books through-out the five days that we worked on this project. The kids started out by painting their own paper to use for their collage. I showed them how to mix paint and use tools to create designs. Next we created backgrounds with watercolor. I showed them how to cut out different shapes to make creatures. I provided geometric stencils if they needed them for their artwork. We reviewed the difference between geometric and organic shapes. After the students created their collages, they added finishing touches with oil pastel. During the various processes of this lesson, we reviewed how to have a good hair day with your brush, "dot, dot, not a lot" with glue, and how to add detail to your work. The kindergarten students recently learned how to draw a body without using stick arms and stick legs. I demonstrated how to do this a couple of times through-out a few class periods and then had the students practice by drawing a sketch. They then drew a final self-portrait using marker and colored pencil and cut them out to glue onto a background that they painted using either warm or cool colors. You can't tell from the pictures, but these coil pots are huge! The students are required to build them at a minimum of 10 inches in height. They also must be waterproof by sealing the inside and then eventually glazing them. Another requirement is to personalize them in some way. I showed them different ways that they could personalize their pots such as adding spirals, braids, spheres, vertical coils, animal faces/bodies, abstract shapes, lettering, and how to make the pot wider or more narrow. They are all very different, which was one of the goals. The kids are really enjoying the challenge of building big. When they are completely done with them, we are planning on having a party and the pots will house the food. We always start the trimester with clay because it takes a few weeks to dry out before we can fire it in the kiln. After we fire it, then we have to glaze it which takes another week and then we have to fire it again. For the sake of time, we get clay done first so that we don't run out of time at the end of the trimester.
Kindergarten- Our first project was clay pinch pots. I demonstrated how to make a pinch pot. The students learned about clay and where it comes from. They got to take a peek inside the kiln and learn about how hot it gets when it fires the clay. After that project, the students learned about texture and how there are different kinds of texture. We did an activity where they feel things around the room and describe what it feels like. They then made a clay hand and created different kinds of texture on the hand by using tools. 1st Grade- Our first project was making clay monster pinch pots building off of the knowledge of how to make pinch pots last year. The kids watched a demo on how to score and slip. I referred to scoring as the velcro and slip as the glue. I then showed them how to seal with a coil or with their fingers to make sure their clay is really stuck on their work. After they learned how to score and slip, I showed them all sorts of pictures of monsters so that they could get ideas for their work. They could make their clay monsters look however they wanted to. We reviewed where clay comes from and what happens when it gets fired in the kiln. 2nd Grade- The students are creating clay self-portraits. We started this lesson by reading two different books. One was I am Gonna Like Me, which is a book about learning to love yourself and all of your strengths and weaknesses. The other book was called The Colors of Us, which is a book about how we are all different colors and we are all beautiful. I demonstrated how to draw a self-portrait by using a mirror. We reviewed the difference between sketch lines and drawing lines. Sketch lines are easy to erase. I then had them sketch themselves using mirrors. The next time they came to class I reviewed how to score and slip and showed them how to add facial features to clay. They have the option of creating an expression on their faces like having their tongue sticking out or their eye winking. They have begun working on their pieces and will finish them today. 3rd Grade- The students are making soul shakers out of clay. They started this lesson by learning about the history of clay rattles. They then had to sketch out ideas for their project. The requirement was that they had to create a design for their soul shakers that personally reflects an interest or something that is unique to them. We discussed what creative ideas are and how they sometimes really need to think about their ideas and how to make them different before they move forward with their projects. We then walked through the process of how to make a clay soul shaker. Now they personalizing their soul shakers. 4th Grade- In fourth grade the students are creating their favorite places out of clay. We discussed and wrote down how different places make us feel and what kinds of things are in these places that makes us like them so much. They were then required to sketch one of their favorite places as an idea for their project. We reviewed how if the clay is thicker than your thumb that it needs to be hollowed out with a hole or it will blow up in the kiln. The reason for this is that there are air bubbles in the clay and when the clay shrinks in the kiln the air bubbles have no where to go, but out. If the students hollow things out and put a hole in it then the chances of there being air bubbles are pretty small. I showed them how to hollow things out, how to use slabs to create walls of buildings or other structures, how to use pinch pots to create structures, how to reinforce with coils, how to use to tools to create texture, and I reviewed how to score and slip. The students are currently working on their projects. 5th Grade- In 5th grade the students are working with clay too. They learned about the history of clay coil pots through a visual presentation. I showed them a variety of ways that they can make their coil pots unique by using different techniques such as adding faces or animals to their pots, making braids, spheres, and spirals. I showed them examples of how to add texture to their work or how to draw on the outside of their pieces. They also have the option of adding words or quotes using alphabet pasta that burns up in the kiln. I showed them how to build up the coil walls of their pots in such a fashion that their work does not collapse. I demonstrated how to bring the walls out or bring the walls in with the coils. The students created three different sketches for their pots and after a demonstration, they were ready to create their own works. The only requirements is that their pots have to be at least ten inches high and that they have to be waterproof by sealing the inside and glazing them. At the end of this project, we will have a celebration and eat and drink out of the pots. The first few days of school we learned about where things are in the classroom and what the expectations are. We created a student contract that we wove together as a metaphor for how we need to work together in the classroom for it to function well. We also created a mixed media collage of the words "respect and kindness" because they encompass the expectations of the classroom. A picture of our contract is featured below. 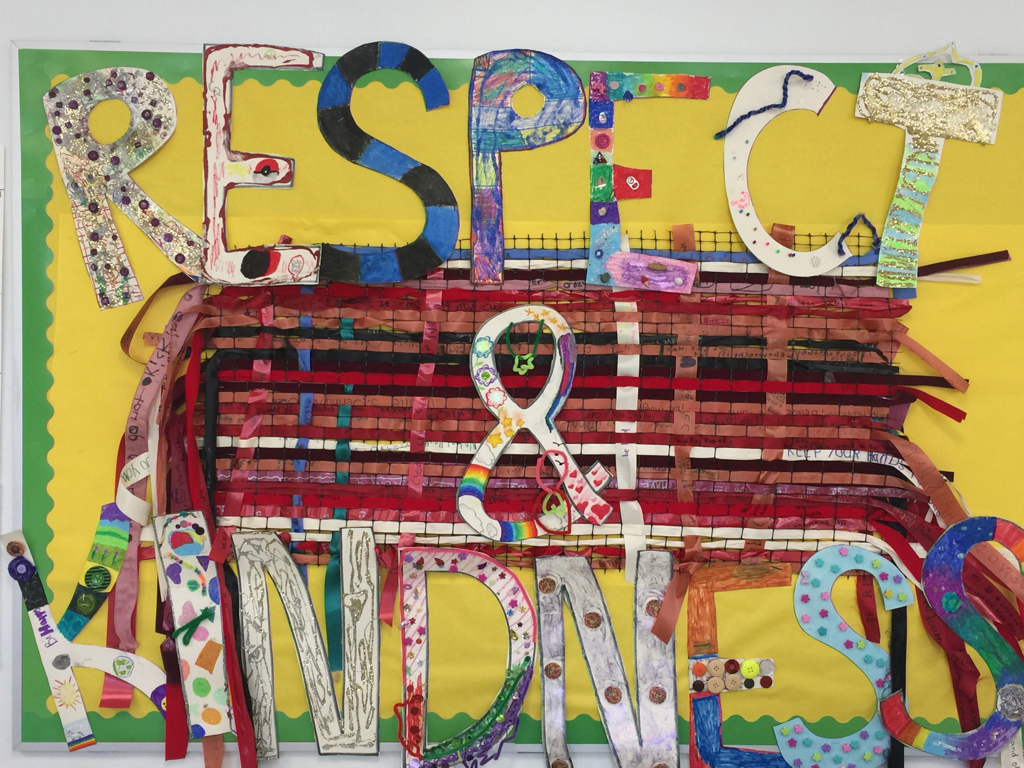 |


 RSS Feed
