|
|
|
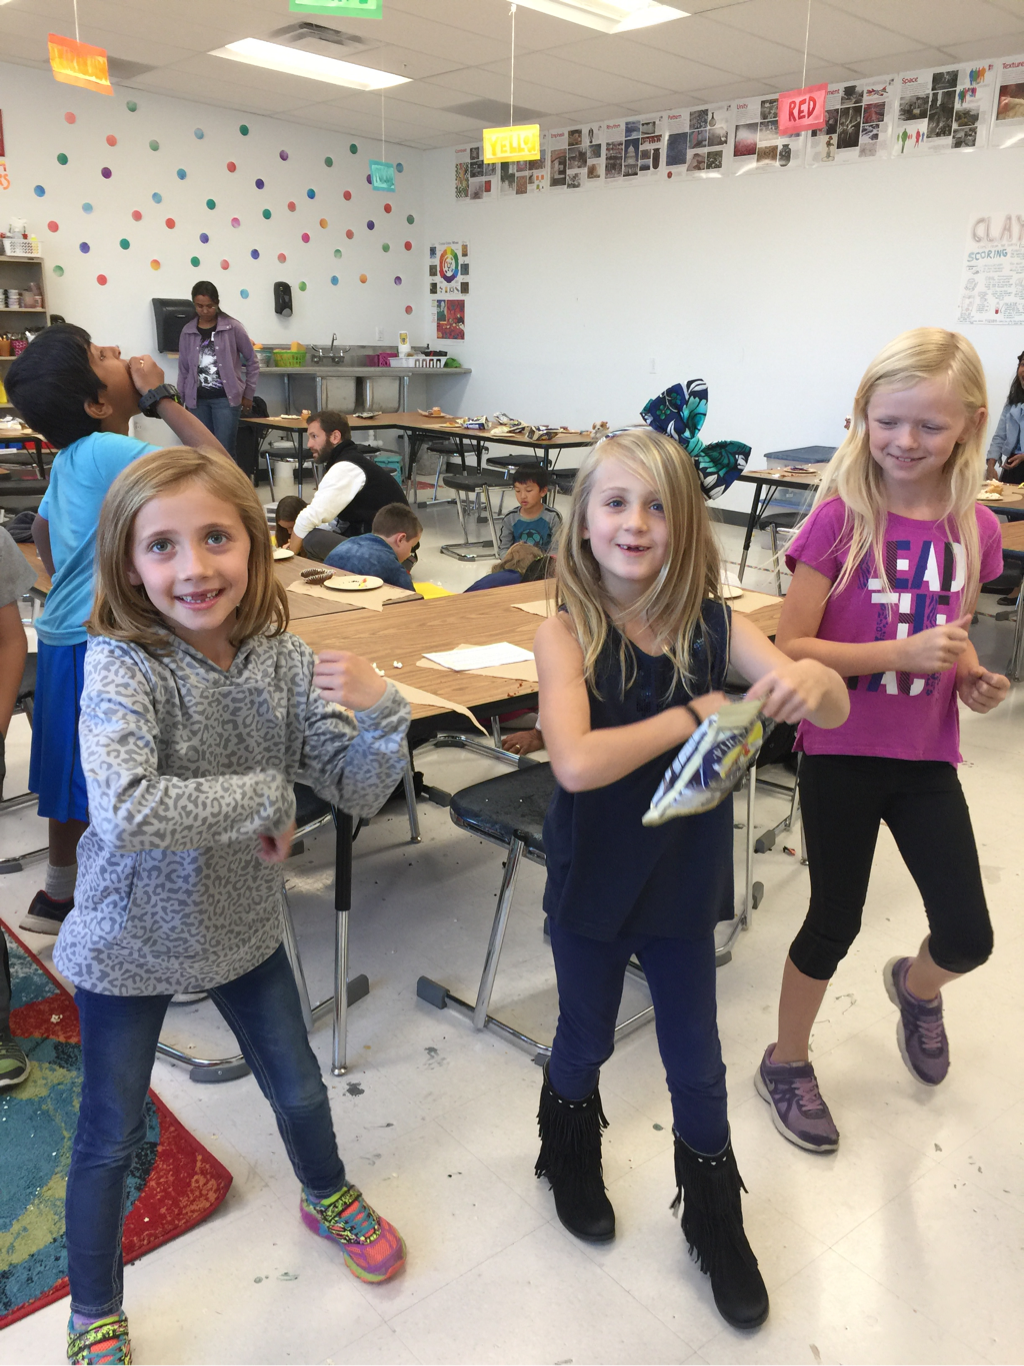
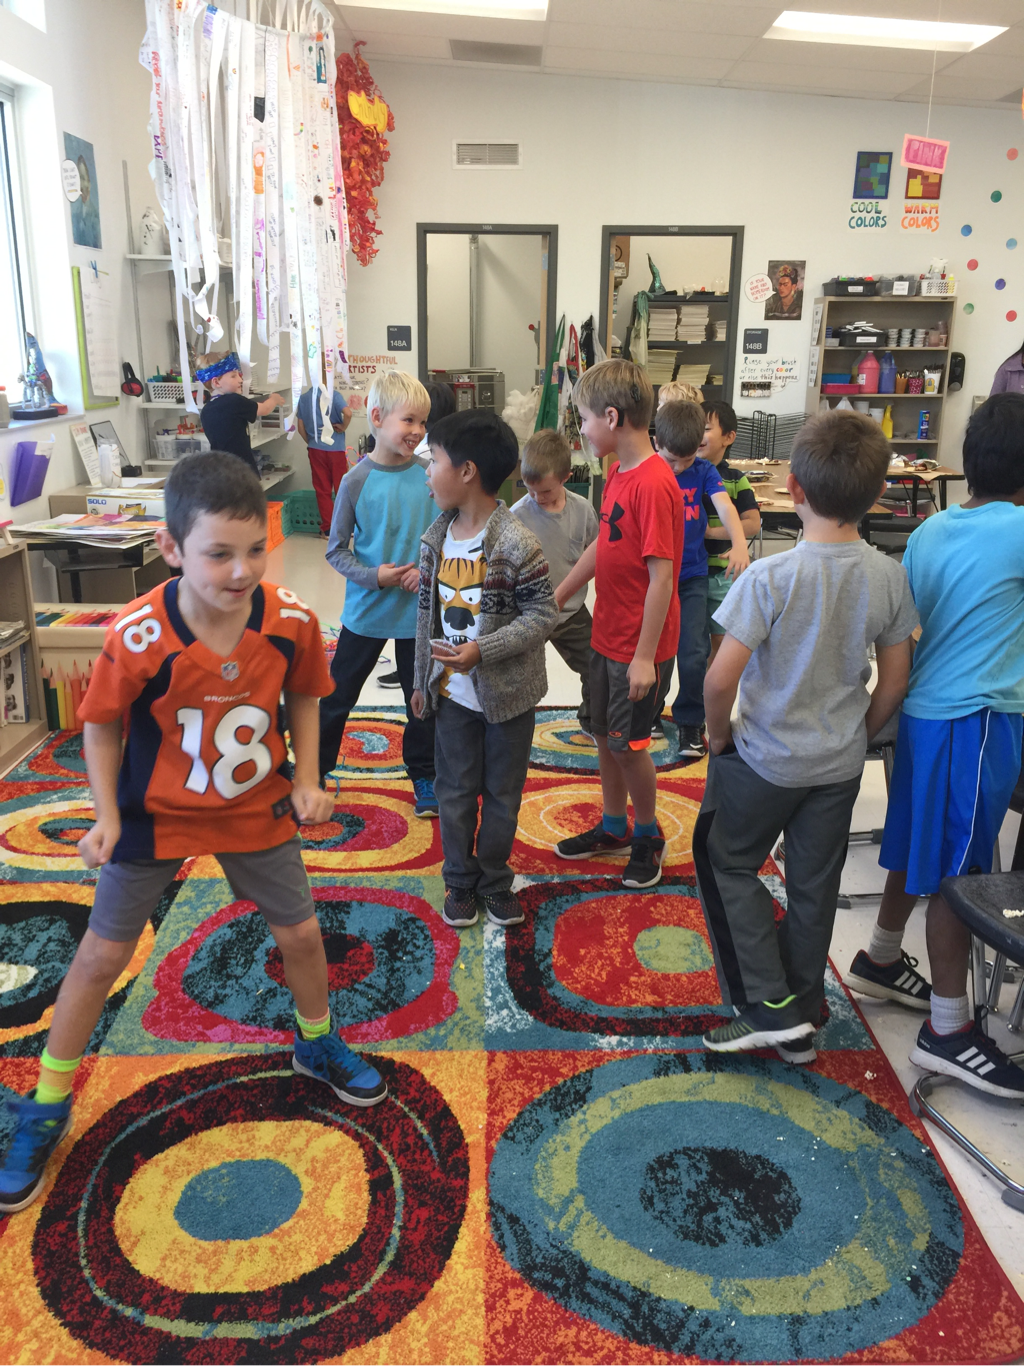
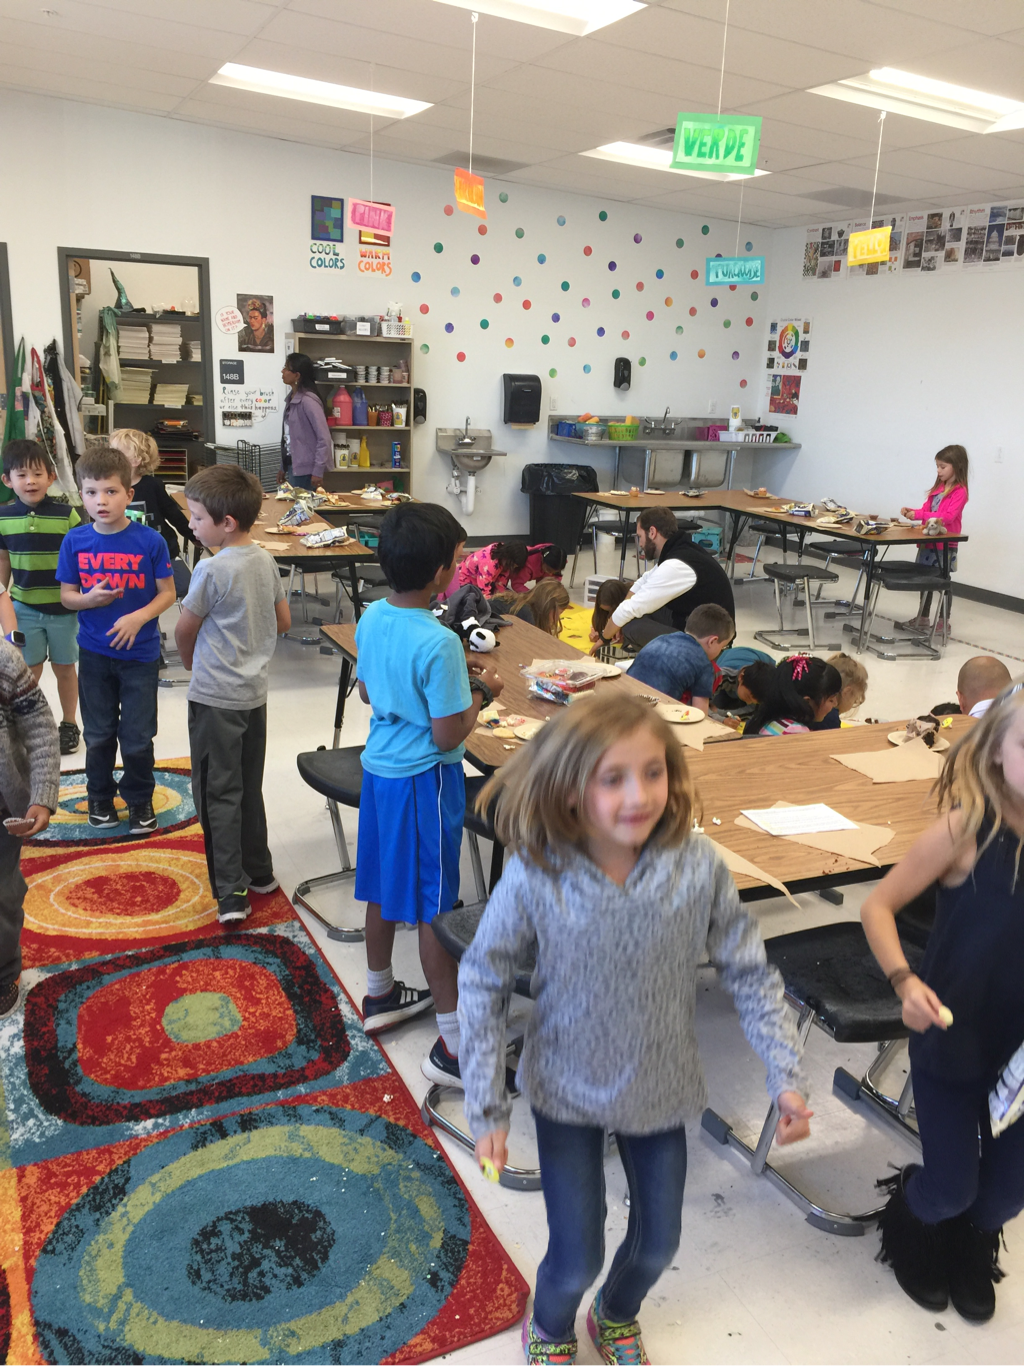
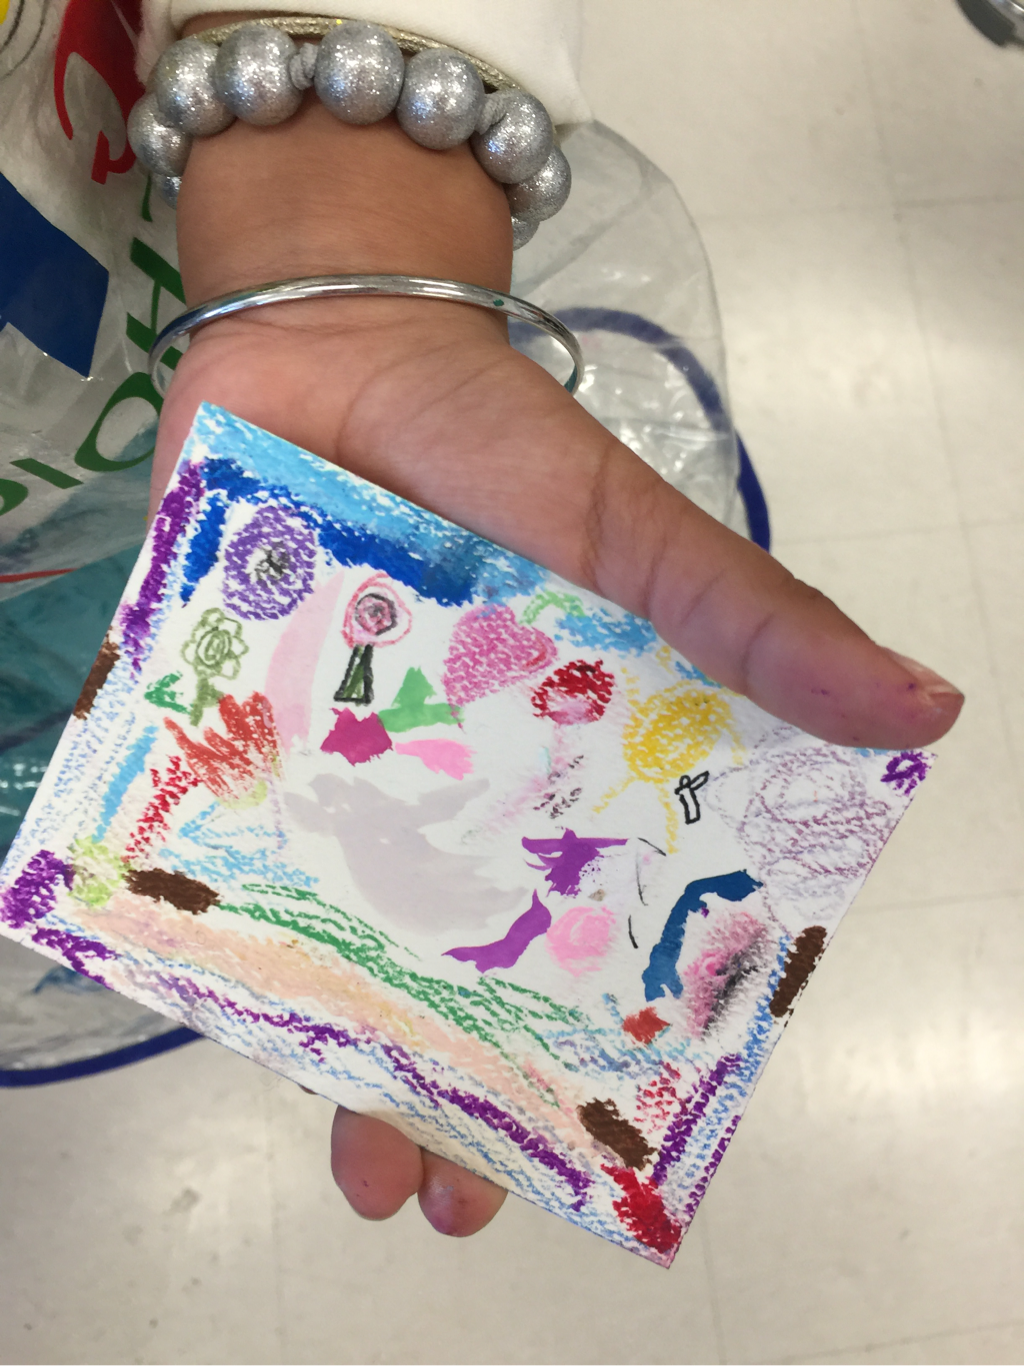
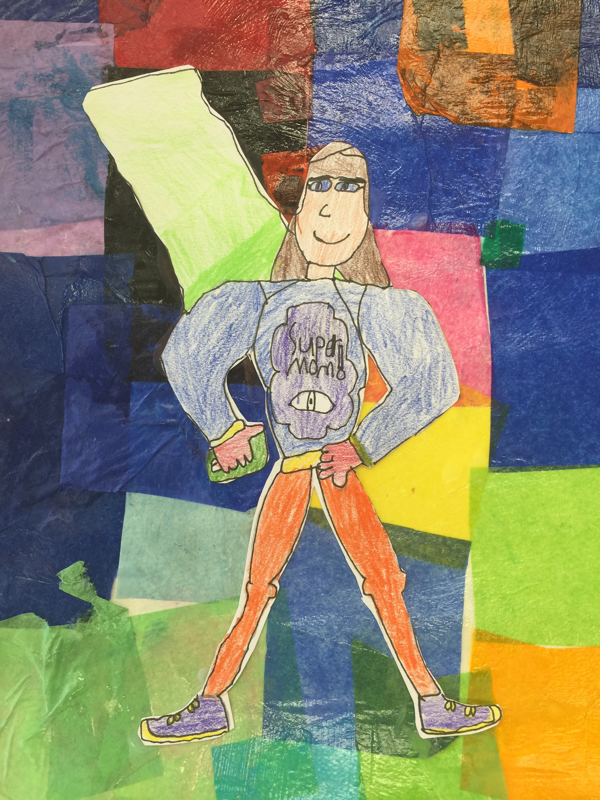
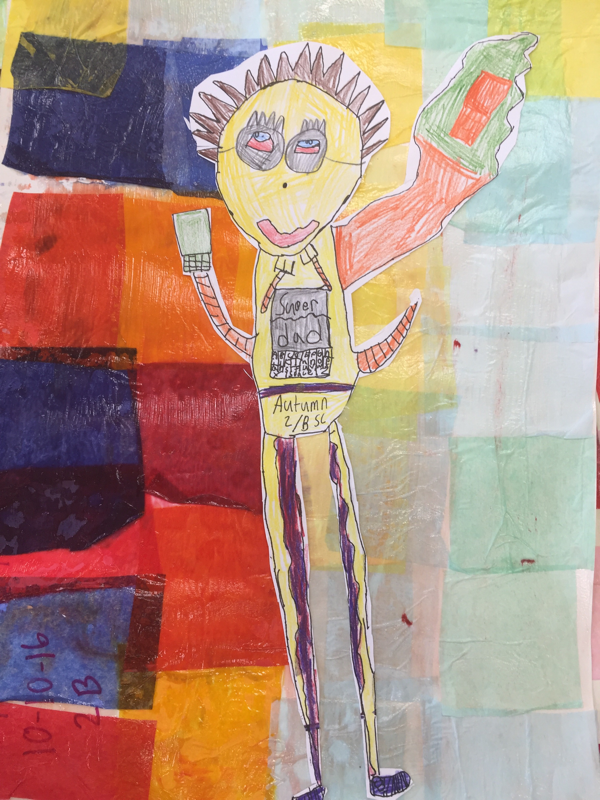
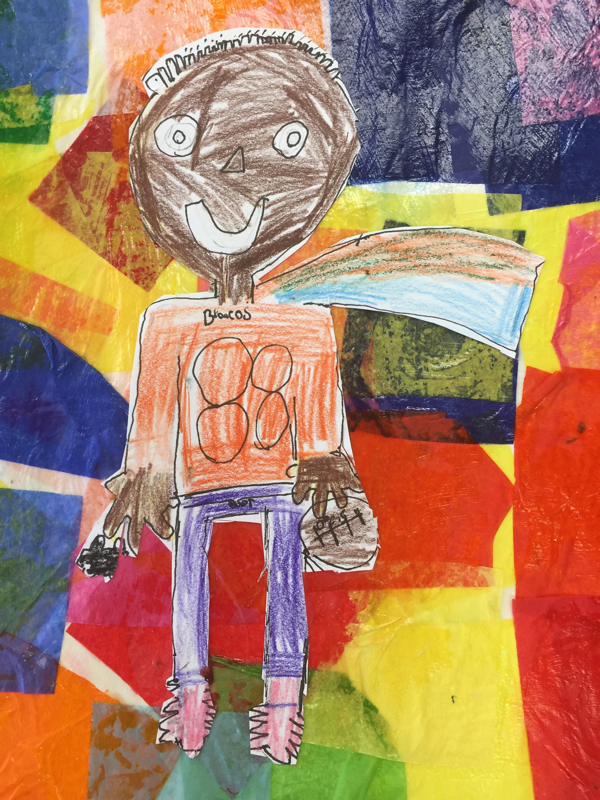
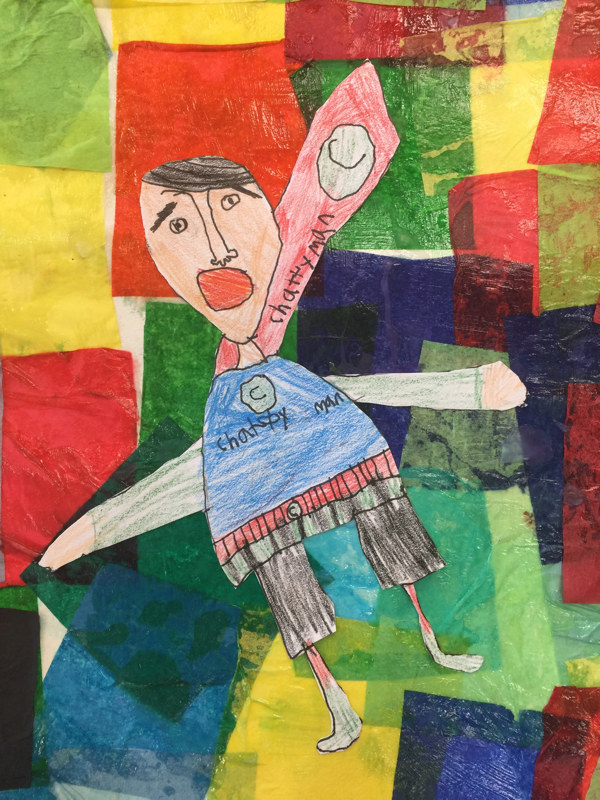
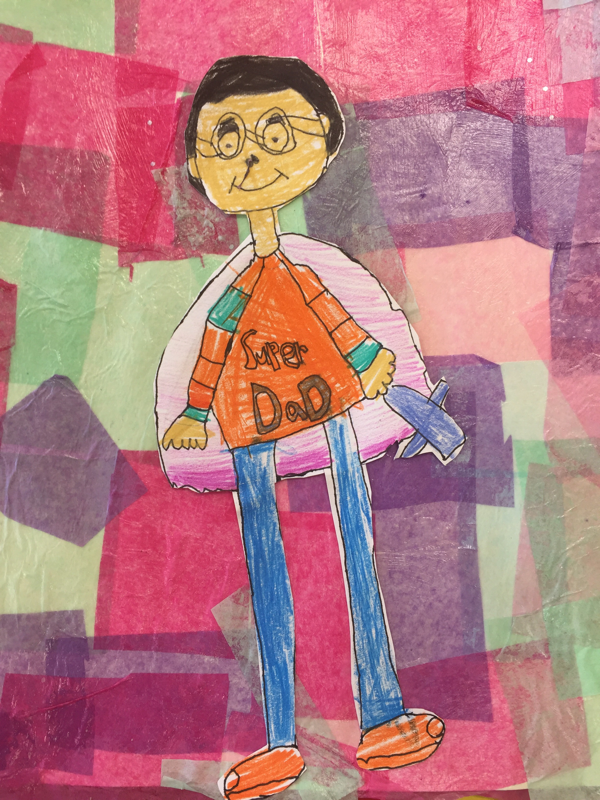
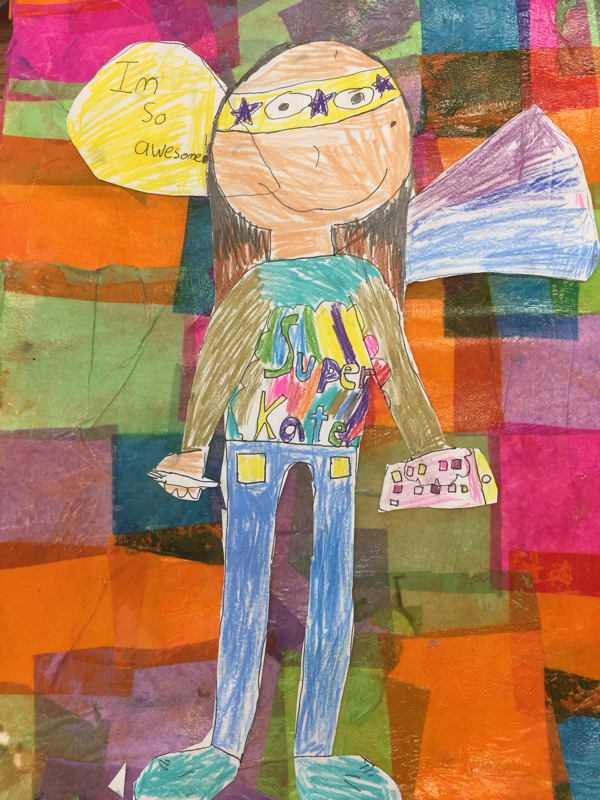
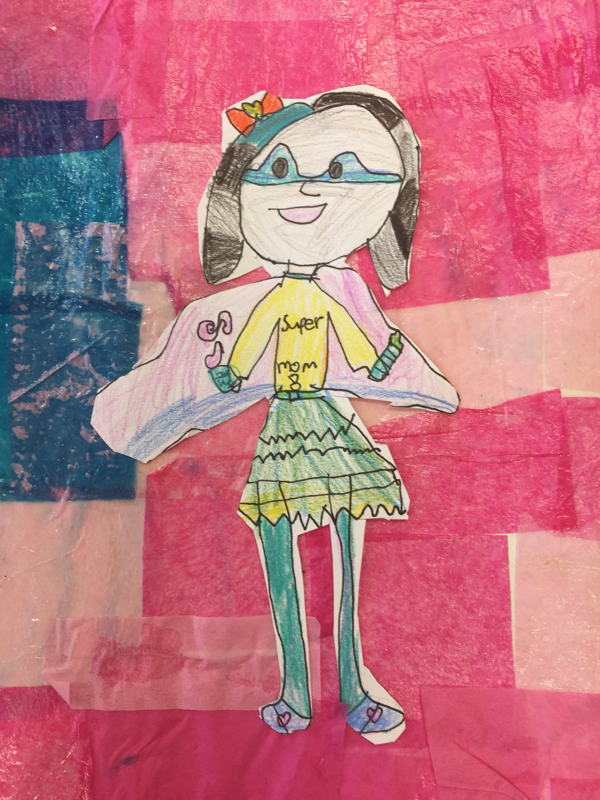
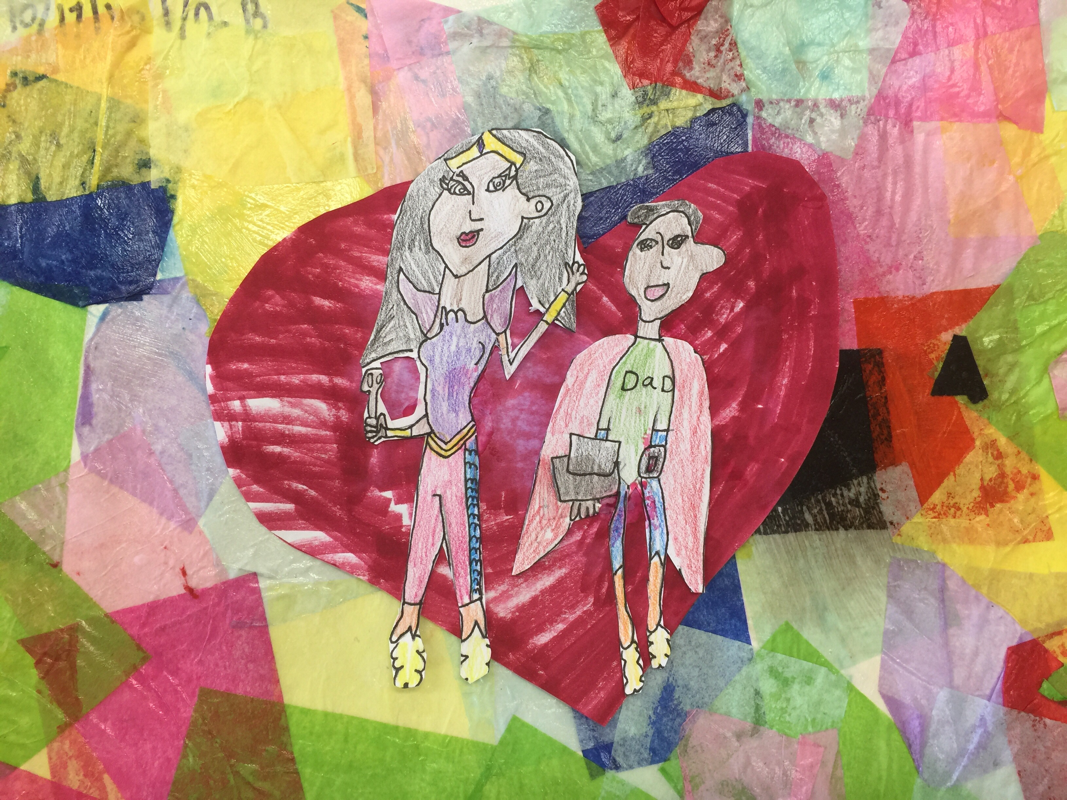
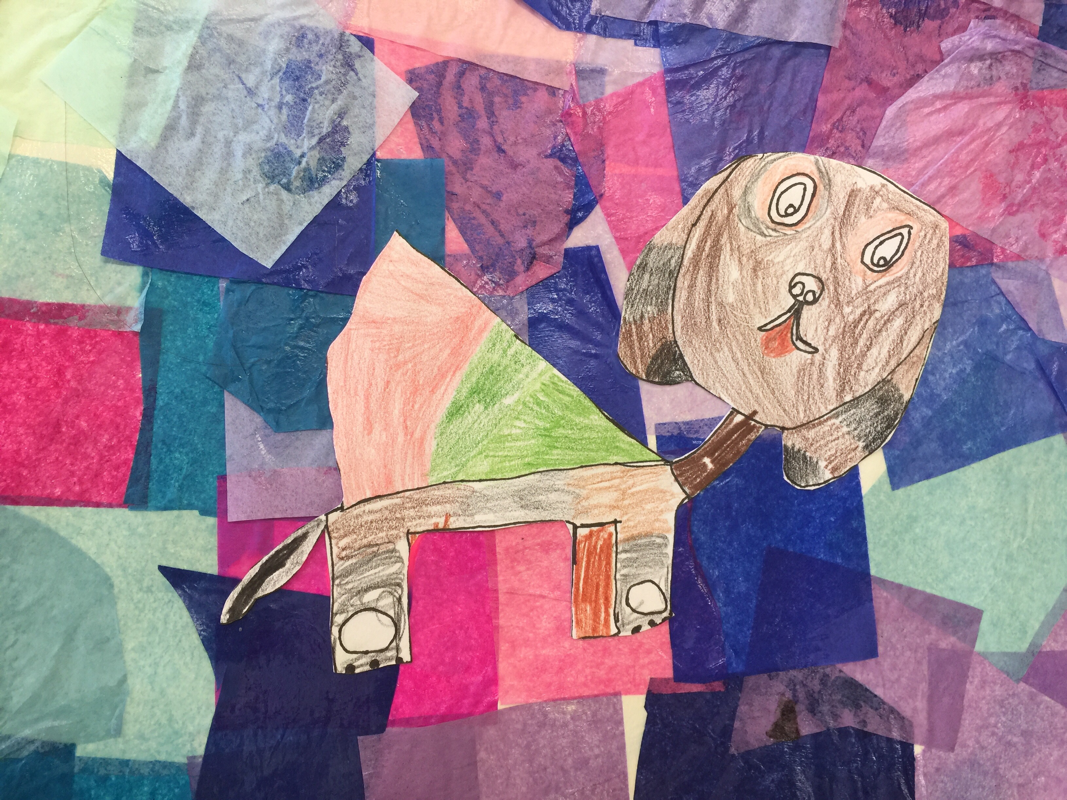
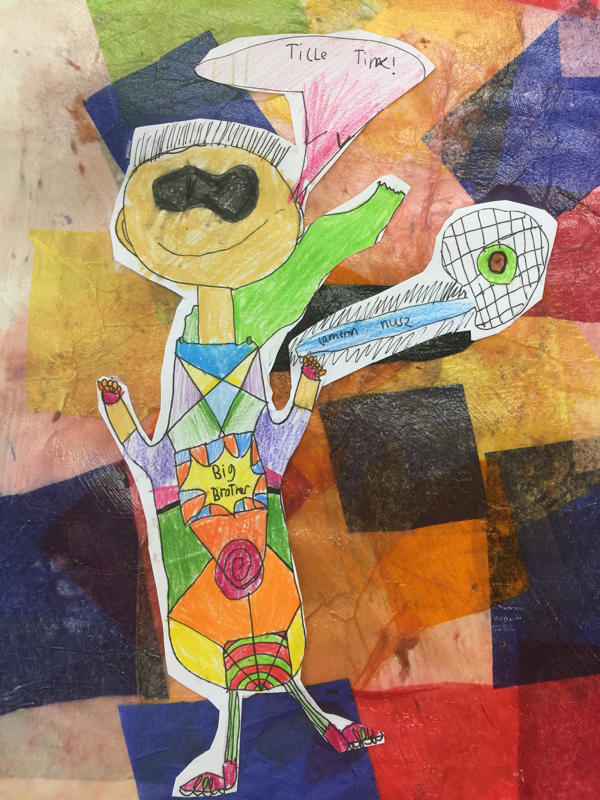
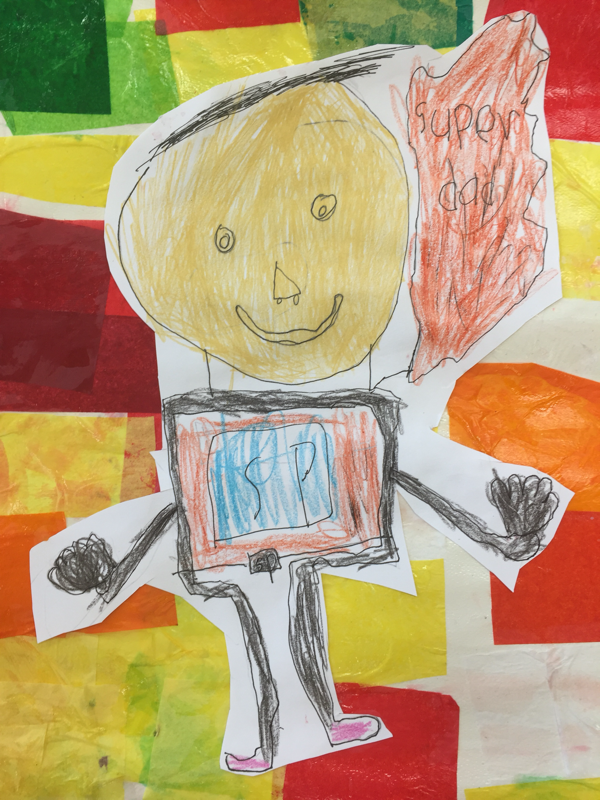
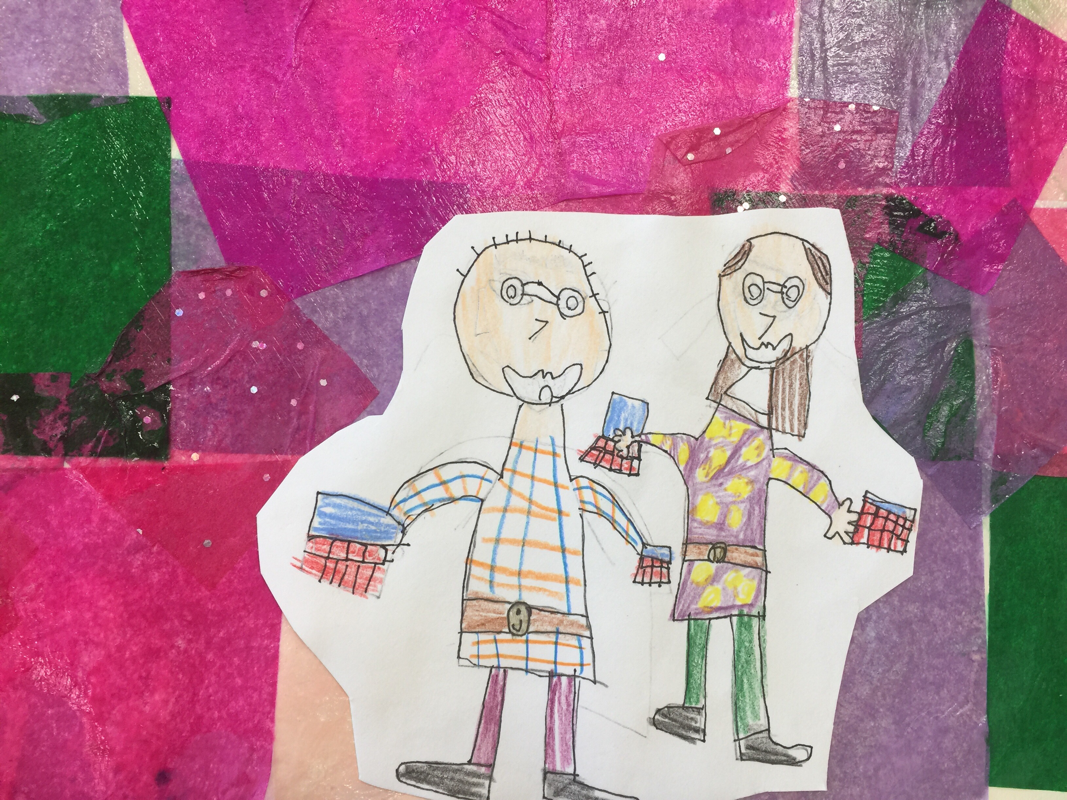
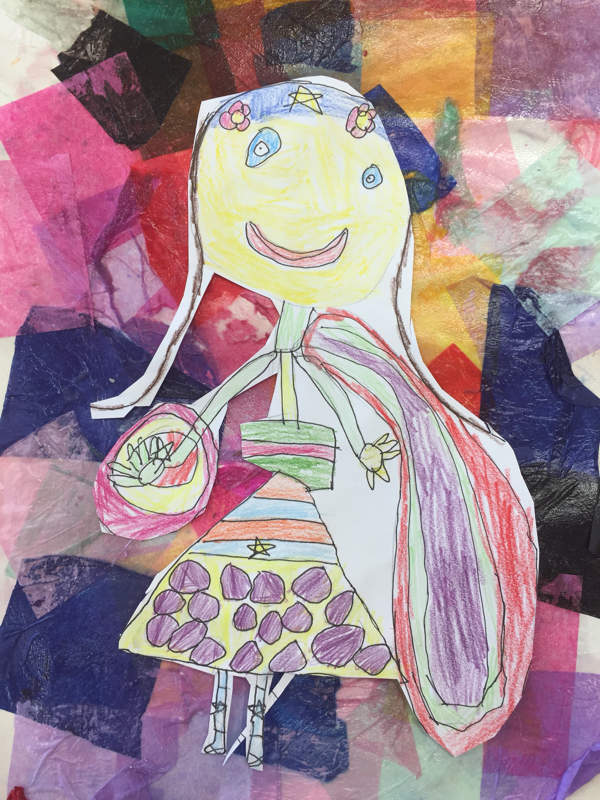
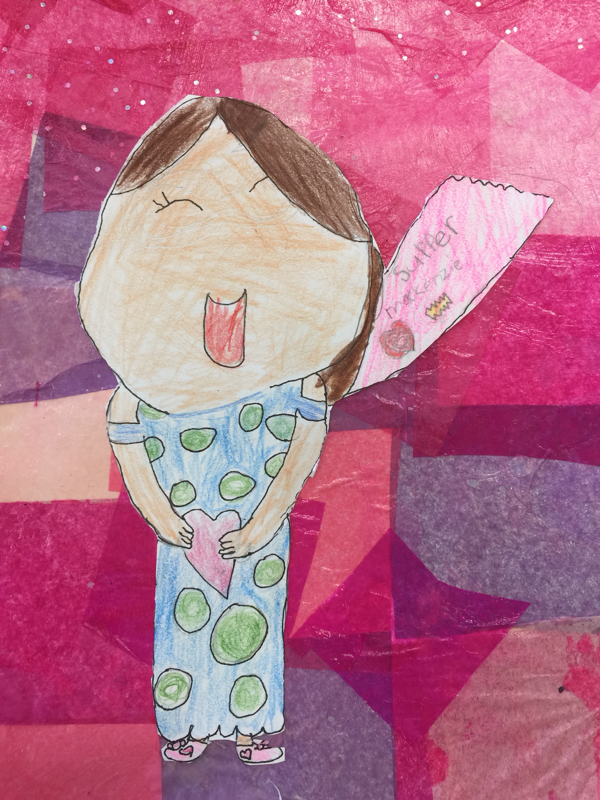
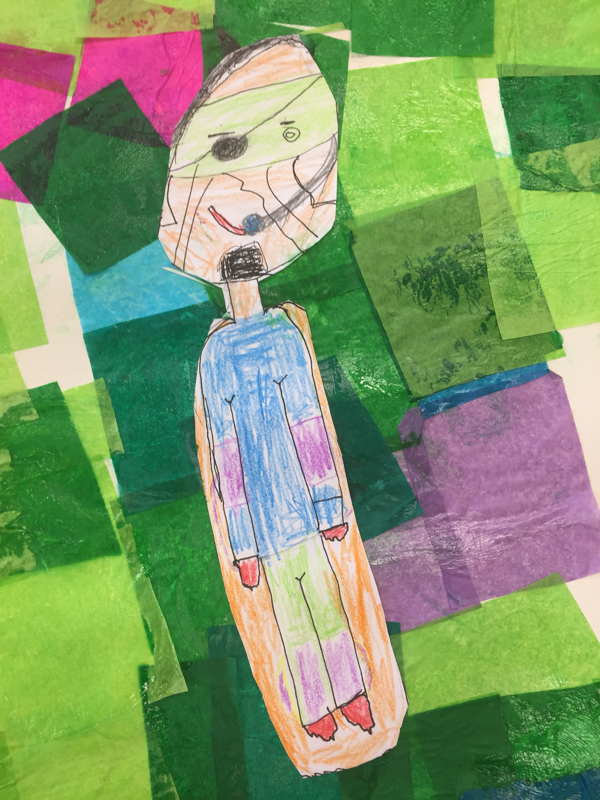
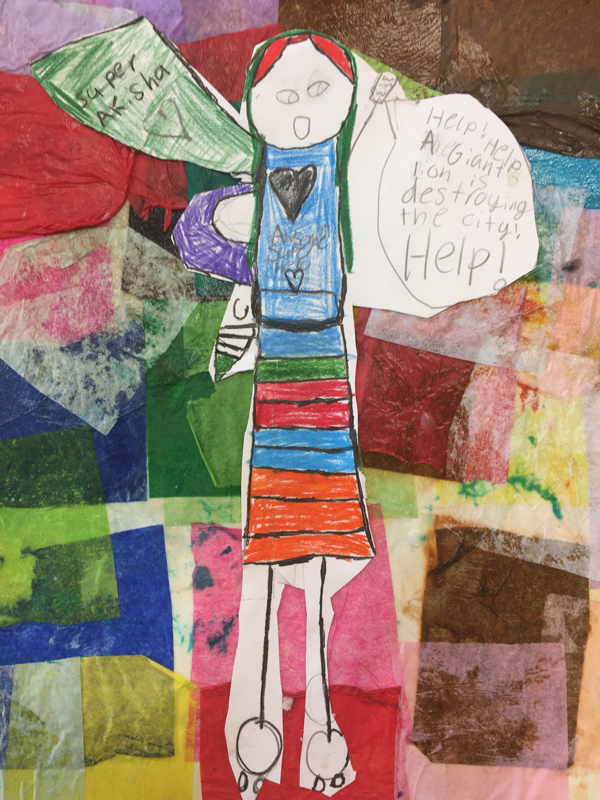
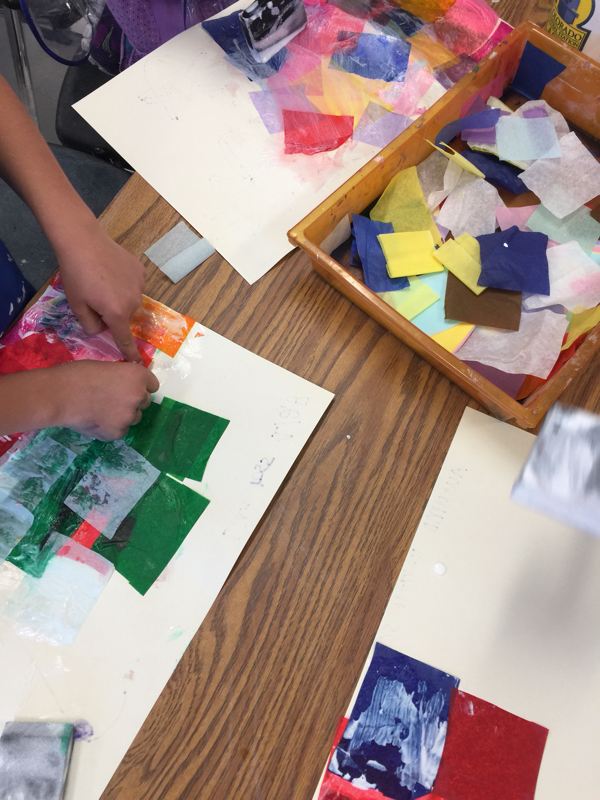
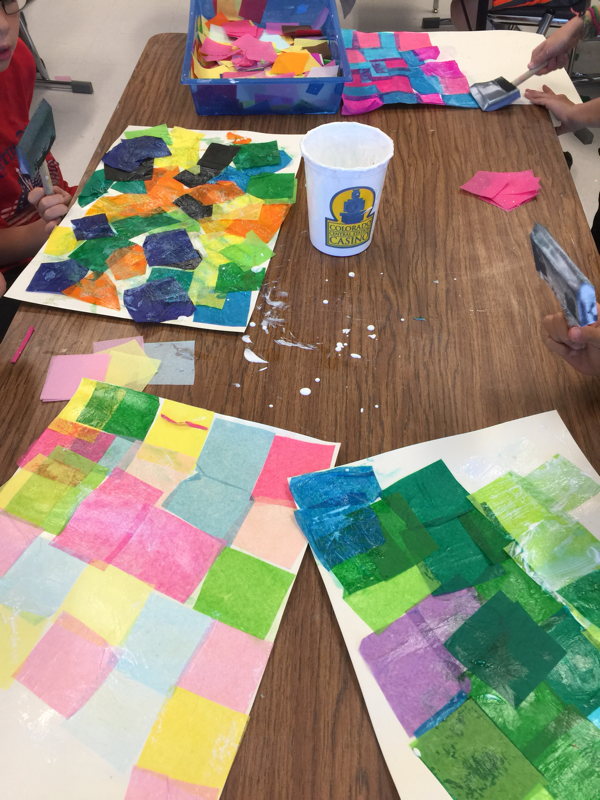
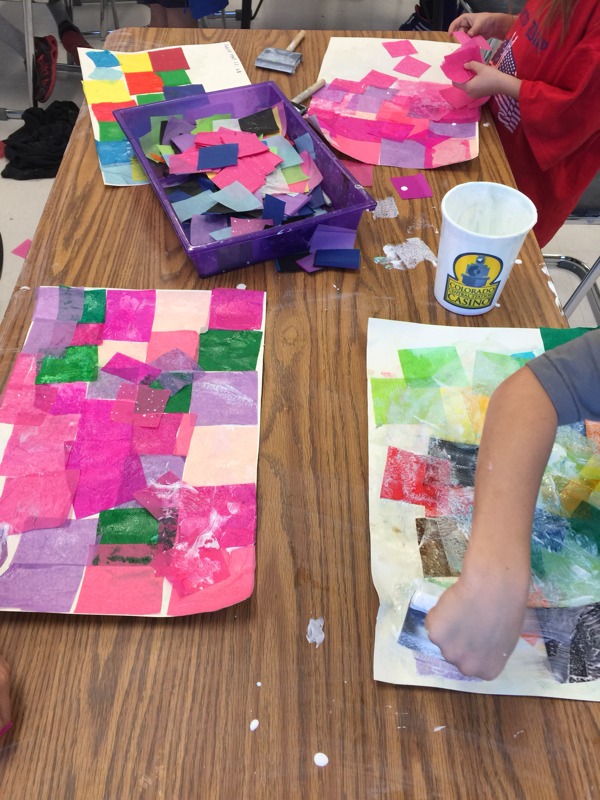
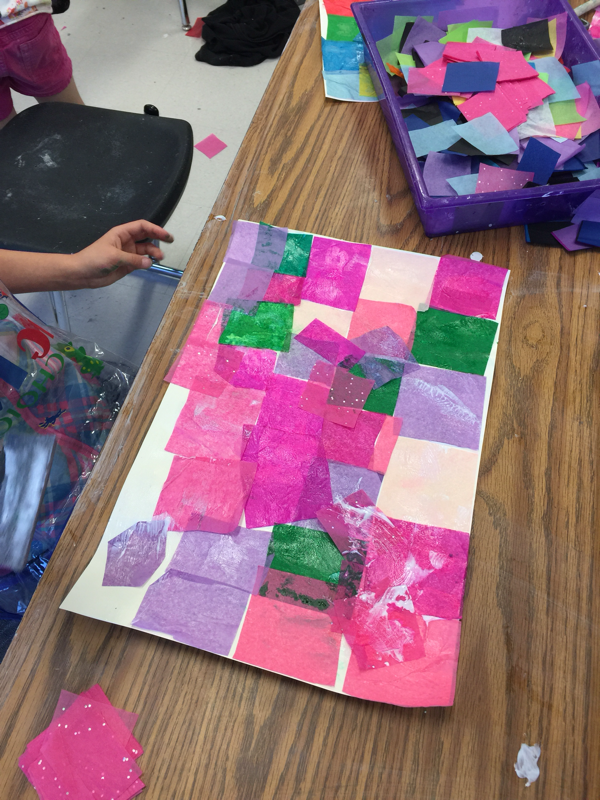
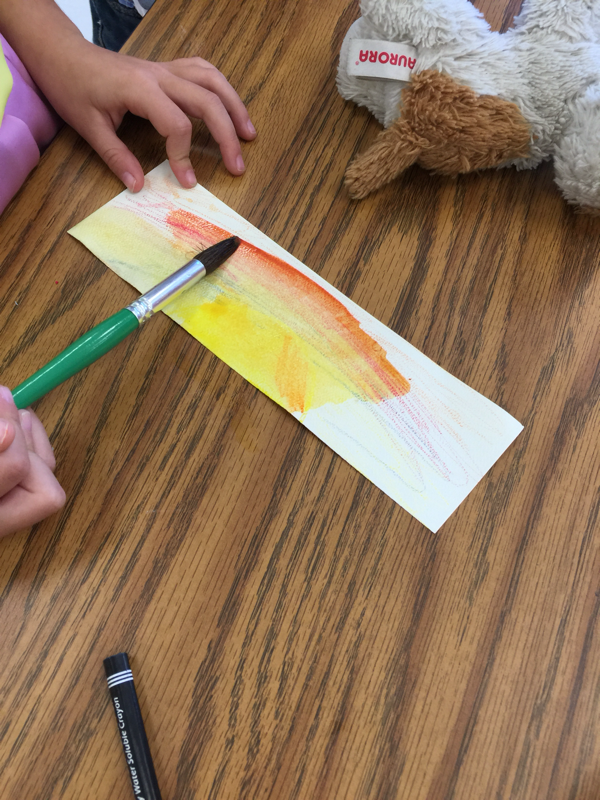
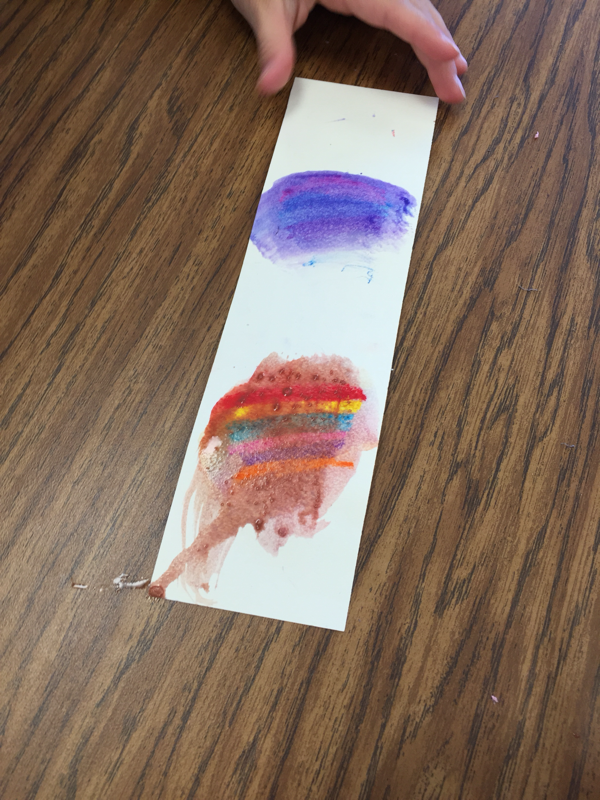
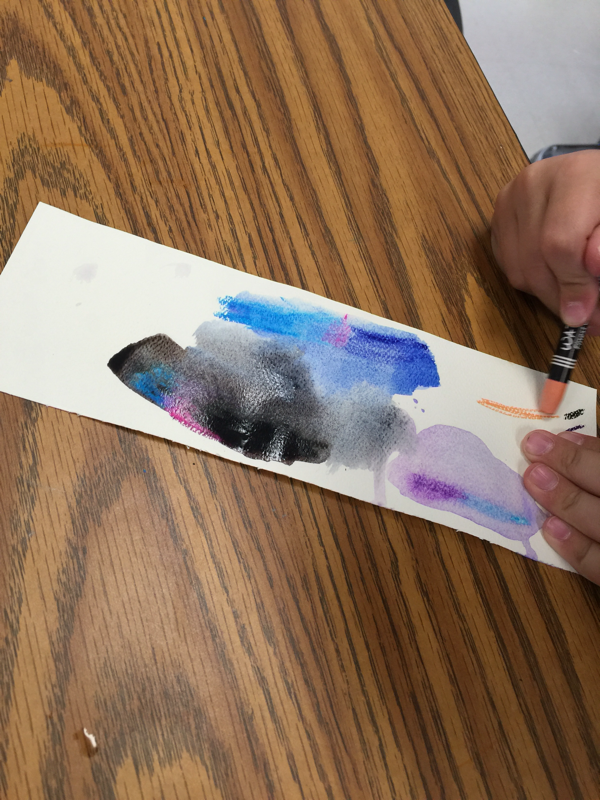
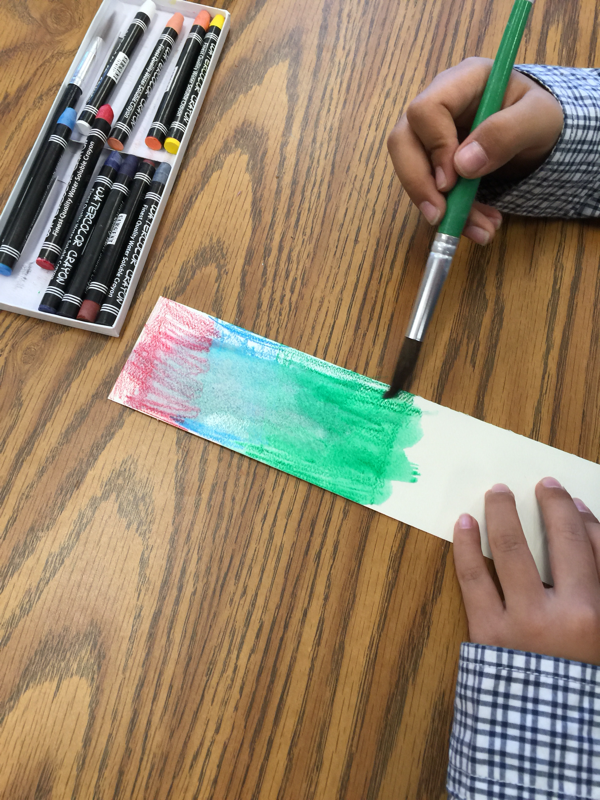
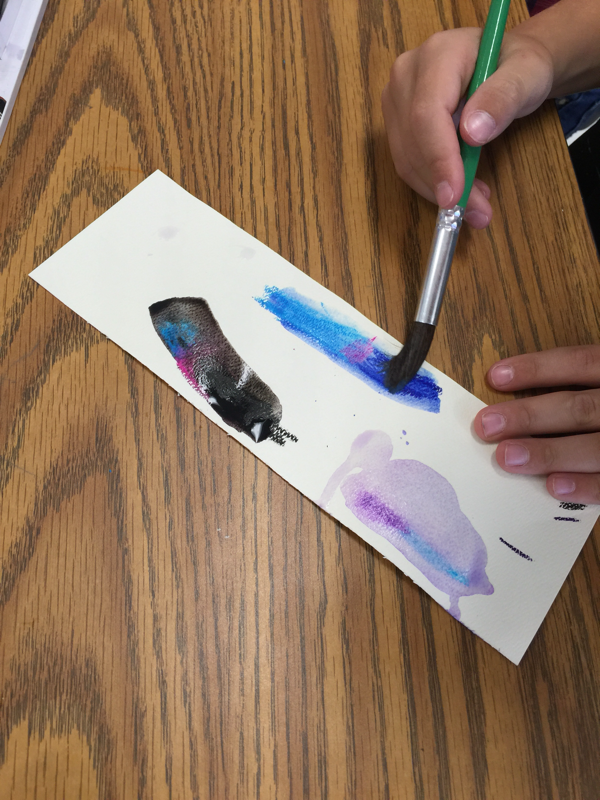
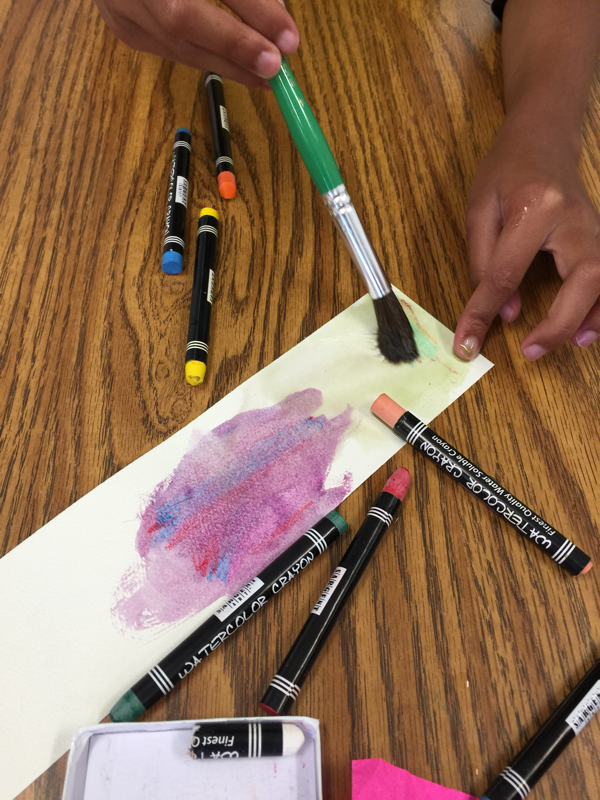
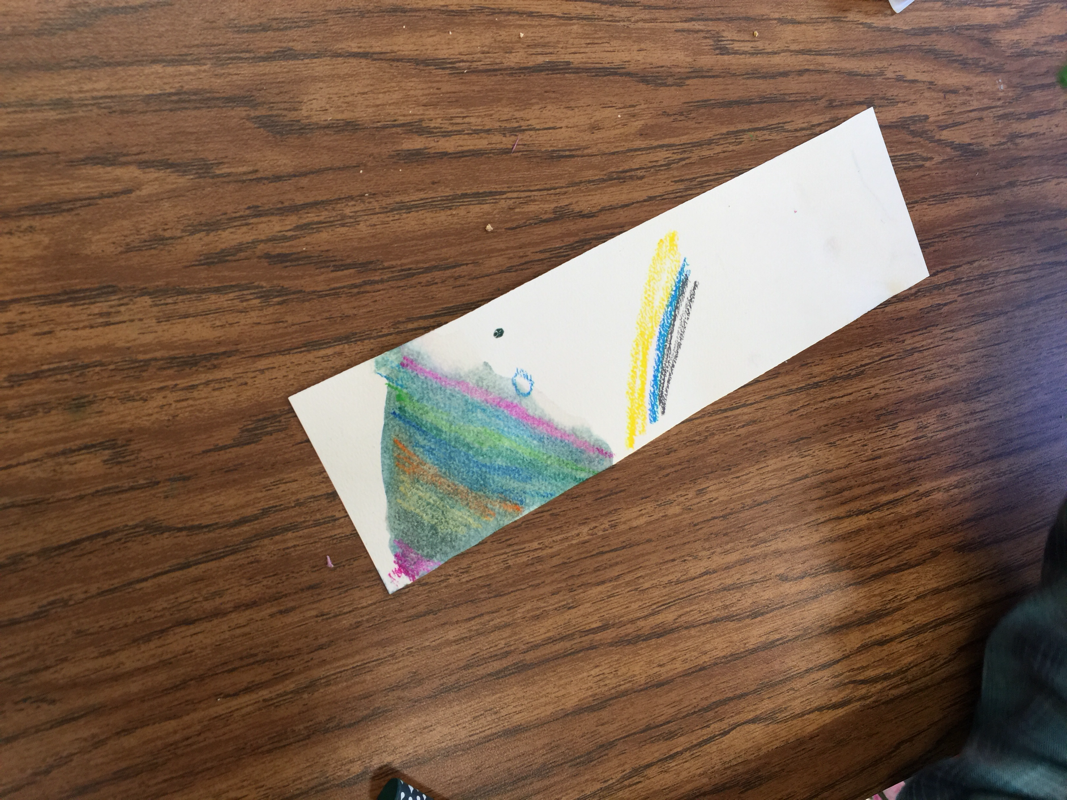
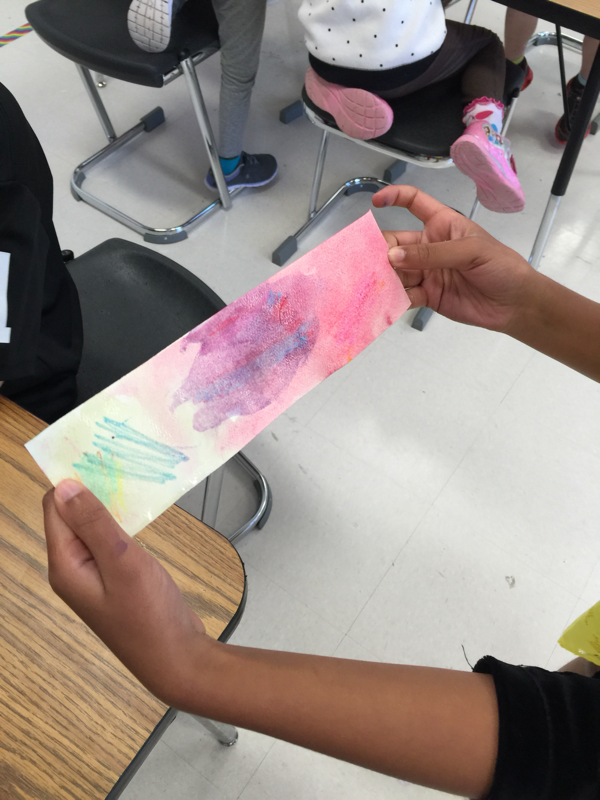
The 1st and 2nd grade students just finished making their tissue paper collage backgrounds for their super hero project. They learned how to make a secure tissue paper collage by using the glue sandwich method. This method requires the artist to put down a bottom layer of glue, then put down tissue paper, and add a top layer of glue. For the main idea of this project, they have to pick someone in their life that is a hero to them and recreate them as a superhero. We talked about real life heroes and what makes someone a hero. I gave examples and they shared with their peers what makes someone a hero in their eyes. Some students chose moms and dads as their heroes, while others chose friends, teachers, and pets. They are going to draw their heroes in super hero costumes that they design using either complementary or analogous colors. Their heroes will be holding an item or two that helps someone recognize them and their interests. For example, if a student's hero is their cousin and they often go fishing with them, then their superhero cousin might also be holding a fishing rod. They will be using waterproof pen and colored pencil to complete their drawings that they will overlay onto their tissue paper collage. At the end of this project, students will be writing about why they chose the person that they did. I will post pictures when the project is completed. The first and second grade students recently created styrofoam prints of cityscapes on backgrounds made out of watercolor crayon. We started the lesson by looking at cityscapes in artwork throughout time. We compared and contrasted what we saw in older paintings of cities to paintings of present day cities. We observed and noted the various kinds of lines and shapes that we see when we look at cityscapes. After that, I showed them the process that we were going to take in making and printing our styrofoam prints. Many of the students thought the printing process seemed like magic. The students got to experiment with watercolor crayons and a small piece of foam before beginning the project. When they were done experimenting, they started creating their background first using watercolor crayon. I showed them how to draw mountains in a more realistic way instead of using the triangle-like approach. We observed and discussed what we saw in different pictures of the sun and sky. Many students noted that the sky does not have to be blue and that often with a sunset we will see many colors. After they created their backgrounds, they drew their cities onto a piece of foam. I told them that if they couldn't feel their lines then that means that you won't be able to see your design, so the students felt their piece of styrofoam as they drew. When they were finished, they cut their cities out and we printed them onto their backgrounds. It was really exciting to see their reactions as we pulled the foam off of their backgrounds. Many of them chose to draw and print Denver, but I also had students choose other cities that they have visited. Students had the choice of designing an imaginary city as well. Some of their finished pieces are pictured below. 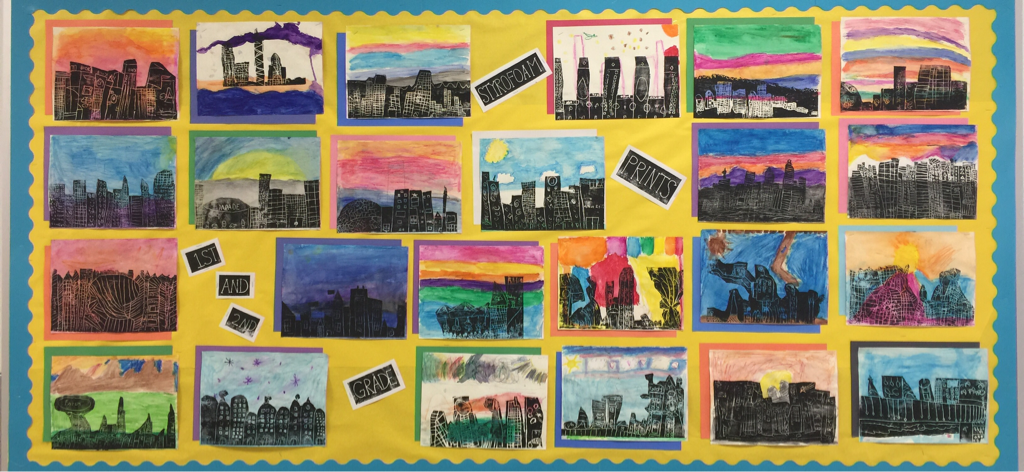    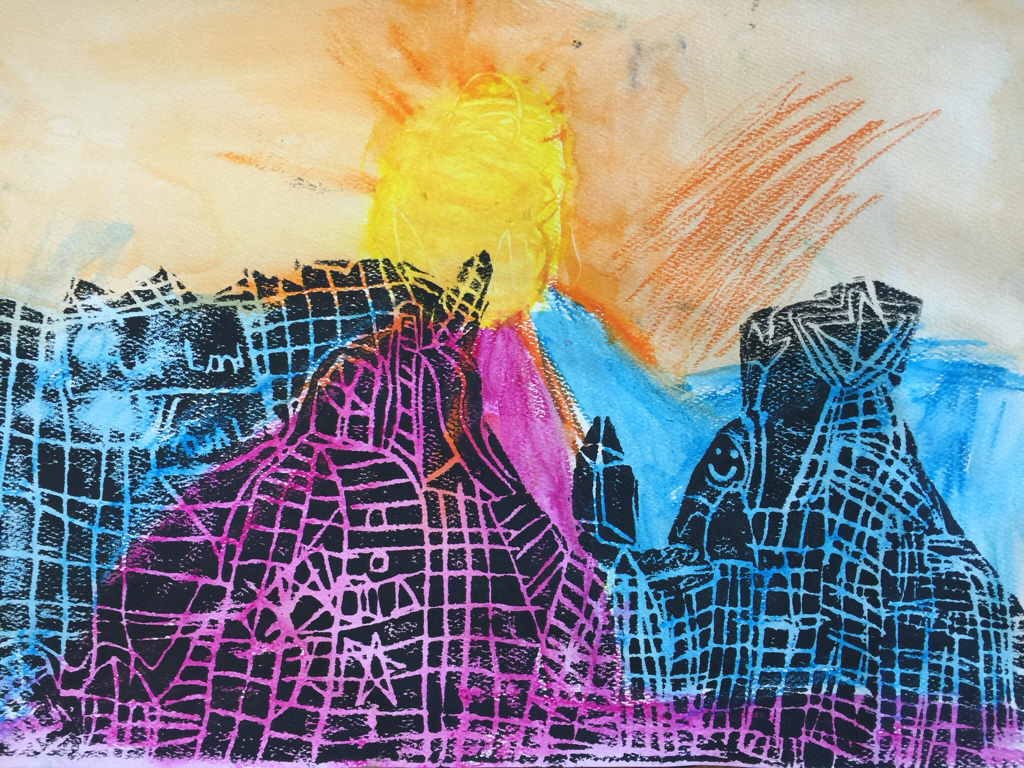 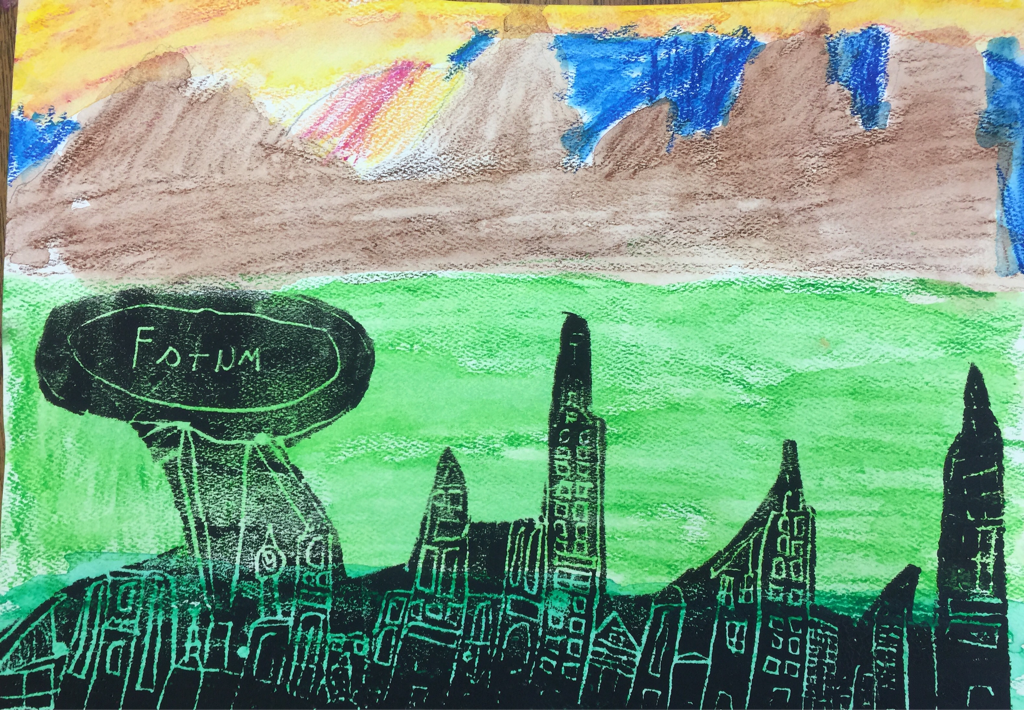 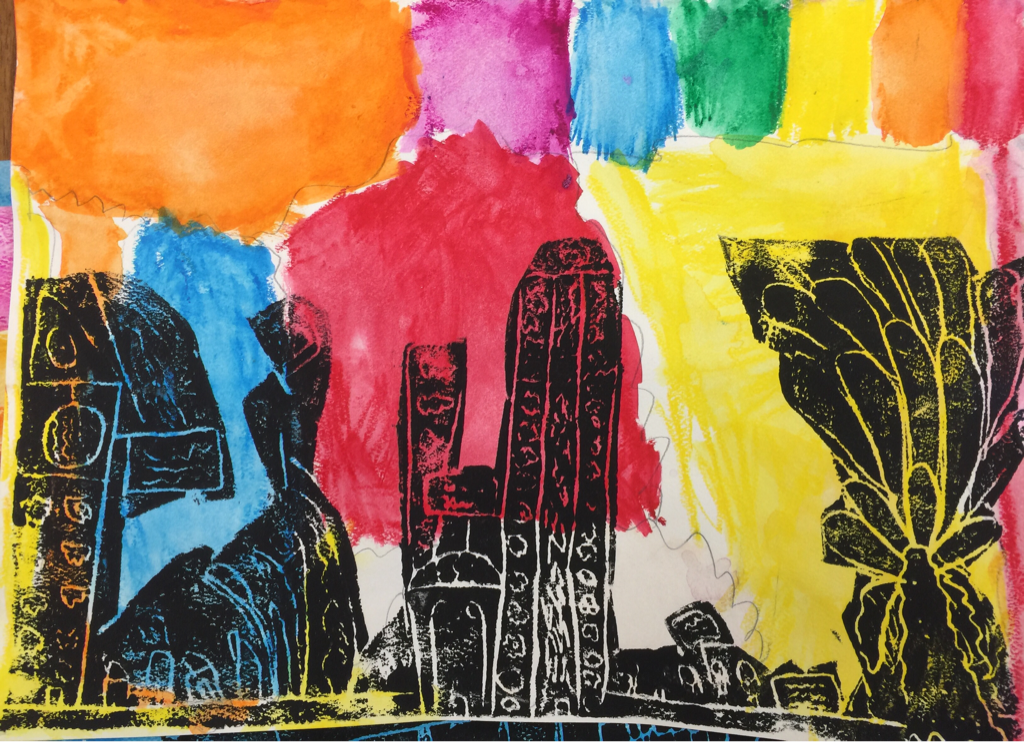 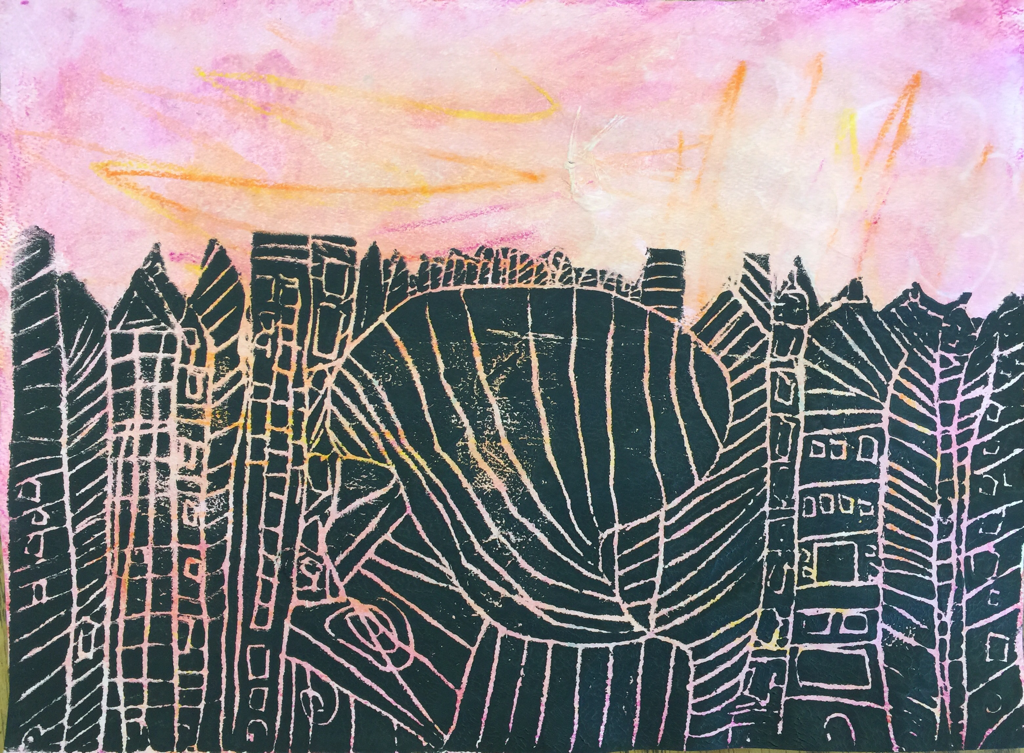 The first and second graders are finishing up their ceramic projects by glazing them as the trimester comes to a close. They created them a few weeks ago and they needed time to become bone dry before I could fire them. The students are now glaze experts after watching a demo and engaging in a visual presentation on glaze. They know that three even layers is the "sweet spot" in terms on color and opacity. They know what will happen if too little or too much glaze is put on their work. They can tell you what glaze is made out of and what makes it shiny.
The first graders made monster pinch pots while the second graders made animal pinch pots. We reviewed how to make a pinch pot and then they learned how to score and slip body parts on to make them look like monsters or animals. I demonstrated these techniques and then showed them what I call the "wiggle test". They are asked to wiggle what they just attached to make sure it is on secure enough that it won't pop off. After they were finished, I reminded them that their work has to dry out for about 2 weeks until it is bone dry. They learned how hot the kiln gets by comparing and contrasting the kiln to a oven. Both of these projects will be on display in the 1/2 hallway after they are both completely glazed and fired. In first and second grade, students will start to develop their ability to use media and materials in various ways by learning new techniques. They will start to advance their ideas by sketching and planning out projects. Students are encouraged to use detail and take pride in their individual styles. They will learn new elements and principles of art such as form and contrast, and will also go more in depth with their understanding of color. Students will learn pastel and watercolor techniques and will be introduced to mixed media and print-making. They will continue to advance their clay building skills by learning how to score and slip, glaze, and create three-dimensional forms.
|
|


 RSS Feed
